Mallincam HD-10 II User Manual
March 30, 2020
HD-10 II User Manual
Page 26
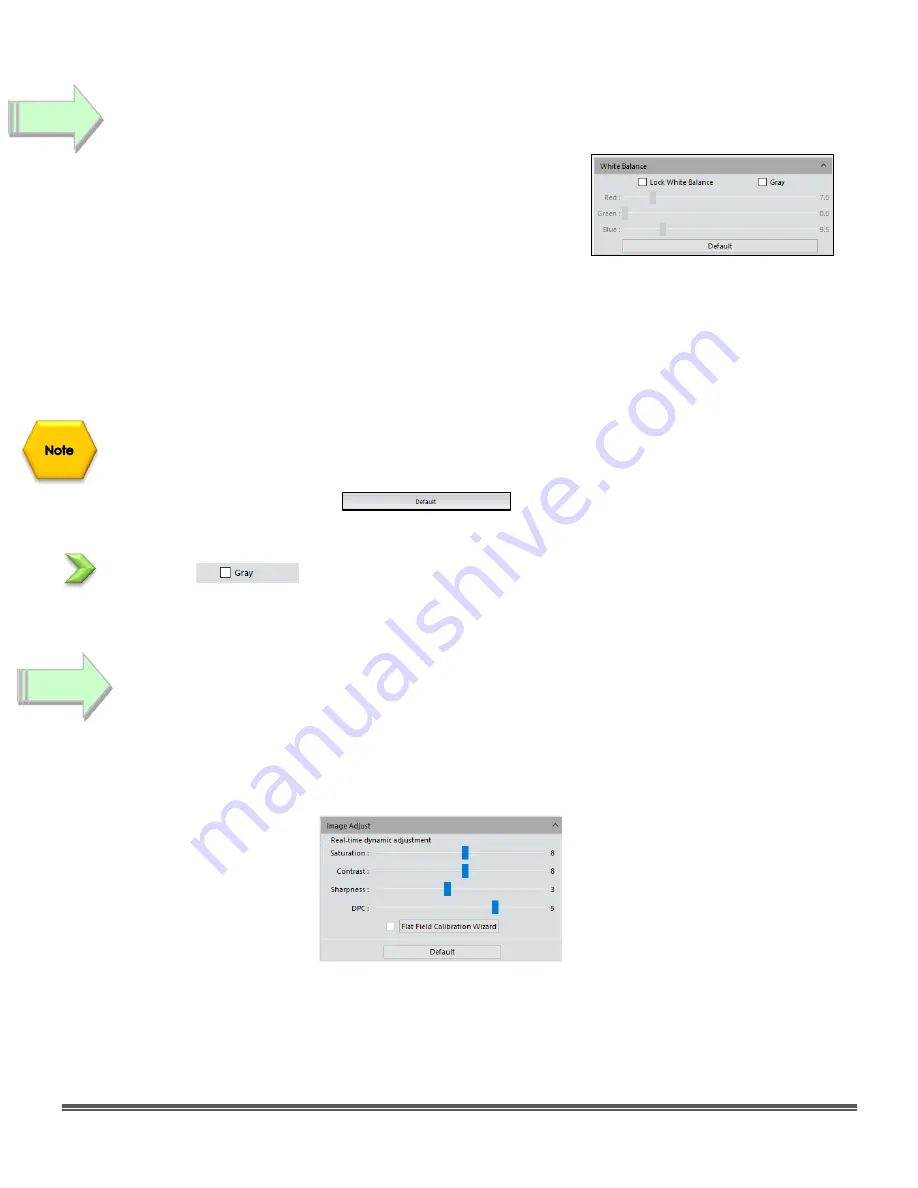
White Balance
Different planetary objects in combinations with different
sky conditions, may throw off the colour balance of the
HD-10 II. We can bring everything back to normal by
using the
White Balance
control which is located in the
Feature Tab
.
The default setting of the White Balance is
Auto-White Balance
, but you can manually adjust
the ratio of the two individual components of
Red
and
Blue
(Green is fixed at 0.0). To adjust
the values,
checkmark
the
Lock White Balance
and then use the sliders to adjust the color
ratio to the required values. Do not uncheck the Lock White Balance as this will again
activate
Auto White Balance
.
If you don’
t like the White Balance adjustments, you can go back to the default settings by
Clicking
on the
Default
button beneath the
White Balance
controls.
Gray
Check-marking
this option will convert the color image to a black and white image.
Saturation, Contrast, Sharpness, and DPC
Located in the
Image Adjust
Tab are the four controls called
Saturation
,
Contrast
,
Sharpness
and
DPC
. By using the mouse cursor,
Left-Click-Hold-and-Drag
the slider bar of each of the
Gamma
,
Contrast,
Saturation,
and
DPC
controls to produce an image that meets your
requirements.
Saturation -
Saturation is similar to contrast, however instead of increasing the separation
between shadows and highlights, we increase the separation between
colors.
Step 4
Step 3


