96
Mahr GmbH • Digimar 817 CLM
6.14.6 Correction tables
The high accuracy of the height measuring instrument
is achieved through arithmetical corrections. The
operator can create a correction table for each
channel. The correction table programmed at the
factory cannot be changed.
The correction tables are particularly useful when
implementing long probes, dial gages, caliper gages,
etc. The accuracy values specified for the height
measuring instruments are only achieved with standard
probes and their specific correction factor table.
The type of measuring instrument used is to compile to
the correction factor table plus the number of the
channel it was connected to be are saved. If a
corrected measuring instrument of this type is
connected to a different channel or if a different type of
instrument is connected to the corrected channel, the
computer in the height measuring instrument will not
perform any corrections
Two measuring instruments of the same type will
always feature different measuring errors and must
therefore be individually corrected!
If a measuring instrument of the same type is
connected to the corrected channel, the height
measuring instrument cannot recognize this and will
use the wrong correction table!
If both correction factors (customer and factory) are
active, both are marked with a star, this means that, for
example that the factory correction factor is only active
in the Z-axis and the operator correction factor is only
active for perpendicularity error.
6.14.5 Entering a password
In order to limit access to measuring programs and
measuring values, you can enter a password. Firstly,
the program will ask you for your old password. If you
have not yet entered a password, press ON/OFF key.
The message
„Enter new password“
a new password can be entered. Should this question
be repeated, then enter the „old password“.
If all users have forgotten the password, it can be
deleted, through a reset.
See point 10.2 „Initialization of the internal
memory“
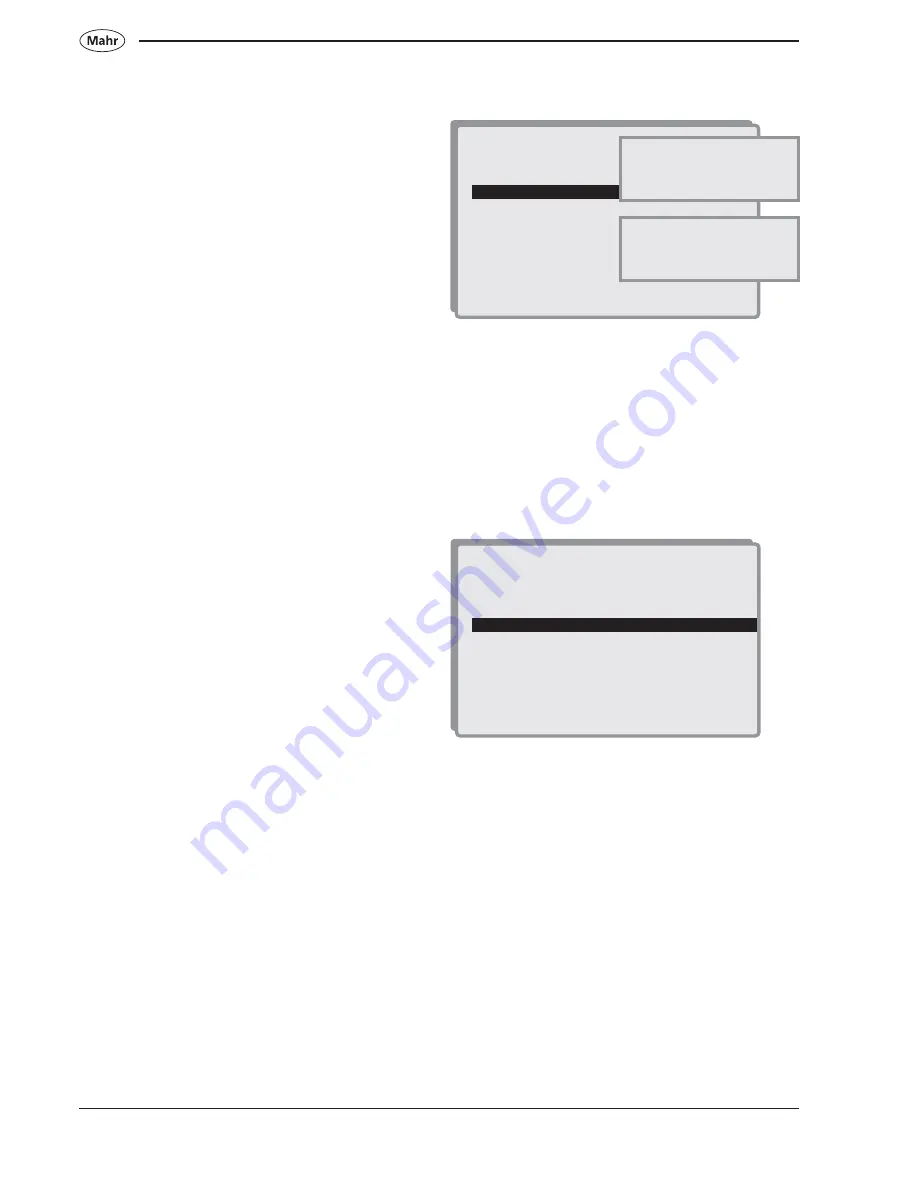
1. <-_______
2. Temperature compensation
3. Probe calibration parameters
4. Function key F3
5. Enter password
6. Correction tables
7. Clear functions menu
8. Import language from USB(USB)
Enter old password
_____________________
Enter new password
_____________________
1. <-_______
2. Temperature compensation
3. Probe calibration parameters
4. Function key F3
5. Enter password
6. Correction tables
7. Clear functions menu
8. Import language from USB
Summary of Contents for Digimar 817 CLM
Page 8: ...8 Mahr GmbH Digimar 817 CLM 1 2 Unpacking 1 2 N I C K L M O P Q...
Page 10: ...10 Mahr GmbH Digimar 817 CLM 5 350 mm 25 kg 600 mm 30 kg 1000 mm 35 kg...
Page 11: ...11 Mahr GmbH Digimar 817 CLM 6 45 7 8 90...
Page 12: ...12 Mahr GmbH Digimar 817 CLM 9 11 G H 10 12 13 M...
Page 13: ...13 Mahr GmbH Digimar 817 CLM B 3x L M 19 17 18 P D E K N 14 15 16...
Page 14: ...14 Mahr GmbH Digimar 817 CLM 100 240 V 50 60 Hz I 12 h 21 22 Euro US UK 20 23...
Page 152: ......


