

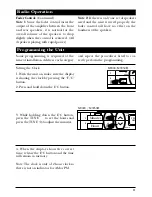
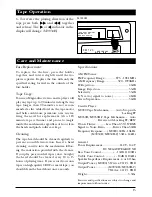

14
Tape Operation
3A. The
tape play indicator will be dis-
played in the display area. (M9000 only
)
3B. Either the
indicator or the
indi-
cator will appear in the display area.
(M9050H)
Note:
(M9050H) If the
indicator is dis-
played, the cassette side that is up will be
playing and if the
indicator is displayed,
the cassette side that is down will be play-
ing.
4A. To advance the tape forward, press
the EJ/FF button until it locks. To release
the FF button, press it in until it releases
and the tape will begin to play. (M9000
only)
4B. To fast forward the tape, press the
PROG button with the
or
arrows that match the
or
indicator
in the display. To rewind the tape, press
the PROG button with the
or
that is opposite from the
or
indica-
tor in the display. Press the button in until
it locks. To release the button, lightly
press the opposite button or the EJECT
button. (M9050H)
5A. To eject the tape from the cassette
mechanism, simply press the EJ/FF but-
ton in all the way and the tape will be
released from the mechanism. (M9000)
5B. To eject the tape from the cassette
mechanism, press the EJECT button until
the tape is released from the mechanism.
(M9050H)
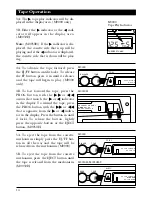
M9000
FF / EJ
TONE
BALANCE
AUTO STORAG
AUTO ST
M9050H
GE PRESET MEMORY
POWER 25 + 25
VERSE CASSETTE
FM 1 2 3
NTHESIZER TUNER
CH
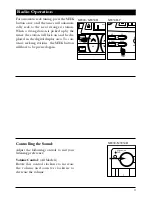
M9000
Tape Play Indicator
☛
☛
☛
M9000
FF / EJ
TONE
BALANCE
AUTO STORAGE P
AUTO STOP
☛
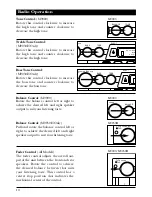
M9050H/M9050H-2
EJECT
TREB
BASS
AUTO STORAGE P
HIGH POW
AUTO REVERS
☛
M9000/M9050H/-2 08/04/00 7:58 AM Page 14


