20
CHANNEL
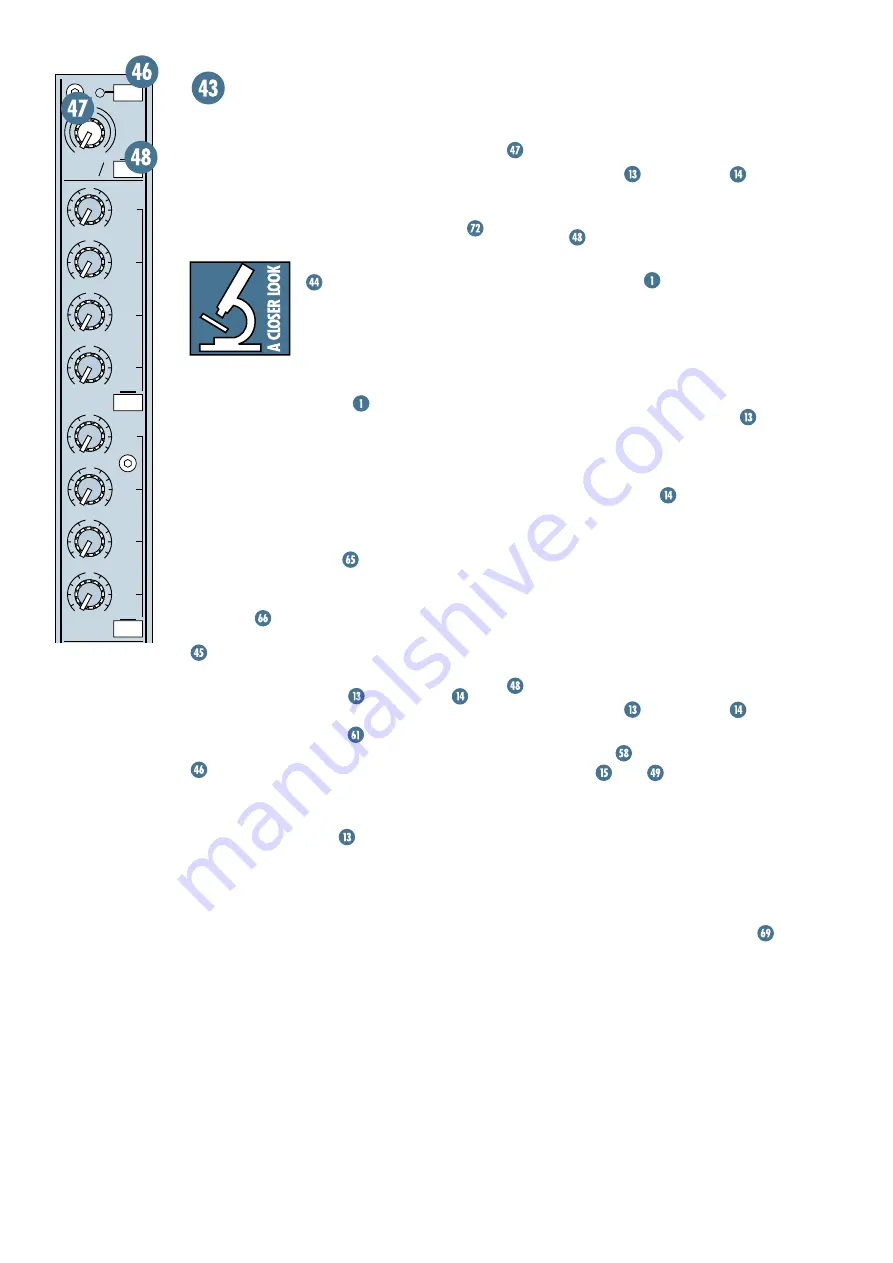
TRIM
Point Before:
MIC
and
LINE IN
jacks,
summed at mic preamp input.
Point After: Channel path, at
0/
(polarity
reversal)
switch.
Have you read the
Level-Setting Procedure
yet? If not, go to item
right now and read it
— it’s at the beginning of this manual. That
procedure is basically “How to Use the Trim
Control.” We ask that you commit that proce-
dure to memory. You’ll be glad you did — it
assures your incoming signal of being treated to
the highest headroom and lowest noise possible.
Signals entering through the
MIC
XLR
jack have unity gain (no level boost or attenu-
ation) with the knob fully down, and a 60dB
boost fully up.
Through the
LINE IN
TRS jack, there is
20dB of attenuation fully down and a 40dB boost
fully up, with a “
U
” (unity gain) mark at 9:00.
This 20dB of attenuation can be very handy
when you are inserting a signal that is very hot,
or adding a lot of
EQ
gain, or both. Without
this “virtual pad,” a scenario like this might
lead to clipping (which is an automatic 15 yard
penalty in the NFL).
Ø (POLARITY REVERSAL)
Point Before:
MIC
and
LINE IN
preamp
output.
Point After:
HPF
, Channel
INSERT SEND
and
RETURN
,
EQ
.
Engaging this switch inverts the polarity of
the incoming
MIC
or
LINE IN
signal. Although
you’ll want to start off with this switch disen-
gaged (up), there’s no right way or wrong way
to set this switch — it’s all based on which way
sounds better, especially when auditioning the
signal with its partner signals.
For instance, by engaging the
SOLO
switches on all the drum Channels, you can ex-
periment with polarity reversal of the overhead
mics, the snare drum’s underside mic, and so
forth until you hit upon the right combination
of settings.
You’ll want to make the “up” position the de-
fault setting for this switch so all the signals
will have correct polarity (also known as “in
phase”) — and only reverse the polarity of
Channels that you deem necessary.
The forty Channel strips placed on either
side of the console look alike and function
identically. They’re loaded with professional
features. Let’s start at the top of a Channel and
work our way down, but save the
AUX
send
section for later.
“U” LIKE UNITY GAIN
Mackie consoles have a
“
U
” symbol on almost every
level control. This “
U
” stands
for “unity gain,” meaning no boost or cut in sig-
nal level. Once you have performed the
Level-Setting Procedure
, you can set every
control at “
U
” and your signals will travel
through the mixer at optimal levels. What’s
more, all the labels on our controls are mea-
sured in decibels (dB), so you’ll know what
you’re doing level-wise if you choose to change
a control’s settings.
Be aware that unity gain is also reliant on
the position of the
PAN
knob. When
panned center, there will be about 4dB of at-
tenuation on each side to preserve “constant
loudness”
.
CHANNEL INPUT CONTROLS
A Channel’s input controls manipulate the
signal just after the
MIC
and
LINE IN
.
From there, a line-level signal is sent on to the
Channel output controls
.
+48 PH (PHANTOM POWER)
Point Before: 48VDC power supply for
condenser microphones.
Point After:
MIC
input
.
This one’s easy. If you have a condenser mi-
crophone plugged in, or any mic that requires
48VDC phantom power, engage this switch. If
you have a dynamic microphone, or any mic
that does not require phantom power, leave
this switch up, although it won’t do any harm if
it’s down (as long as you’re using good quality
balanced cables). The LED next to the switch
glows when the power is on.
U
O
O
+15
U
O
O
+15
U
O
O
+15
U
O
O
+15
U
O
O
+15
U
O
O
+15
U
O
O
+15
U
O
O
+15
1
2
3
5
AUX
4
8
0
6
7
TRIM
40
+48 PH
MIC
0
60
–20dB +40dB
LINE
GAIN
PRE FDR
POST EQ
PRE


