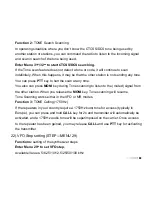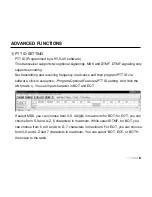
44
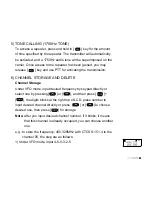
2) Press [ ] + [ ][ ] or press [ ] + [ ], then press
[ ] to enter
3) Press [ ] to choose CTCSS mode, LCD displays C-CDC 67.0
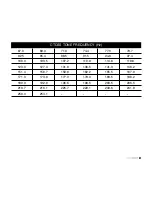
4) Press [ ] or [ ] to choose 154.1, then press [ ] to confirm
5) Press [ ] twice to exit
6) Press [ ] + [ ], the digit blinks at the right top of LCD
7) Press [ ] or [ ] to choose or input 05 directly
8) Press [ ] for storage, LCD displays MR mode and currently
stored channel
Channel delete
1) Under MR or CH mode, press [ ] to turn on the radio, LCD
displays
"DEL ?"
and channel number blinks at the right top of
LCD.
2) Press [ ] or [ ] or input channel number you want to
delete, then press [ ] to confirm
3) After delete, it will skip into next channel, if you want to delete it,
repeat above operation.
45
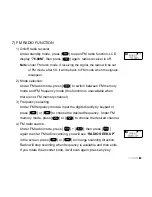
FM RADIO FUNCTION
1) On/off radio receiver
Under standby mode, press [ ] to open FM radio function, LCD
display “
76.00M
”, then press [ ] again, radios receiver is off.
Note:
under FM radio mode, if receiving the signal, the radio will be out
of FM mode, after 5S, it will be back to FM mode when the signals
disappear.
2) Mode selection:
Under FM radio mode, press [ ] to switch between FM memory
mode and FM frequency mode (this function is unavailable when
there is not FM memory channel)
3) Frequency selecting
Under FM frequency modae, input the digits directly by keypad or
press [ ] or [ ] to choose the desired frequency. Under FM
memory mode, press [ ] or [ ] to choose the desired channel.
4) FM radio search:
Under FM radio mode, press [ ] + [ ], then press [ ]
again to enter FM radio scanning, you will see “
RADIO SEEK.UP
”
in the screen, press [ ] or [ ] to change scanning direction.
Radio will stop scanning when frequency is available and then exits.
If you rotate the encoder knob, it will scan again; press any key
7)
Summary of Contents for AHT-9-UV
Page 2: ......
Page 4: ......
Page 6: ......
Page 7: ...Professional FM Transceiver User s Manual USING TIPS UNPACKING AND CHECKING EQUIPMENT...
Page 8: ......
Page 10: ......
Page 11: ...05 05 AHT 9 UV 1500 7 4V CHARGING BATTERY PACK Charging Precaution...
Page 12: ......
Page 14: ......
Page 15: ...09 Picture 5 Picture 6 Installing Belt Clip PUSH PUSH...
Page 16: ......
Page 17: ...Professional FM Transceiver User s Manual GETTING FAMILIAR...
Page 18: ......
Page 20: ......
Page 22: ......
Page 24: ......
Page 26: ......
Page 28: ......
Page 30: ......
Page 32: ......
Page 34: ......
Page 36: ......
Page 38: ......
Page 40: ......
Page 42: ......
Page 44: ......
Page 46: ......
Page 48: ......
Page 50: ......
Page 52: ......
Page 54: ......
Page 56: ......
Page 58: ......
Page 60: ......
Page 62: ......
Page 64: ......
Page 66: ......
Page 68: ......
Page 70: ......
Page 72: ......

