35
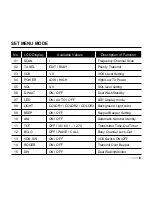
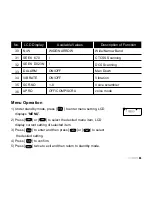
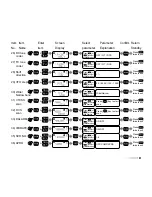
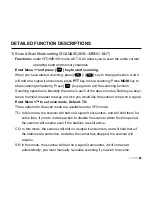
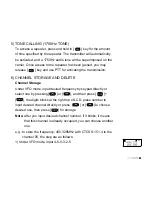
18) Power-on Display setting (OPN.SET&VLT&PON.MSG---MENU 20&21&22)
Functions:
choose power-on display mode and edit power-on message
Enter Menu 20
th
to set OPN.SET. Default: OFF.
OFF: display model version
DC: battery power voltage
MSG: power-on message
Enter Menu 21
st
to check battery voltage.
Enter Menu 22
nd
to edit power-on message, also you can edit it directly by
program software.
Using [ ] / [ ] to select character; [ ] / [ ] to switch cursor position.
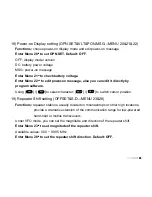
19) Repeater Shift setting (OFFSET&S-D---MENU 23&28)
Functions:
repeater stations, usually located on mountaintops or other high locations,
provide a dramatic extension of the communication range for low-powered
hand-held or mobile transceivers.
Under VFO mode, you can set the magnitude and direction of the repeater shift.
Enter Menu 23
rd
to set magnitude of the repeater shift.
Available values: 0.00 ~ 99.95 MHz
Enter Menu 28
th
to set the repeater shift direction. Default: OFF.
34
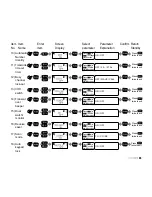
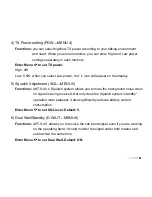
14) Dual Watch/Monitor (DW---MENU 15)
Functions:
Dual Watch feature makes AHT-9-UV can monitor the calling signal when
FM radio is on and you won’t miss any calling.
Enter Menu 15
th
to set DW. Default: OFF.
15) Receive Saver (RX.SAV---MENU 16)
Functions:
this feature significantly reduces quiescent battery drain, and you may not
receive the full data burst.
Enter Menu 16
th
to set RX.SAV. Default: OFF.
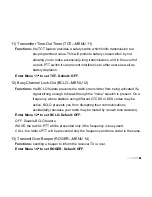
16) Auto Keypad Lock (AUTOLK---MENU 18)
Functions:
in order to prevent accidental frequency change or inadvertent transmission,
various aspects of the AHT-9-UV’s keys and switches may be locked out.
Enter Menu 18
th
to set AUTOLK. Default: OFF.
When you switch AUTOLK ON, the keypad will be locked automatically if there is no key
operation for 5 second.
If the radio is locked, press [ ] key to unlock it. Also you can lock it using [ ] key
by manual.
17) Voice Prompt (VOICE---MENU 19)
Functions:
enable/disable voice prompt.
Enter Menu 19
th
to set VOICE. Default: ON.
Summary of Contents for AHT-9-UV
Page 2: ......
Page 4: ......
Page 6: ......
Page 7: ...Professional FM Transceiver User s Manual USING TIPS UNPACKING AND CHECKING EQUIPMENT...
Page 8: ......
Page 10: ......
Page 11: ...05 05 AHT 9 UV 1500 7 4V CHARGING BATTERY PACK Charging Precaution...
Page 12: ......
Page 14: ......
Page 15: ...09 Picture 5 Picture 6 Installing Belt Clip PUSH PUSH...
Page 16: ......
Page 17: ...Professional FM Transceiver User s Manual GETTING FAMILIAR...
Page 18: ......
Page 20: ......
Page 22: ......
Page 24: ......
Page 26: ......
Page 28: ......
Page 30: ......
Page 32: ......
Page 34: ......
Page 36: ......
Page 38: ......
Page 40: ......
Page 42: ......
Page 44: ......
Page 46: ......
Page 48: ......
Page 50: ......
Page 52: ......
Page 54: ......
Page 56: ......
Page 58: ......
Page 60: ......
Page 62: ......
Page 64: ......
Page 66: ......
Page 68: ......
Page 70: ......
Page 72: ......


