Page 35 of 44
©2018 Lytx, Inc. - Confidential & Proprietary.
Remote Push Button Installation Procedures
NOTE: If the installation includes a Remote Push Button AND the brake needs to be
hard-wired in the device installation, an additional auxiliary cable is required for install-
ation. Please contact your Lytx representative for more details.
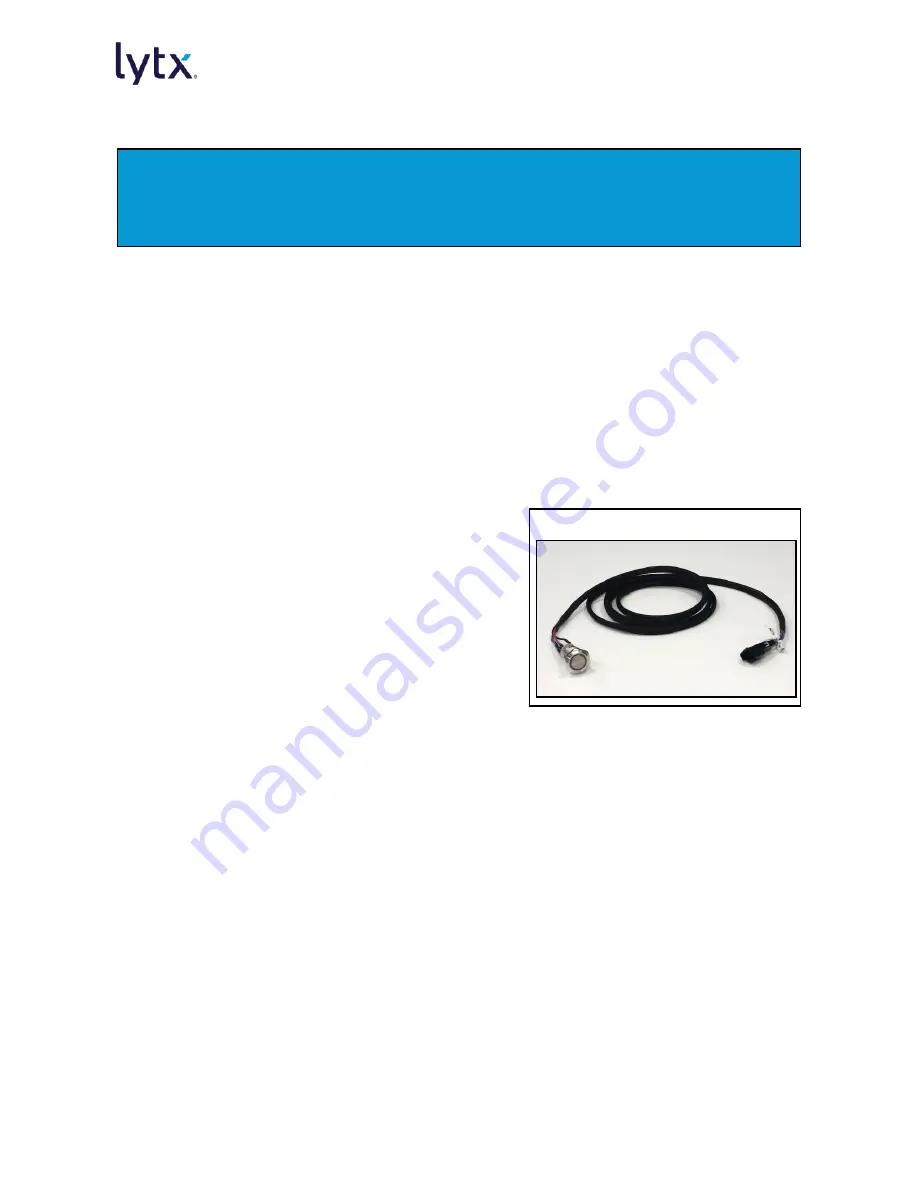
Optionally, you may purchase and install the Remote Push Button for added functionality.
The Remote Push Button allows drivers to manually record events using a push-button
switch mounted in an easy-to-reach location, such as the dashboard. This is useful for
drivers of larger vehicles in which the ER-SV2 event recorder is positioned out of reach of
the driver's seat, preventing them from easily pushing one of the manual record buttons on
the event recorder when seated in the driver's seat.
Installation of the Remote Push Button contains the following subsections:
1. Mount the Remote Push Button
2. Assign the Input in the Lytx Installation Tool
For Standard size:
Materials
Provided:
l
Remote Push Button - Standard
NOT provided: Hole saw or stepped cone cutter
Mount the Remote Push Button
1. Find a suitable mounting location for the button:
a. Standard size: The location must be within a fixed panel with space for a 0.75-
inch hole. There must be 2.75 inches of clearance behind the panel.
b. The location should allow the driver to easily push the button while seated in the
driver's seat.
c. The button should not be placed where the driver may accidentally push the
button.
2. Using a hole saw/stepped cone cutter, drill a hole into the panel.
3. Bring the Remote Push Button assembly through the hole and connect it to the Vehicle
Interface Cable. Refer to the "Electrical Connection Overview Diagram" on page 19.
4. Mount the button into the hole. Secure it from the inside with the hex nut.


