background image

6

OVERVIEW OF PARENT UNIT (MONITOR)

1. 

Coloured LEDs 

The green LED indicates that the monitor is switched on. The green/red 

LEDs indicate the volume level of the camera (from low to high).

2. 

Microphone 

Recieves sound from the area around the parent unit and transmits it to the 

baby unit. This will only happen when the Talk back button is pressed. 

3. 

Play/Stop button

 Press this button to start or stop the baby unit playing a lullaby.

4. 

Next button 

Play the next lullaby. There are three different lullabies available.

5. 

Zoom 

The video can be set at normal or double size by pressing the zoom button. When 

the video is in double size mode, the         buttons can be used to view the parts 
outside the parent unit screen. Press the zoom button again to return to normal size. In the 
double size mode 2x is displayed at the top of the screen. 
 

Note:


There is no sound in the zoom mode. Exit the zoom mode to restore the sound. 


6. 

Left (A) button 

Press left   (A) to automatically switch between multiple cameras. The 

screen changes channel every 3 seconds. Use in a menu to move your selection to the left

7. 

Down (-) button 

Press down   (-) to decrease the volume. Use in a menu to move your 

selection down.

8. 

OK button 

To confirm your selection in a menu press OK. 

9. 

Up (+) button 

Press up   (+) to increase the volume. Use in a menu to move your selection 

up. 

10. 

Right (M) button 

Press right   (M) to switch manually between multiple cameras. Use in a 

menu to move your selection to the right.

11. 

Menu button   

Press this button to enter the main menu. Press menu again to exit the menu.

12. 

LCD screen 

Displays the video from the baby unit. 

13. 

Talk button 

Press this button to speak through the baby unit. The 

 icon will then be 

displayed on screen. When multiple baby units are used, you will speak through the unit 
currently being displayed on the screen.

14. 

Antenna 

Recieves the video and sound from the baby unit. 

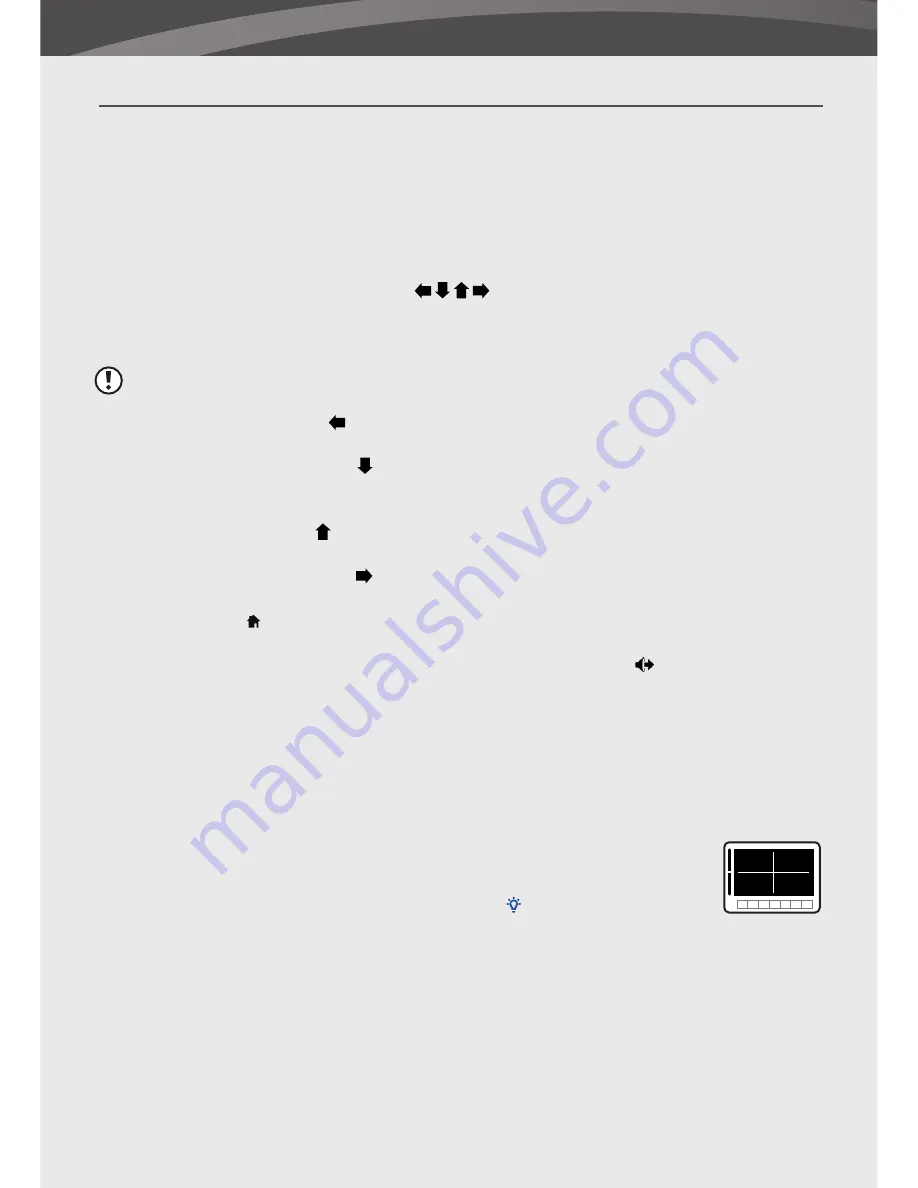
15. 

Quad button 

Press this button to display the video of all 4 cameras simultaneously. Press 

the button again to exit the Quad mode. In the Quad mode, the screen displays cam 1, cam 
2, cam 3 and cam 4 for each channel. When there is no signal from the baby unit or the 
signal is too weak the screen will display “out of range” on the corresponding channel.

16. 

Nightlight button 

Press this button to remotely turn on/off the night 

light on the baby unit (when multiple baby units are used the nighlight 
of the unit currentlly being displayed on the screen will be turned on/
off). When the nightlight is on, an indication icon   will be displayed on 
the screen.

17. 

VID OFF button 

Press the video button to switch to the sound only mode. In this mode 

the screen is turned off. Press the button again to return from the sound only mode to the 
sound and video mode.


18. 

Scan button 

When this button is pressed, the screen is turned off. During this time the 

parent unit will continuously scan the baby unit (or multiple baby units). When a sound is 
detected, the parent unit will become active. The screen is turned back on, now you can 
see what happens in the baby room. You can adjust the sound sensitivity for this detection 
with the rotary knob at the side of the camera. After the parent unit has detected sound 
it will take about 5 seconds to switch back to the scan mode. Except when the sound is 

1

3

2

4

Summary of Contents for PRESTIGE TOUCH

Page 1: ...1 LUVION Premium Babyproducts INSTRUCTION MANUAL HANDLEIDING P R E S T I G E T O U C H...

Page 2: ...user manual provides you with all information necessary for a safe and easy use of this baby monitor Before using the Luvion Prestige Touch we ask you to thoroughly read this user manual We ask for yo...

Page 3: ...rgable batteries To avoid damage to the batteries please do not expose the baby monitor to temperatures higher than 40 C Please remove the optional batteries from the baby unit if you do not use the p...

Page 4: ...4 OVERVIEW OF PARENT UNIT MONITOR Front view Back view 3 4 5 6 7 8 9 10 11 2 12 1 15 22 23 14 13 16 17 18 20 21 19 25 24 MIC...

Page 5: ...5 LUVION Premium Babyproducts 5 6 4 11 2 1 7 3 8 9 10 OVERVIEW OF BABY UNIT CAMERA Side view Side view Back view Front view 5 12...

Page 6: ...he menu 12 LCD screen Displays the video from the baby unit 13 Talk button Press this button to speak through the baby unit The icon will then be displayed on screen When multiple baby units are used...

Page 7: ...a antenna Sends and recieves signals to from the parent unit 4 Lens Infrared light These LEDs are automatically activated when the room gets darker and enable you to monitor the baby under no low ligh...

Page 8: ...arent unit Note The use of the AV output is for convenience only When it is used in combination with a large screen TV or PC monitor the video might be grainy as the camera limits the video resolution...

Page 9: ...t no more than 3 meters away from the baby The baby unit can be powered by the included power adapter or by 4AA batteries not included Power adapter Connect the DC 5V power adapter to the DC 5V input...

Page 10: ...the screen of the parent unit will be black and display the warning message Out of Range Try bringing the parent and baby units closer together to restore the video Note If this does not help try pai...

Page 11: ...ver It is also possible to reset the parent unit to default factory settings PAIRING The system comes with a baby unit that has already been paired with the parent unit The pairing function gives each...

Page 12: ...nus 1 Temperature alert 3 A V Out 2 Temperature Display 4 Screensaver 5 Default 1 Temperature Alert You can use this menu to set the temperature range of the temperature alert When the temperature is...

Page 13: ...system You can select one to display it on the screen of the parent unit in SCAN mode Or you can select Blank screen to make the screen black in SCAN mode 5 Default Select Yes to reset the parent unit...

Page 14: ...button to enter the Pairing menu 4 Select a channel using the buttons Press OK to accept the channel 5 A message will be displayed on the parent unit screen The parent unit will count down from 30 to...

Page 15: ...video may become choppy when a lower frame rate is experienced i e 10 frames per second instead of 20 frames per second 1 Try moving the baby unit closer to the parent unit 2 Remove obstructions betw...

Page 16: ...Image resolution frame rate H 640 V 480 30FPS Max AES On 1 2000 1 20 sec White balance Yes AGC Range On 0dB 24dB Lens 4 9mm F2 8 Viewing angle diagonal 60 Minimum illumination 2 5 LUX IR Off 0 LUX IR...

Page 17: ...ie vind u op www luvion com Deze handleiding verzorgt alle nodige informatie om veilig en met plezier gebruik te kunnen maken van deze Luvion Prestige Touch babyfoon Voordat u de babyfoon gebruikt adv...

Page 18: ...t plaatst zorg er dan voor dat de adapter niet is aangesloten De babyunit heeft geen oplaadfunctie Om schade aan de batterijen te voorkomen adviseren wij u de babyfoon niet bloot te stellen aan temper...

Page 19: ...19 LUVION Premium Babyproducts OVERZICHT VAN DE OUDER UNIT MONITOR Vooraanzicht Achteraanzicht 3 4 5 6 7 8 9 10 11 2 12 1 15 22 23 14 13 16 17 18 20 21 19 25 24 MIC...

Page 20: ...20 5 6 4 11 2 1 7 3 8 9 10 OVERZICHT VAN DE BABY UNIT CAMERA Zijaanzicht Zijaanzicht Achteraanzicht Vooraanzicht 5 12...

Page 21: ...volume te verhogen Gebruik de knop in het menu om uw selectie naar boven te verplaatsen 10 Rechts M knop Druk rechts M om handmatig te schakelen tussen meerdere camera s Gebruik de knop in het menu om...

Page 22: ...hikte Luvion accu 24 DC in Hiermee kunt u de monitor via de voedingsadapter opladen 25 On Off knop Hiermee kunt u de monitor aan en uitzetten OVERZICHT VAN DE BABY UNIT CAMERA 1 Temperatuur sensor Mee...

Page 23: ...unit op en groter scherm wenst te zien dan kunt u de bijgesloten AV kabel aansluiten op een TV of PC monitor Verbind de Video IN geel en de Audio IN wit stekkers met de TV monitor en sluit de andere...

Page 24: ...f direct zonlicht 3 Richt de camera van de baby unit op het gebied dat u wilt monitoren Plaats de camera niet verder dan 3 meter van de baby voor een goede gevoeligheid De baby unit kan zowel worden g...

Page 25: ...it zich te ver van de ouder unit bevindt dan zal de waarschuwingsboodschap Out Of Range op het beeldscherm van de ouder unit verschijnen en begint het beeld te knipperen Op het moment dat de ouder uni...

Page 26: ...Het systeem wordt geleverd met een baby unit die al gepaired is met de ouder unit De pairing functie geeft iedere baby unit een apart kanaal op de ouder unit maximaal 4 baby units per ouder unit dit...

Page 27: ...passen door NO te selecteren SETTINGS Het Settings menu bevat 6 submenu s 1 Temperature alert 3 A V Out 2 Temperature Display 4 Screensaver 5 Default 1 Temperature Alert Dit menu kunt u gebruiken om h...

Page 28: ...Out Met dit menu kunt u het TV systeem dat u gebruikt om de beelden van de baby unit te bekijken instellen U heeft de keuze uit NTSC en PAL 4 Screensaver Vier afbeeldingen zijn opgeslagen in het syst...

Page 29: ...m het Pairing menu te openen 4 Selecteer een kanaal door op het knopjes te drukken Druk op OK om het kanaal te accepteren 5 Op het beeldscherm zal een boodschap verschijnen De ouder unit zal aftellen...

Page 30: ...s schokkerig Het beeld kan schokkerig worden wanneer er een lagere framerate is bijvoorbeeld 10 frames per seconde in plaats van 20 frames per seconde 1 Probeer de ouder unit en de baby unit dichter b...

Page 31: ...Beeldresolutie Frame rate H 640 V 480 30FPS Max AES On 1 2000 1 20 sec Wit balans Auto AGC Bereik On 0dB 24dB Lens 4 9mm F2 8 Kijkhoek diagonaal 60 Minimum lichtintensiteit 2 5 LUX IR Off 0 LUX IR On...

Reviews: