QS Timeclock Installation and Operation Guide 18
®
Timeclock Operation
(continued)
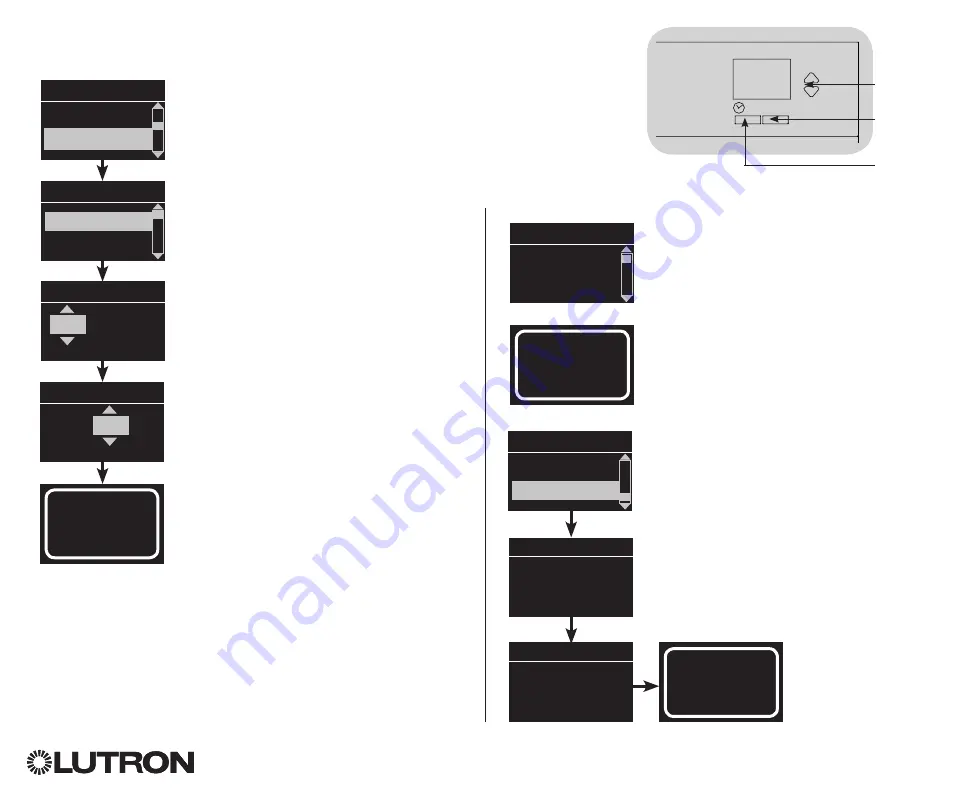
Setting a Holiday
1. Enter programming mode.
2. Use the Master buttons to highlight
“Timeclock” and press the OK button
to accept.
3. Use the Master buttons to highlight
“Holiday” and press the OK button to
accept.
4. Use the Master buttons to highlight
“Set holiday” and press the OK button
to accept.
5. Use the Master buttons to highlight
the month of the holiday and press the
OK button to accept. Repeat for the
date.
6. The info screen will confirm that your
holiday has been set.
7. Exit programming mode.
Note:
The QS Timeclock supports up
to 25 unique holidays. Follow the
steps in “Adding an Event” to
add Holiday timeclock events.
Timeclock
Delete schedule
Holiday
Add event
View holiday
Set holiday
Holiday
Set holiday
1/25
1
Feb
Monday
Set holiday
1/25
Feb
14
Deleting a Holiday
1. Enter programming mode, select
“Timeclock,” select “Holiday,” and
select “Delete holiday”.
2. Use the Master buttons to highlight the
holiday you wish to delete (or delete all
holidays) and press the OK button to
accept.
3. Press the OK button to delete the
selected holiday. The info screen
will confirm that your holiday has
been deleted.
4. Exit programming mode.
Holiday
View holiday
Delete holiday
Monday
Saved
Deleted
Viewing a Holiday
1. Enter programming mode, select
“Timeclock,” select “Holiday,” and select
“View holiday”.
2. Use the Master buttons to scroll through
the dates of the programmed holidays.
3. If no holidays are programmed, the
info screen will display a screen
informing you.
4. Exit programming mode.
View Holiday
1/25
Feb 14
Monday
No Holidays
OR
Delete holiday
1/2
Feb 14
Delete holiday
1/2
Delete?
OK
1
2
3
4
5
6
Master
buttons
OK
button
Timeclock
(back) button


