114
Appendix E: DDNS Setup (Advanced)
4
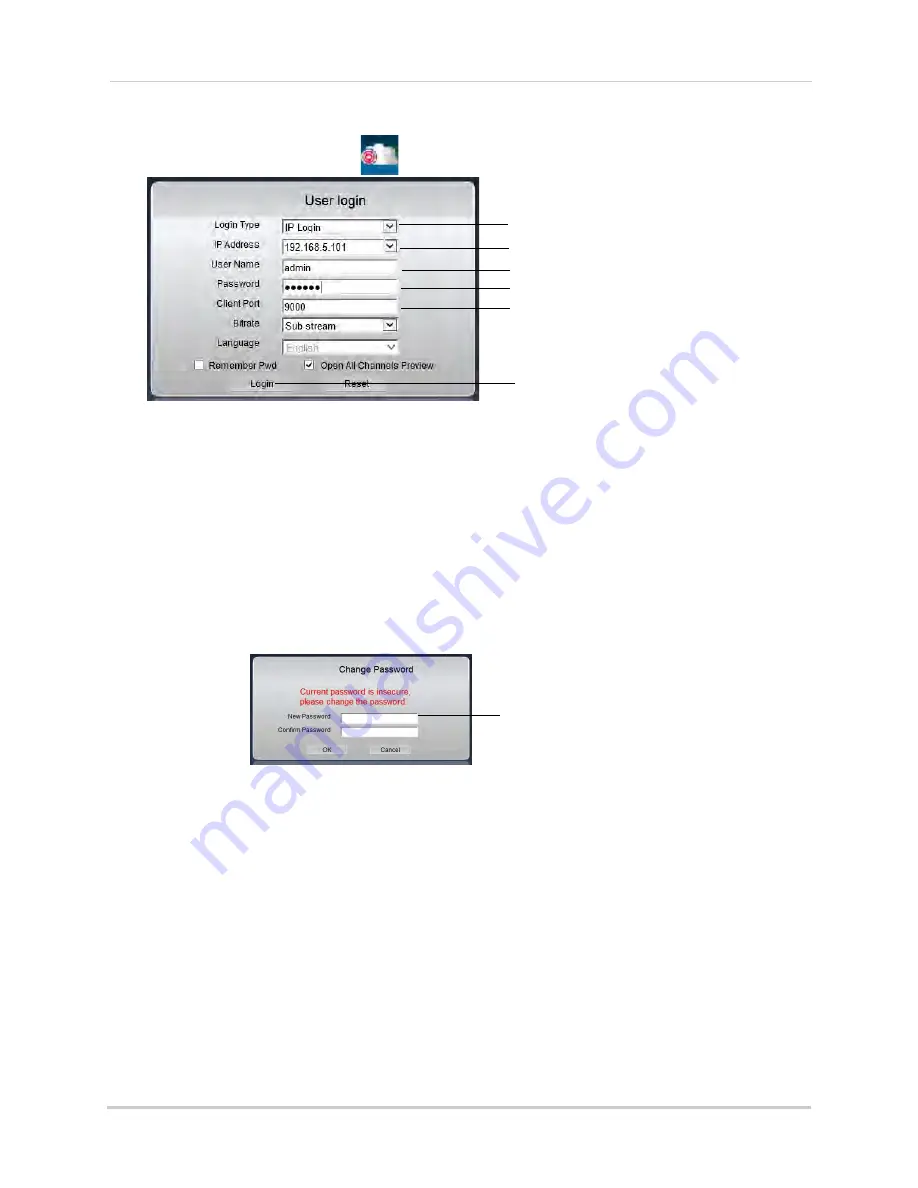
Open the Lorex Stratus Client (
) from the Applications list.
Select IP Login
Enter IP address
Enter User Name (default:
admin
)
Enter Password (default:
000000
)
Enter Client Port (default:
9000
)
Click Login
5
Under
Login Type
, select
IP Login
.
6
Under
IP Address
, enter the
DVR’s IP Address
(e.g.
192.168.0.100
).
7
Under
User Name
, enter the DVR’s
user name
(default:
admin
).
8
Under
Password
, enter the DVR’s
password
(default:
000000
).
9
Under
Client Port
, enter the DVR’s
Client Port
(default:
9000
).
10
Click
Login
.
• If this is the first time connecting to your system, you will be prompted to change the password.
Enter the new password and click
OK
.
Enter the new password
and click OK
• Enter the new password in the login screen and click
Login
to connect to the DVR.
DDNS Setup—Access your DVR Remotely over the Internet
Setting up DDNS connectivity allows you to view your DVR from any computer or
compatible mobile device with Internet access.
NOTE:
Except where noted, the instructions below are the same for PC and Mac.
To set up remote connectivity with your DVR, you must:
1
Port forward the HTTP and Client ports
(default:
80 and 9000
) on your router to your DVR’s IP
address.
2
Create a DDNS account.
3
Enable DDNS on the DVR.
4
Test the remote connection by entering your DDNS address in a web browser.
Summary of Contents for LHD200
Page 16: ...xiv ...


