Lucetta™ 2 Luminometer Manual –
Bioscience Solutions
9
4.0 Lucetta™ 2 Luminometer
Operation
4.1 Menu
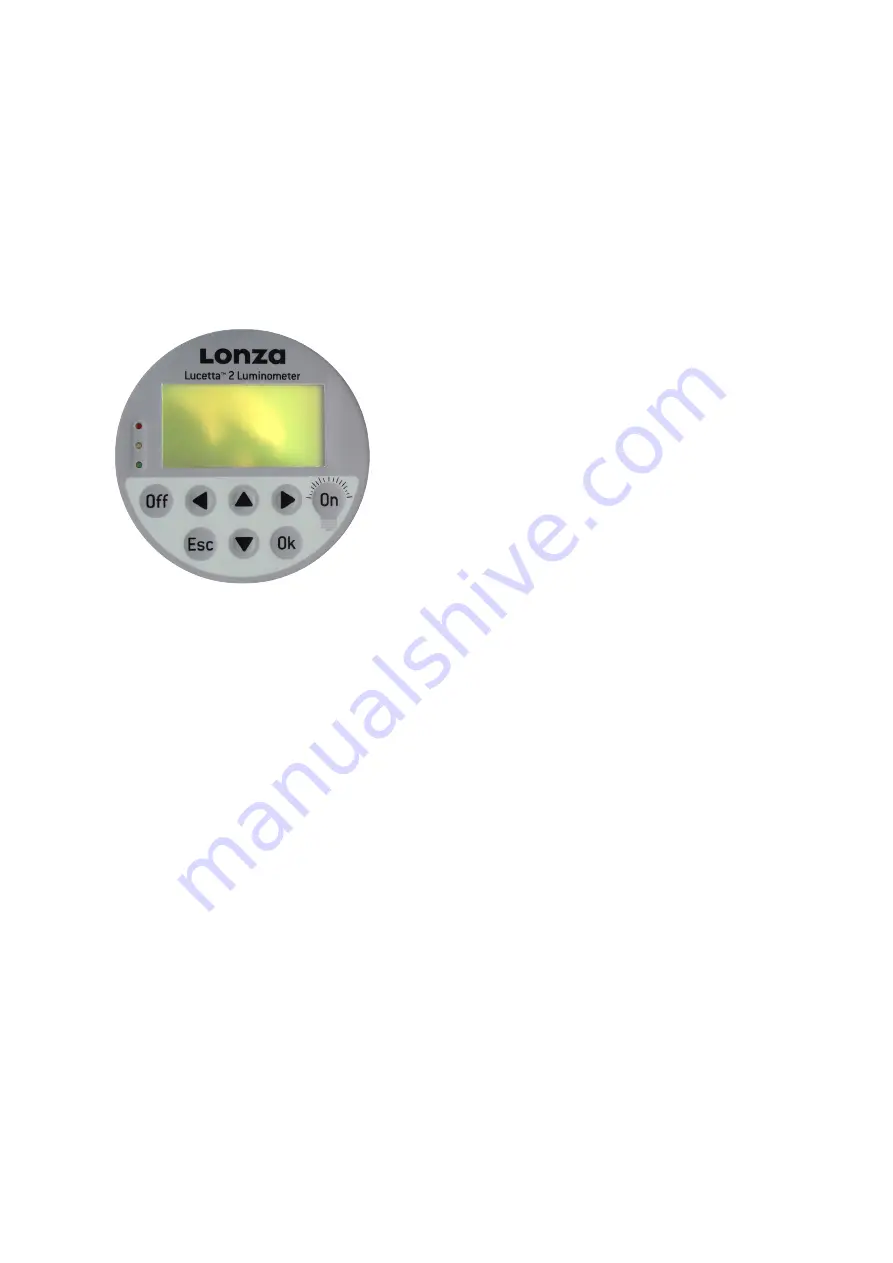
On the front face of the Lucetta™ 2 Luminometer is an LCD display
showing the menus, the measurement parameters, and the
measurement results. To open a submenu from the main menu (Figure
4) move the gray select bar up and down by using the two arrow
buttons
. Once at the desired position, press OK to activate that
choice.
Figure 4. Main menu of the Lucetta™ 2 Luminometer.
“
Run MycoAlert PLUS
” or “
Run MycoAlert”
will take you to the programs
for the MycoAlert™ PLUS or MycoAlert™ Mycoplasma Detection Assay,
respectively. From here, the MycoAlert™ PLUS/ MycoAlert™ Assay can
be performed and the contamination status of cells be determined.
“
Run Single Read
” will take you to the single read programs. These
6 customizable programs can be used to perform the ViaLight™ Cell
Proliferation and Cytotoxicity Assay or the ToxiLight™ Cytotoxicity
Assay.
“
Results
” will allow you to view stored data and upload the data from
selected runs to your PC via the integral USB port on the rear side.
“
Settings
” opens a submenu that allows you to change date/time,
review the instrument information and adapt Single Read parameters.
End user settings can be protected with a password here. The submenu
“MycoAlert Settings” is only accessible by Lonza personnel.
4.2 MycoAlert™ PLUS/ MycoAlert™ Run
Select the correct program for the assay you want to run as
interpretation of the results is slightly different. For a detailed
description of the assay steps, please refer to the MycoAlert™ PLUS/
MycoAlert™ Assay Instructions.
1. Turn on the instrument by pressing the ON button.
2. Use arrow buttons
to select RUN MYCOALERT PLUS when
running a MycoAlert™ PLUS Mycoplasma Detection Assay or
RUN MYCOALERT when running a MycoAlert™ PLUS Mycoplasma
Detection Assay, respectively. Press OK.
Note
Pressing ESC in any of the process related screens will exit the
measurement process and bring you back to the start screen. Do not
press ESC unless you really want to exit the measurement cycle.
3. Enter the number of samples (1–99) by using arrow buttons
to select the digit you want to change. Use arrow buttons
to select a number from 0 to 9. Press OK. The instrument
will first perform reading A for all samples and then continue with
reading B for all samples. For convenient handling of incubation
times we recommend a maximum number of five samples in one
run.
4. Follow instructions to add MycoAlert™ PLUS or MycoAlert™
Reagent to the samples. Press OK when completed. This will start
the automatic countdown for the required incubation time of
5 minutes.
5. Wait for the instrument to beep and then press OK to continue.
Note
You can abort the automatic countdown by pressing arrow button
. You are prompted to confirm your decision by pressing the arrow
button
and OK. This will access the next screen and allow you to
time the incubation manually.
6. Open the black lid of the Lucetta™ 2 Luminometer and insert
the first sample vial. Upon closing the lid the measurement
automatically starts with reading A. The measured value in RLU
will appear on the display.
7. Press OK to continue with the next sample.
8. After reading A is finished for all samples press OK to continue.
Add the MycoAlert™ Substrate to all samples and press OK when
completed. Again, this will start the automatic countdown for the
required incubation time of 10 minutes.
9. Wait for the instrument to beep and then press OK to continue.
Note
You can abort the automatic countdown by pressing arrow button
. You are prompted to confirm your decision by pressing the arrow
button
and OK. This will access the next screen and allow you to
time the incubation manually.
10. Open the lid of the Lucetta™ 2 Luminometer and insert the first
sample vial. Upon closing the lid, the measurement automatically
begins with reading B. The measured value in RLU will appear on
the display.
11. Press OK to continue with the next sample.
12. After reading B is finished for all samples, press OK. The
complete results for all samples will be displayed (starting with
sample no.1) including the individual RLU readings A and B, the
calculated B/A ratio and the contamination status (Figure 5).
13. Pressing the arrow buttons
allows you to switch back and
forth between the sample results.
14. Results are classified as CLEAN, BORDERLINE or CONTAMINATED
according to the values shown below. Classification is
indicated by 3 LEDs: green = clean, yellow = borderline, red =
contaminated.
MAIN MENU
Run MycoAlert PLUS
Run MycoAlert
Run Single Read
Results
Settings
Summary of Contents for Lucetta 2
Page 1: ...Bioscience Solutions Lucetta 2 Luminometer Manual...
Page 2: ......


