Linddana A/S
. Ølholm Bygade 70 . DK-7160 Tørring . T +45 75 80 52 00 . [email protected] . www.linddana.com
Brugsanvisning: TP 230 fra dato 02.11.2015 ©Copyright 2008
17
8.3.2
Knives
The machine is equipped with three knives.
The knives must always be replaced as a set. The knives form a set and should be sharpened so
that they are always of equal width. If the knives are not the same width, the rotor will not be
balanced, which will cause unnecessary strain on the bearings and vibrations throughout the
machine.
What to do:
Stop the machine and turn off any power. Loosen the bolts holding the two sections of the rotor
housing together and open the rotor housing.
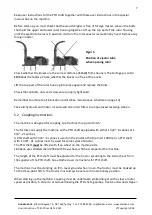
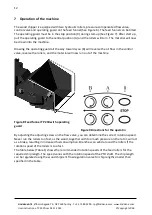
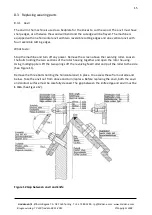
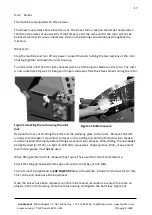
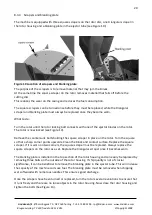
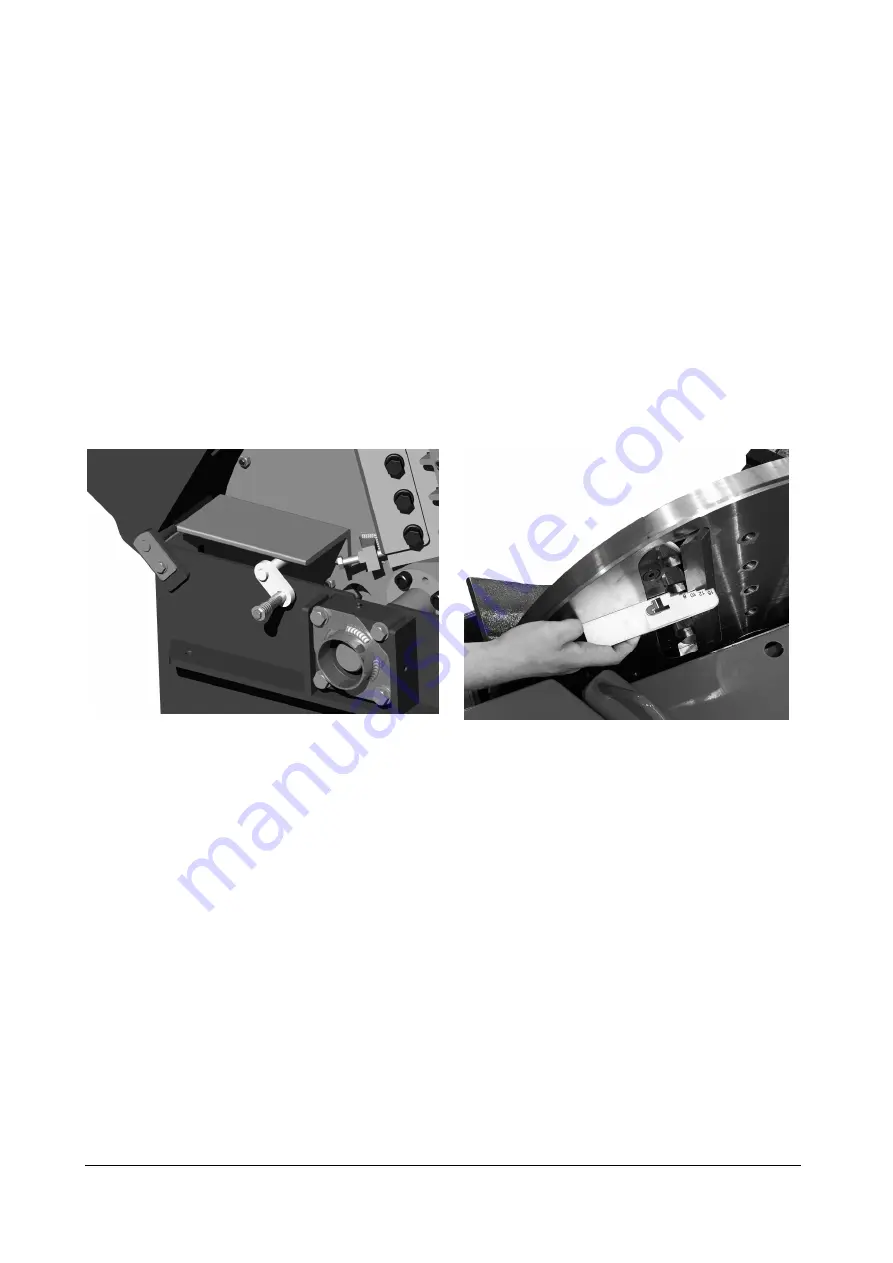
Turn the rotor until the rotor lock connects with one of the ejector blades on the rotor. The rotor
is now locked
(see Figure 14). Keep your fingers well away from the knives when turning the rotor.
Figure 14 Locking the rotor using the rotor
lock
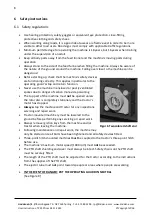
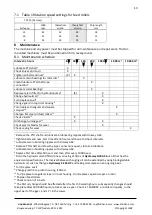
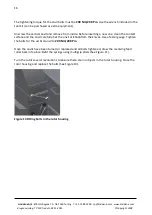
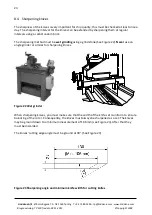
Figure 15 Knife measure
Remove the four nuts holding the knife and the clamping plate to the rotor. Remove the knife
and any sliver breaker. The contact surfaces on the cutting disc and the knife and sliver breaker
must be cleaned thoroughly before fitting knives and sliver breaker. When fitting, the nuts
must
be lightly oiled (
m
=0.125), i.e. light oil, WD 40 or equivalent. Copper grease, MoS
2
or equivalent
low-friction grease must
not
be used.
When fitting knifes the knife measure (See Figure 15) is used for correct knife distance.
Check that the gap between knife edge and anvil is correctly set to
1 mm
.
The nuts must be tightened to
200 Nm/20 KPm
. Use the wrench, included in the tool kit, for this.
This can be purchased as extra equipment.
Once the knives have been replaced, turn the rotor several revolutions to ensure there are no
objects in the rotor housing. Close the rotor housing and tighten the bolts (See Figure 12).

