


11
Installation instructions
Plexus
We reserve the right to make changes
2019-06-20
lindab | we simplify construction
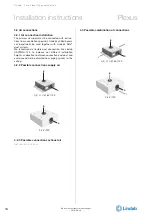
• After removing the protection cover, make sure that the pipe is intact and undamaged, especially at the pipe end, as
even small dents and scratches potentially pose a risk of leakage in the system.
• Eventually deburr the pipe ends on the inside and the outside, using a deburring tool before installation.
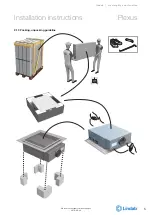
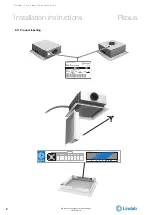
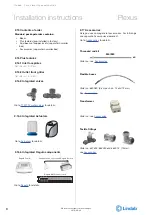
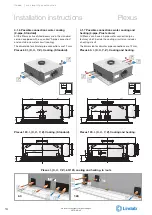
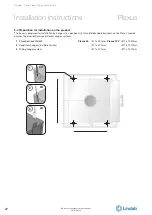
4 Connections
4.1. Water connections
Flow indication arrows are shown on the inlet and return pipes in order to assist the installer.
If the beam has been ordered with integrated valves, a special direction of the flow must be upheld to ensure correct flow
through the thermostatic valve. Please note the flow direction indicator on the valve to insure correct installation in relation
to the desired flow.
When connecting a panel or a beam with the piping system either a push-on fitting or a compression coupling should
be used. Lindab have tested and recommends push-on fittings from Tectite (which are available as accessory. See
To avoid sound being transported over the beam, we recommend to use flexible hoses between the piping and the beam
connections.
4.1.1 Before installation
• Notice! The connection pipes are internally soft-welded, therefore it’s not allowed to solder the beam to the pipes. For
other than Lindab fittings and valves, please consult the installation guide for the specific fitting for further details on
proper installation.
• Both inlet- and return pipes are covered by a plastic or rubber protection cover, which must be removed before
installation.
• Always remember to do a pressure test after assembly the pipe work.