A-10
INSTALLATION
MODULAR FUME HOOD
™
MODULAR FUME HOOD XL;
DOUBLE COMPARTMENT:
For double compartment hoods, do not
make cut-outs on both corners of the
“A-TOP” and “C-BOTTOM END” panels.
Review the “A-TOP” and “C-BOTTOM
END” panel lay-out and cut only on the required corners.
Corner cutting is not required for the panel assembled
adjacent to the T-brackets.
a) Follow steps 1 to 3 as per single compartment
In case of Modular Fume Hood XL/standing:
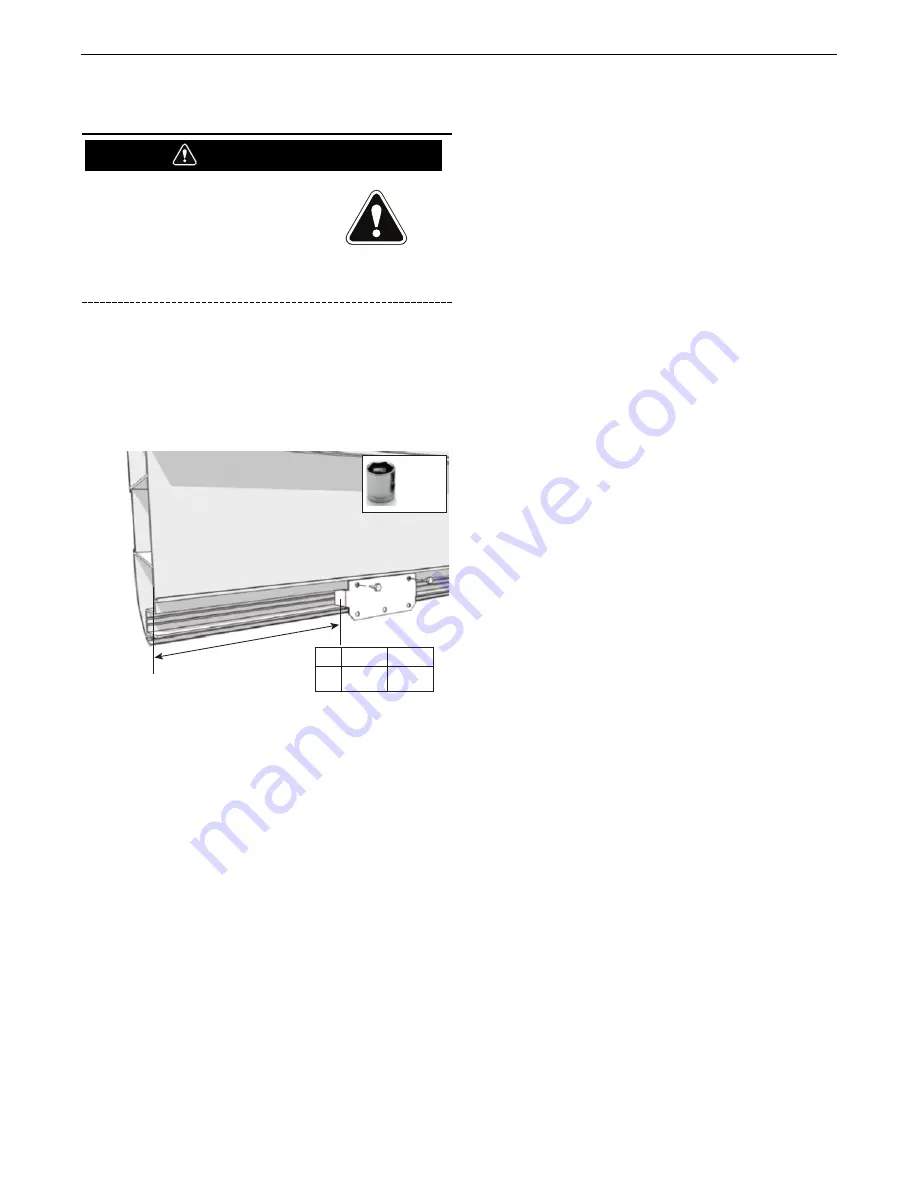
Mount connection plates (2 plates on each on all four corners) of
corner reinforcement set on the main profiles using self-tapping
screws. See Figure A.15.
FIGURE – A.15
b) Mount a T-bracket on the main frame profile. See Figure A.16
c) Determine the right distance between the profiles by means
of a long H-profile. See Figure A.17.
d) Mount two cross profiles on T-bracket. See Figure A.17.
e) Place the other T-bracket on the loose side of cross-profiles
to keep them together. Do not fasten the screws yet. See
Figure A.17.
f)
Make sure the cross-profiles are precisely square (90°) to the
main frame profile. See Figure A.17.
g) Finish the entire compartment (except for the last “A-TOP”
roof panel) before continuing with the next compartment. See
Figure A.17 and Figure A.12. Follow steps 4 to 18 as per
single compartment
h) Use a cargo lashing (1) around the end of the profiles to keep
them in the right position.
i)
Fasten the T-bracket to the cross profiles and the main frame
profile.
j)
Follow steps 19 and 20 as per single compartment
A
XL
mm
inch
A
450
17.7
10 mm
ATTENTION


