


Using the system
3. When the intended window is displayed at the top, release the
Windows logo
(
) key. To display a
window without flipping through the stack, hold down the Windows logo key and click the intended
window.
X
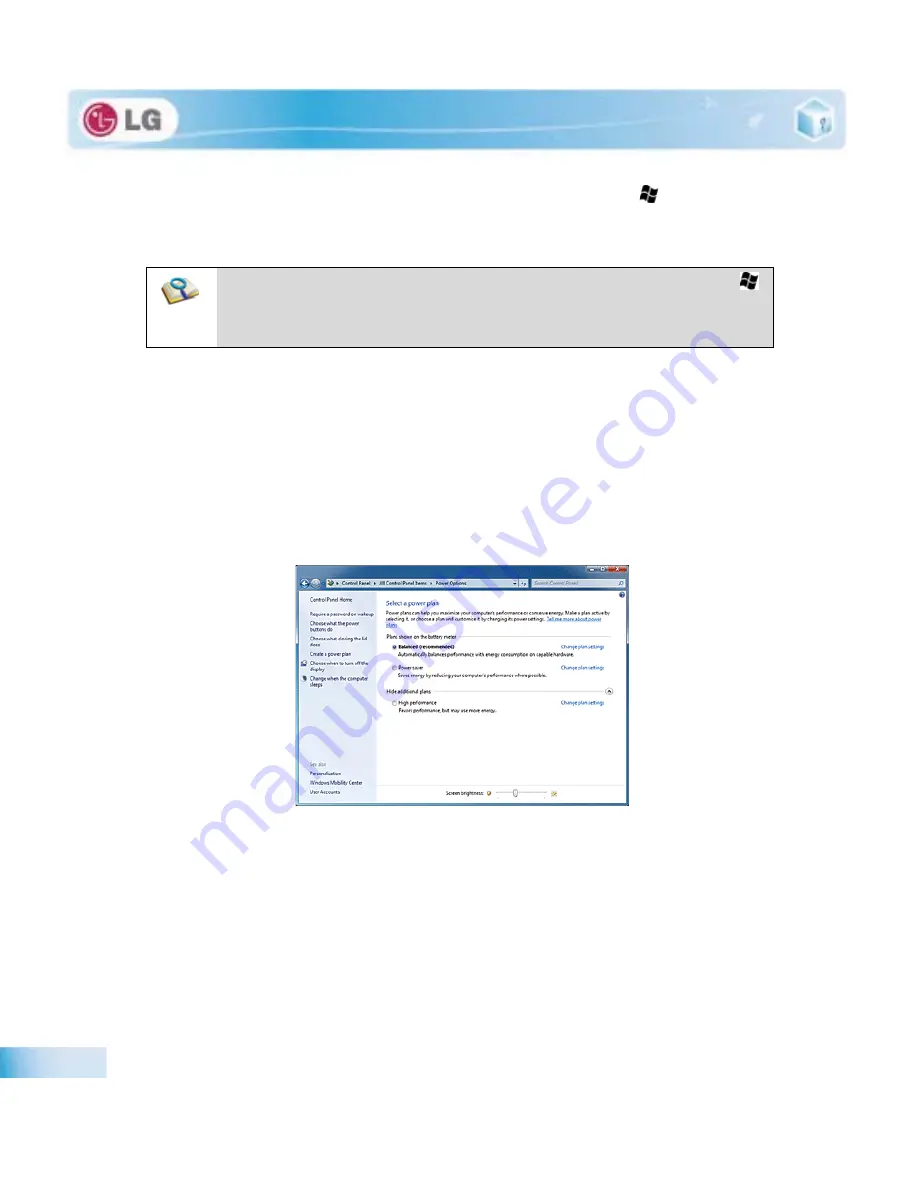
Windows
7 Power Management
Windows
7 provides a more simple and reliable power management environment than that of previous
Windows
. With that, you can make Notebook PC consume power more effectively.
1. Select
Start
>
Control Panel
>
View by
>
Small icons
>
Power Options
.
2. When the
[Select a power plan]
window appears, select one of the items displayed under
Battery
Meter Plans
.
If the
High Performance
Settings tab is not displayed, click the down arrow on the right of
[Display More Power
Plans]
to display it.
Balanced
: Ensures the maximum performance when needed and saves power when the system is not used.
Power saver
: Reduces system performance to save power. This plan maximizes battery life.
High performance
: Increases system performance and response time to their maximum. In this plan, the battery
does not last long.
X
System Termination Options
In
Windows
7, you can use the shortcut menu to log off from user account, lock or restart the system
Ŷ
If you want to display windows in the
Flip 3D
state constantly, press
Ctrl
+
Windows logo
(
)
+
Tab
keys. In this state, to flip over the windows one by one, press
Tab
. In this state, to flip
over the windows clockwise or anti-clockwise one by one, press the Left/Down or Right/Up ar-
row key. Press
Enter
to end the Flip 3D state and open the selected window.
Summary of Contents for P530 Series
Page 1: ...User Guide Config Name P530 Series Some of the components may look different from the picture ...
Page 2: ...41Important notice for user ...
Page 24: ...51Notebook PC Tour ...
Page 27: ... Notebook PC Tour ...
Page 28: ...61Using the system ...
Page 46: ...71Input Output Device ...
Page 51: ... Input Output Device Fn Prt Sc Works as Pause Fn Delete Works as Insert ...
Page 56: ...Input Output Device Scroll area may differ by model type ...
Page 61: ... Input Output Device ...
Page 62: ...81Connecting Peripherals ...
Page 67: ... Connecting Peripherals ...
Page 68: ...91System Setup ...
Page 80: ... 1Using LG Smart Recovery ...
Page 89: ... Using LG Smart Recovery ...
Page 90: ... 1Using LG Smart Recovery Center ...
Page 93: ... Using LG Smart Recovery Center ...
Page 94: ... 1Reinstalling the Driver ...
Page 97: ... Reinstalling the Driver ...
Page 98: ...431Using the Internet ...
Page 105: ... Using the Internet ...
Page 106: ...441Secondary Storage Device and Memory ...
Page 114: ...451Appendix ...


