62
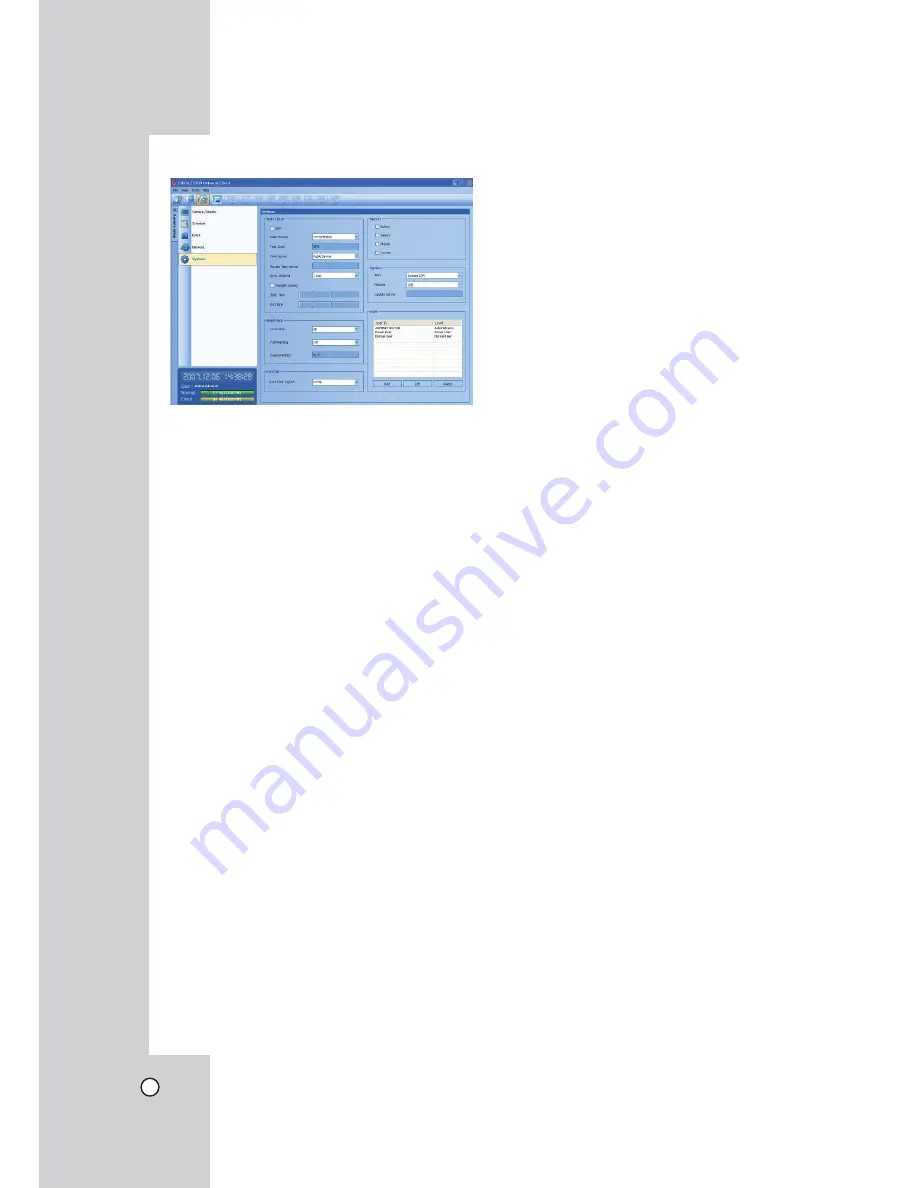
System setup
Date/Time settings
Set the date/time options.
l
NTP:
Mark up when using the NTP (Network
Time Protocol) server for time adjustment.
l
Date Format:
Select the date display format.
l
Time Zone:
This option setting is not available in
the client program.
l
Time Server:
Select your time server.
The DVR will obtain the average time among 5
public servers (time.nist.gov, time-a.nist.gov, time-
b.nist.gov, ntp.nasa.gov, clock.isc.org).
l
Private Time Server:
Enter the private time serv-
er's IP address or host name.
l
Sync. Interval:
You can set synchronized interval
with the NTP time server to 1 day, 1 hour, 1 week
and 1 month.
l
Daylight Saving:
Mark up when you use the day-
light saving function.
- Start Time: Select the Daylight Saving start
time.
- End Time: Select the Daylight Saving end
time.
Hard Disk
l
Overwrite:
Select the overwrite recording type (Off,
Normal Partition, Event Partition or All). This func-
tion is possible when the selected HDD type has
fully recorded.
l
Full Warning:
When the HDD has overflowed the
warning message is displayed.
l
Event Partition:
Sets the space of event partitions
for event recording.
Log Out
l
Auto User Logout:
Setting the logout time. You
can set the auto logout time to off, 5 minutes, 10
minutes, 30 minutes or 60 minutes.
Buzzer Settings
Select the buzzer options.
l
Button:
Makes a sound when using the buttons.
l
Sensor:
Makes a sound when an sensor occurs.
l
Motion:
Makes a sound when motion is detected.
l
System:
Makes a sound when the HDD has bed
sector.
Update Settings
Set the update options.
l
Item:
Select the items for updating.
- PTZ Protocol: Set to PTZ Protocol update.
- System S/W: Set to System S/W update.
l
Method:
Select the update method.
- USB: Update from USB memory stick.
- Network: Update from the update server.
l
Update Server:
Enter the IP address of the
update server.
Note:
If you can not update from the update server, check
the TCP/IP options and the IP address of the update
server.
User settings
Add the User
You can add the user.
1. Click the "Add" button. User Setting window is
displayed.
2. Enter the User ID and Password.
3. Enter the password again to verify.
4. Select the user level and then click "OK" to con-
firm your selection.
Edit the registered User
You can change the User ID, password or user level.
1. Choose the user ID and then click the "Edit" but-
ton.
2. Change the ID, Password or User level then click
"OK" to confirm your selection.
Delete the registered User
1. Choose the user ID you want to delete
2. Click the "Delete" button.
Summary of Contents for LDV-S503
Page 80: ...P NO MFL40426656 0712 V2 0 ...


