30
Installation
Ins
talla
tion
3
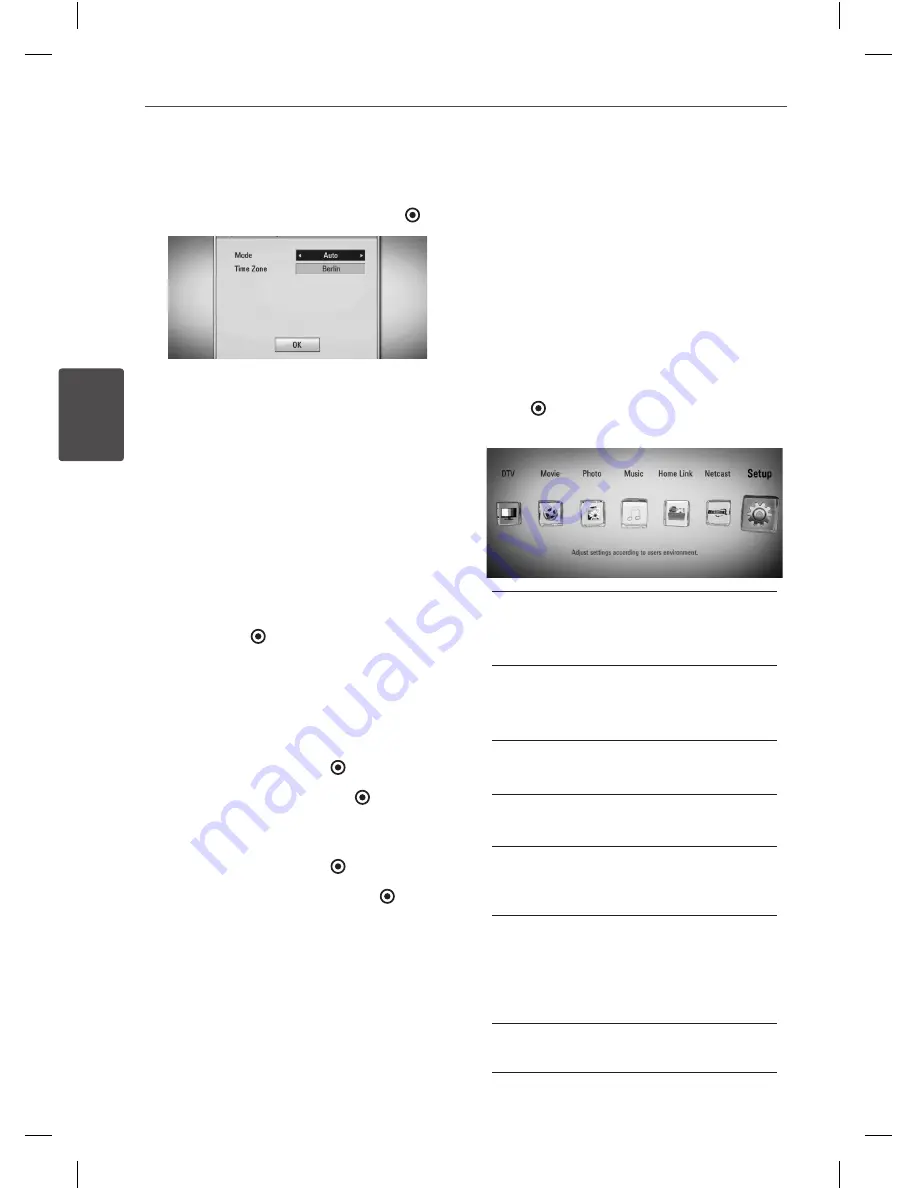
Step 3. Time Setting
1.
Use
I
/
i
to select an option among
[Manual] or [Auto], and press ENTER ( ).
Auto:
Set the programme that broadcasts
a clock signal and the clock will be set
automatically.
If the time that has automatically set is not
correct comparing your local time, you can
set additional time option.
Manual:
If there is no channel that
broadcasts a clock signal in your area, you
can set the time and date manyally. Use
U
/
u
to select each field, and input correct
time and date using
I
/
i
. You can use
numerical buttons to change the setting.
2.
Press ENTER ( ) to complete the Time
setting.
Step 4. Network Setting
1.
Refer to “Wired network connection” on
page 22-23 to complete the [Wired] setup
option, and press ENTER ( ).
Select [No] and press ENTER ( ) to cancel.
2.
Refer to “Wireless network connection”
on page 24-26 to complete the [Wireless]
option, and press ENTER ( ).
Select [Cancel] and press ENTER ( ) to
cancel.This recorder can apply only one
network setup between [Wired] and
[Wireless]. If you already set the [Wired] at
step 6, you do not need to set [Wireless]
setting.
Home Menu Overview
To access numerous functions of the unit, press
HOME on the remote.
Basic button operations
HOME: Accesses or removes the Home Menu.
U
/
u
/
I
/
i
: Used to navigate on-screen displays.
ENTER ( ): Acknowledges menu selection.
RETURN (
O
): Exits the menu.
DTV
You can watch digital broadcasts.
(Page 32-34)
Movie
Starts video media’s playback or displays
the [MOVIE] menu.
Photo
Displays [PHOTO] menu. (Page 69-71)
Music
Displays [MUSIC] menu. (Page 72-76)
Home Link
Displays and play the shared contents from
the selected server or PC. (Page 77-81)
Netcast
Shows maxdome, YouTube videos, Picasa
Web Albums and Accu Weather streamed
from the Youtube server via the internet to
your TV. (Page 81-90)
Setup
Displays [Setup] menu. (Page 35-43)
HR558SC-P.BDEULLK_ENG.indd 30
10. 8. 20. �� 8:16


