23
ENG
ENGLISH
CUSTOMIZING SETTINGS
TILE settings
1
Press
MENU
to access the main menus.
2
Press the Navigation buttons to scroll to
TILE
and press
OK
.
3
Press the Navigation buttons to scroll to the setting or
option you want and press
OK
.
- To return to the previous level, press
BACK
.
4
When you are finished, press
EXIT
.
When you return to the previous menu, press
BACK
.
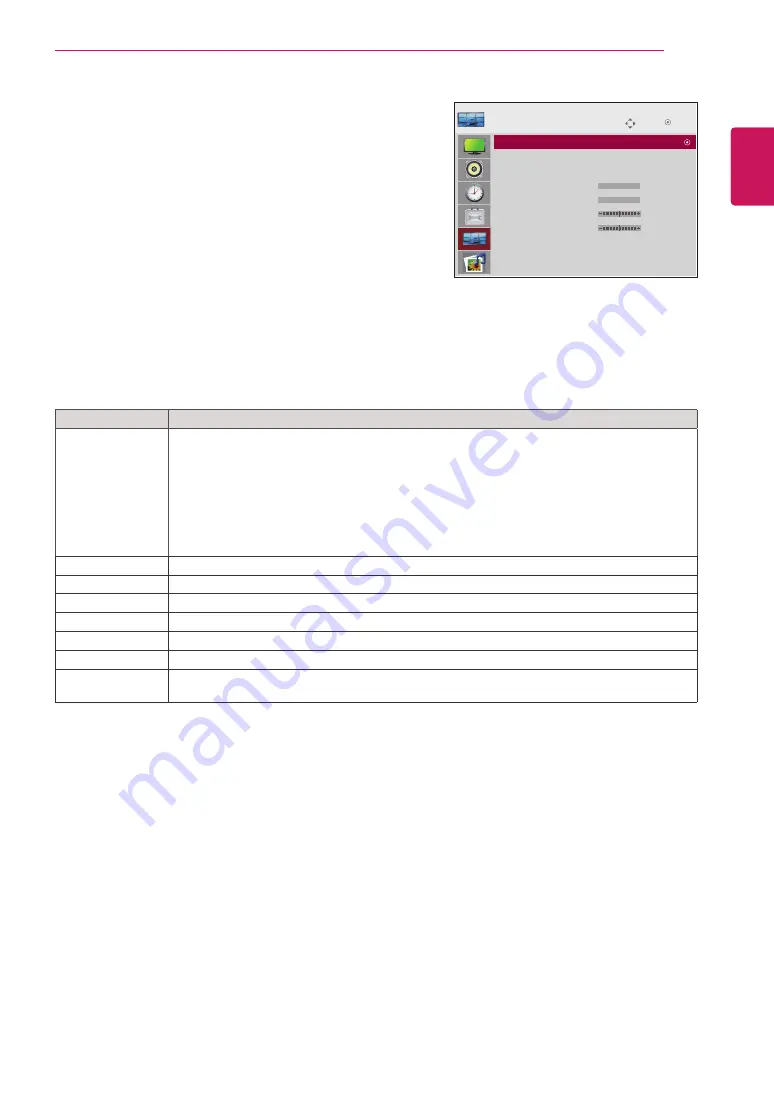
The available lock settings are described in the following:
Move
TILE
OK
Tile Mode
: Off
Tile ID
: 0
Natural Mode
: Off
H Size
: 0
V Size
: 0
H Position
: 0
V Position
: 0
Reset
Tile Mode
: 2x2
Setting
Description
Tile Mode
To use this function
- Must be displayed with various other products.
- Must be in a function that can be connected to RGB Cable by distributor and RS-232C.
Tile mode and choose Tile alignment and set the ID of the current product to set location.
* Only after pressing the SET button the adjustments made to the settings will be saved.
- Tile mode : column x row ( c = 1, 2, 3, 4, 5 r = 1, 2, 3, 4, 5)
- 5 x 5 available.
- Configuration of an integration screen is also available as well as configuration of One by one
Display.
Tile ID
Select the location of the Tile by setting an ID.
Natural
The image is omitted by the distance between the screens to be naturally shown.
H-Size
Adjust the horizontal size of the screen taking into account the size of the bezel.
V-Size
Adjust the vertical size of the screen taking into account the size of the bezel.
H-Position
Moving the screen position horizontally.
V-Position
Moving the screen position vertically.
Reset
Function to initialize and release Tile.
All Tile setting are released when selecting Tile recall and the screen returns to Full screen.


