4
6
ENG
ENGLISH
TIME MACHINE
TIME MACHINE (PAUSE &
REPLAY OF LIVE TV)
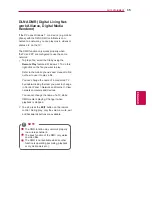
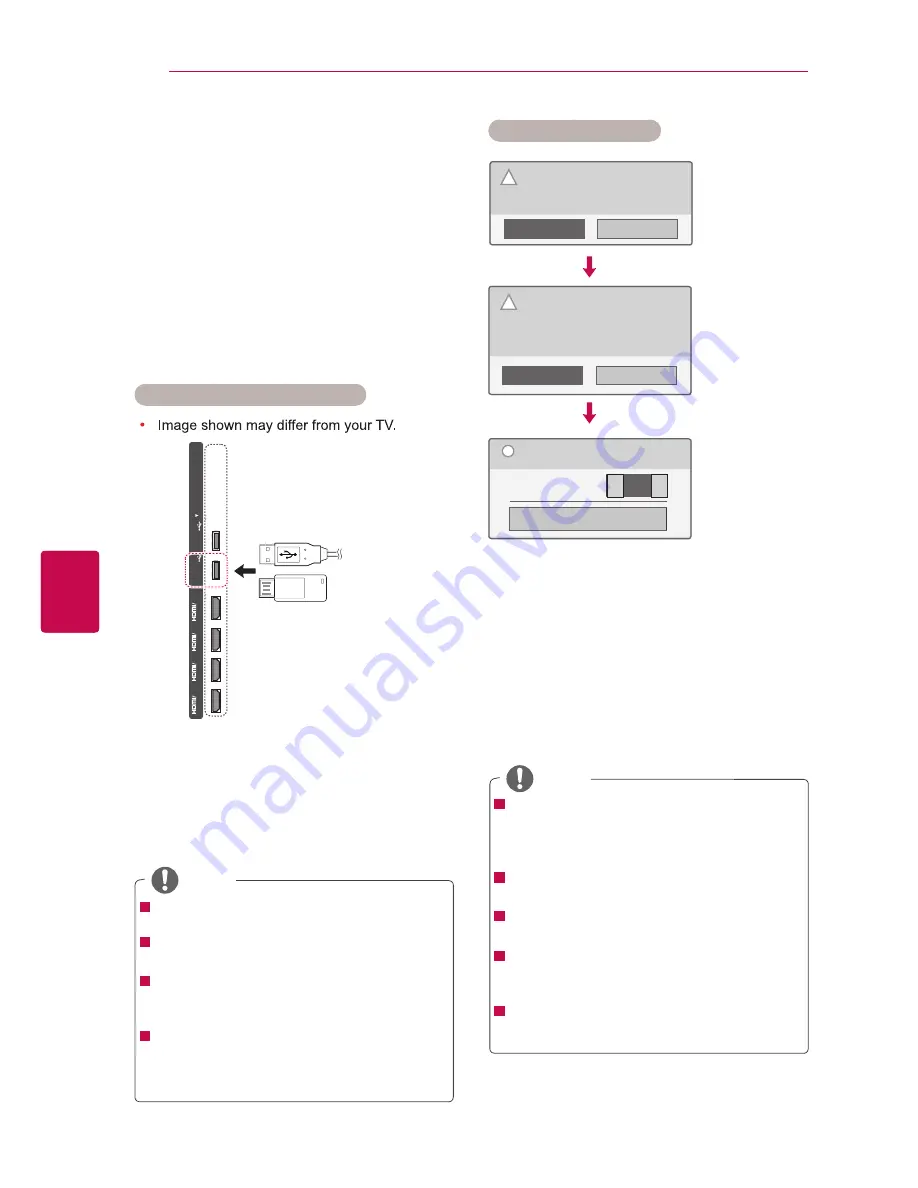
Connecting USB storage devices
This function allows the unit to automatically
record live TV and make it available for viewing at
any time.
With the Time Machine turned on, you may pause
and rewind normal TV viewing at any time without
missing any of the live broadcast.
Time Machine and Recording functions may not
work if the signal strength is weak.
This function is only operated after initializating
USB Device.
1
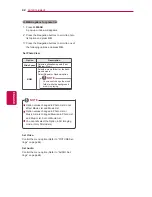
Connect the USB device to the
USB IN 1/HDD
IN
jacks on the side of TV.
2
To use the USB device (over 40 GB) for
Timemachine, execute USB Device Initializa-
tion.
NOTE
It initializes the HDD connected to the USB
as disk mode for Timemachine.
It is activated only when the USB HDD avail-
able for Timemachine is connected.
When USB Device Initialization is executed,
all the data stored in the USB device is
deleted.
While performing USB Device Initialization,
do not remove the USB device. It may cause
error on the TV and the storage device.
USB device Initialization
Initialization completed. Ready to
record.
Timeshift Mode
On
Close
i
Cancel
OK
To use LG DVR,
USB storage device needs to be
formatted.
Do you want to continue?
NOTE
!
When initialization is completed, a popup
notice of completion is displayed and
the connected USB HDD is available for
Timemachine.
Depending on the capacity of the USB de-
vice, the initialization time may vary.
The initialized USB device is not recognized
by the PC.
When a USB device of less than 40 GB is
connected, the USB Device Initialization is
not activated.
Supported maximum external HDD size for
back-up is up to 1TB.
1
Connect an unformatted USB for DVR and
press REC to initialize the USB device.
2
Press the Navigation buttons to scroll to
OK
and press
OK
.
3
Press Navigation buttons to scroll to
On
or
Off
and press
OK
.
Cancel
OK
Initializing will delete all existing data
in the USB device. Once initialized to
DVR format, the USB device cannot
be used with PC. To continue to ini-
tialize, select OK.
!
◄
►
DVI
IN 1(ARC)
DVI
IN 2
DVI
IN 3
DVI
IN 4
HDD IN USB IN 1
USB Apps USB IN2


