Paper jam in the fuser
1
Open the side door of the printer.
CAUTION—HOT SURFACE: The inside of the printer
might be hot. To reduce the risk of injury from a hot
component, allow the surface to cool before touching.
2
If paper is visible inside the fuser unit, then open the fuser
access door.
3
Firmly grasp the jammed paper on each side, and then gently
pull it out.
Warning—Potential Damage: Do not touch the center of the
fuser unit. Doing so will damage the fuser.
Note: Make sure all paper fragments are removed.
4
Close the side door.
Paper jam under the fuser
1
Open the side door of the printer.
CAUTION—HOT SURFACE: The inside of the printer
might be hot. To reduce the risk of injury from a hot
component, allow the surface to cool before touching.
2
If paper is visible under the fuser, then firmly grasp the jammed
paper on each side, and then gently pull it out.
Note: Make sure all paper fragments are removed.
3
Close the side door of the printer.
4
From the printer control panel, touch Continue, jam cleared.
230 paper jam
1
Open the side door of the printer.
CAUTION—HOT SURFACE: The inside of the printer
might be hot. To reduce the risk of injury from a hot
component, allow the surface to cool before touching.
2
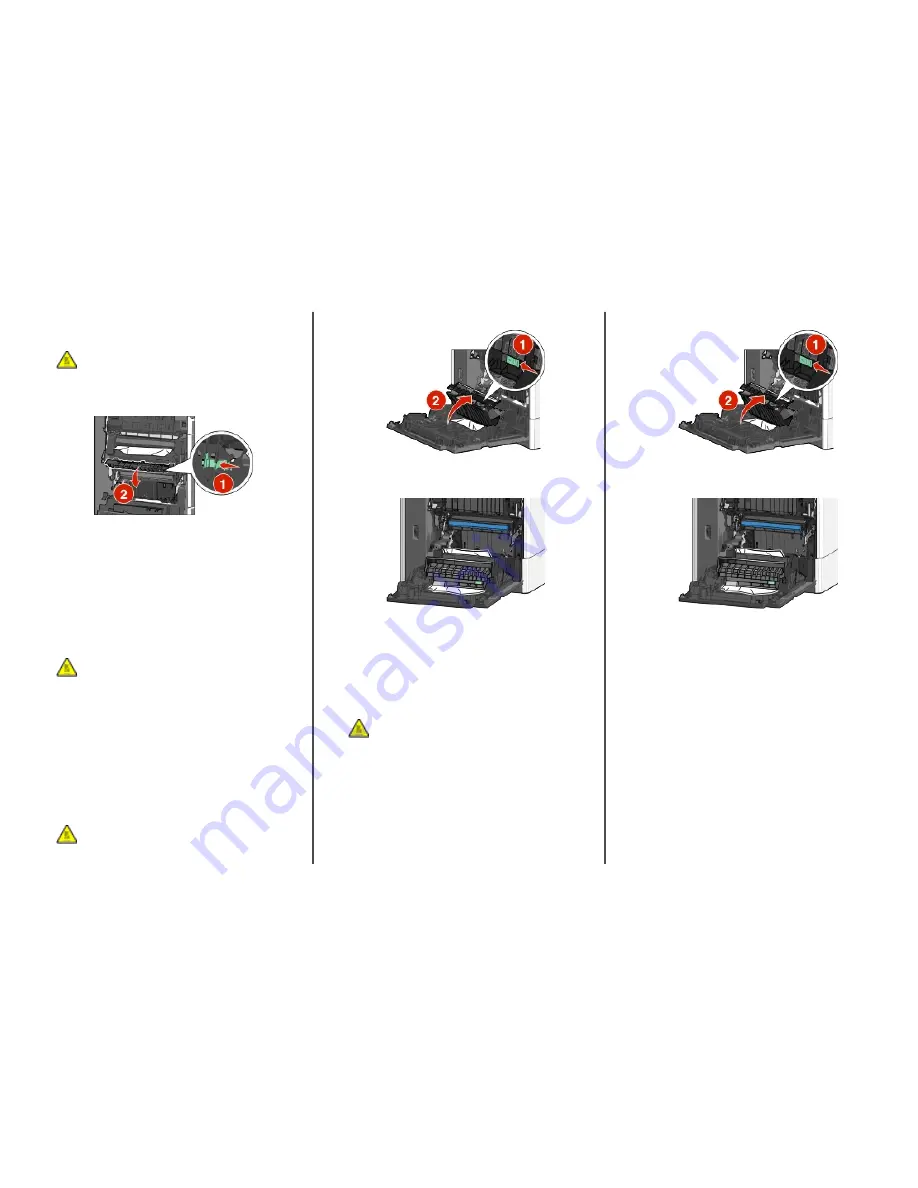
Slide the latch to open the duplex cover.
3
Grasp the jammed paper, and then gently pull it out.
Note: Make sure all paper fragments are removed.
4
Close the duplex cover.
5
Close the side door of the printer.
6
From the printer control panel, touch Continue, jam cleared.
231–239 paper jams
1
Open the side door of the printer.
CAUTION—HOT SURFACE: The inside of the printer
might be hot. To reduce the risk of injury from a hot
component, allow the surface to cool before touching.
2
Slide the latch to open the duplex cover.
3
Grasp the jammed paper, and then gently pull it out.
Note: Make sure all paper fragments are removed.
4
Close the duplex cover.
5
Close the side door of the printer.
6
From the printer control panel, touch Continue, jam cleared.
24x paper jam
Paper jam in Tray 1
1
Open the side door.
2
Grasp the jammed paper on each side, and then gently pull it
out.
3
Close the side door.
4
From the printer control panel, touch Continue, jam cleared.
Paper jam in the optional trays
1
Open the side door of the specified optional tray.
Clearing jams
16


