Diagnostic information
2-31
7003-XXX
Print quality service checks
Note: Ensure cover is closed tightly. A gap in the opening may allow light to expose the photoconductor
resulting in a ‘dirty’ print.
Using print quality test pages
Blank page
Black page
Note: Incorrect laser exposure or incorrect charging of the photoconductor causes an all-black page. Always
verify the same results from a different print cartridge assembly and developer before proceeding.
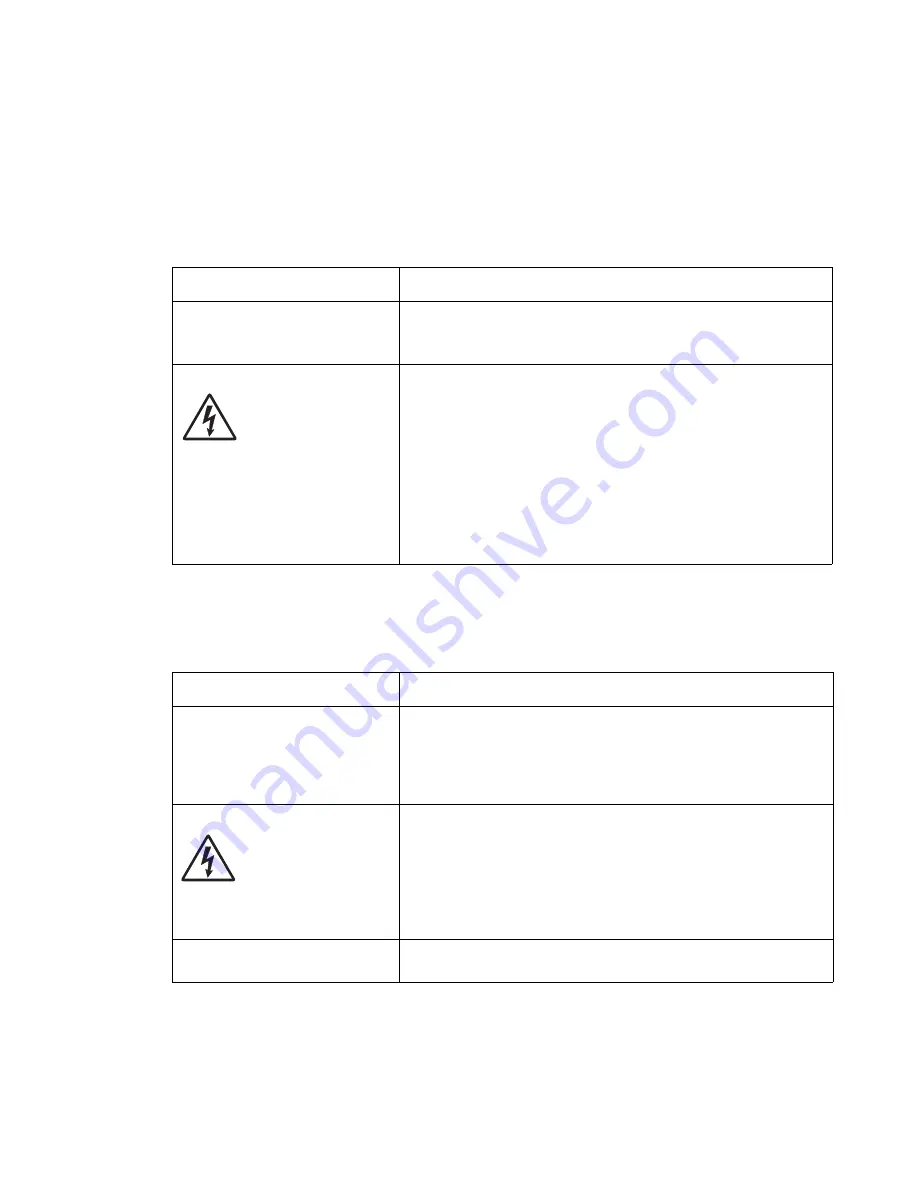
FRU
Action
Toner cartridge (not a FRU)
Remove the toner cartridge, and gently shake it to evenly distribute
the toner.
Check for cartridge damage.
Printhead
LVPS/HVPS
Controller card
Toner electrodes (cable
assembly)
Blank pages can be caused by a defective printhead assembly,
LVPS/HVPS, or controller card.
• Printhead errors typically result in MFP service errors.
• Blank pages typically are caused by the PC roll not being
properly discharged. Try a different PC kit.
Unplug the MFP and check continuity between the LVPS/HVPS
connection pads marked OPC and the corresponding pin inside the
MFP.
If there is not continuity, call the next level of service.
Try a different toner cartridge and PC kit.
If those fail, replace the LVPS/HVPS.
FRU
Action
Toner electrodes (not a FRU)
Check the electrodes below the print cartridge assembly for
contamination or damage. Correct as necessary.
Check continuity between the cable connections on the contact tips
below the print cartridge assembly.
If continuity fails, call the next level of service.
LVPS/HVPS board
Controller card
With the MFP off, disconnect the LVPS/HVPS cable from J7 on the
controller card.
Turn the MFP on and 24 V dc on pin 9 of the cable.
Verify ground on pin 8.
• If the voltage is incorrect, replace LVPS/HVPS board.
• If voltage is correct and the toner electrodes are good, replace
the controller card.
CCD
If the MFP prints a black page when copying a page but prints a job
from the host PC properly, see
“CCD service check” on page 2-20
.
manuals4u.com
manuals4u.com
Summary of Contents for 7003-050 X340n
Page 9: ...x Service Manual 7003 XXX...
Page 71: ...3 12 Service Manual 7003 XXX...
Page 77: ...4 6 Service Manual 7003 XXX 5 Push and release the tabs B on both sides of the rear cover I...
Page 127: ...4 56 Service Manual 7003 XXX...
Page 131: ...5 4 Service Manual 7003 XXX Controller card...
Page 141: ...6 2 Service Manual 7003 XXX...
Page 143: ...7 2 Service Manual 7003 XXX Assembly 1 Covers...
Page 145: ...7 4 Service Manual 7003 XXX Assembly 2 Scanner...
Page 147: ...7 6 Service Manual 7003 XXX Assembly 2 continued Scanner...
Page 149: ...7 8 Service Manual 7003 XXX Assembly 3 Electronics...
Page 151: ...7 10 Service Manual 7003 XXX Assembly 4 Frame...
Page 161: ...I 8 Service Manual 7003 XXX...
Page 162: ...manuals4u com manuals4u com...


