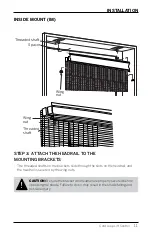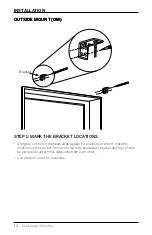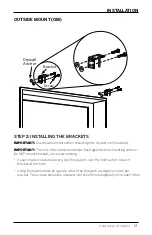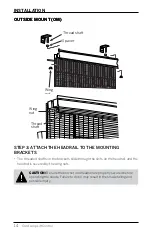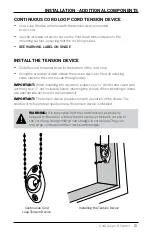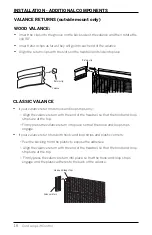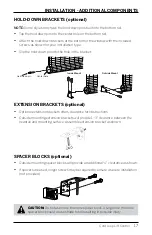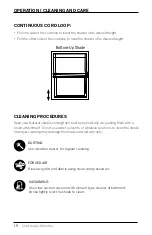
HOLD-DOWN BRACKETS (optional)
NOTE:
Some styles may have the hold-down pins built into the bottom rail.
•
Tap the hold down pin into the center hole on the bottom rail.
•
Attach the hold-down brackets at the bottom of the window with the included
screws, as shown for your installation type.
•
Slip the hold-down pin into the hole in the bracket.
INSTALLATION - ADDITIONAL COMPONENTS
17
Cord Loop Lift Control
CAUTION:
Do not use more than one spacer block. Using more than one
spacer block could cause shade to fall resulting in possible injury.
!
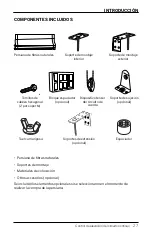
EXTENSION BRACKETS (optional)
•
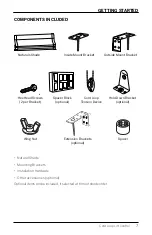
Optional extension brackets offers clearance for obstructions.
•
Outside mounting extension brackets will provide 1–3" clearance between the
headrail and mounting surface. Assemble extension bracket as shown.
SPACER BLOCKS (optional)
•
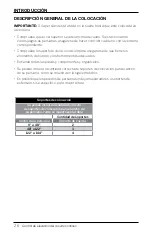
Outside mounting spacer blocks will provide an additional
3
⁄
8
" clearance as shown.
•
If spacers are used, longer screws may be required to ensure a secure installation
(not provided).
Center hole
Hold-down pin
Inside Mount
Outside Mount
Center hole
Hold-down pin
Inside Mount
Outside Mount
Summary of Contents for Corded Lift Control
Page 22: ......
Page 23: ...Persianas natural INSTALACI N MANEJO CUIDADO Control de elevaci n con cuerda...
Page 44: ...2020 LEVOLOR Inc 5775 Glenridge Drive Building A Atlanta GA 30328 1011801 19 0050 032...
Page 64: ......
Page 84: ...2020 LEVOLOR Inc 5775 Glenridge Drive Building A Atlanta GA 30328 1011802 19 0050 033...
Page 102: ......
Page 103: ...Control de elevaci n sin cuerda Persianas natural INSTALACI N MANEJO CUIDADO...
Page 120: ...2020 LEVOLOR Inc 5775 Glenridge Drive Building A Atlanta GA 30328 1011800 19 0050 034...
Page 150: ......
Page 151: ...Sistema de funcionamiento motorizado con bater a Persianas natural INSTALACI N MANEJO CUIDADO...
Page 180: ...2020 LEVOLOR Inc 5775 Glenridge Drive Building A Atlanta GA 30328 1011799 19 0050 035...

