User Manual
31
•
The Information of Page Layout
On the top side, it shows the front panel of the switch. In the front panel, the
linked ports will display green; as to the ports, which are link off, they will be
dark. For the optional modules, the slot will show only a cover plate if no
module exists and will show a module if a module is present. The image of
module depends on the one you inserted. The same, if disconnected, the port
will show just dark, if linked, green.
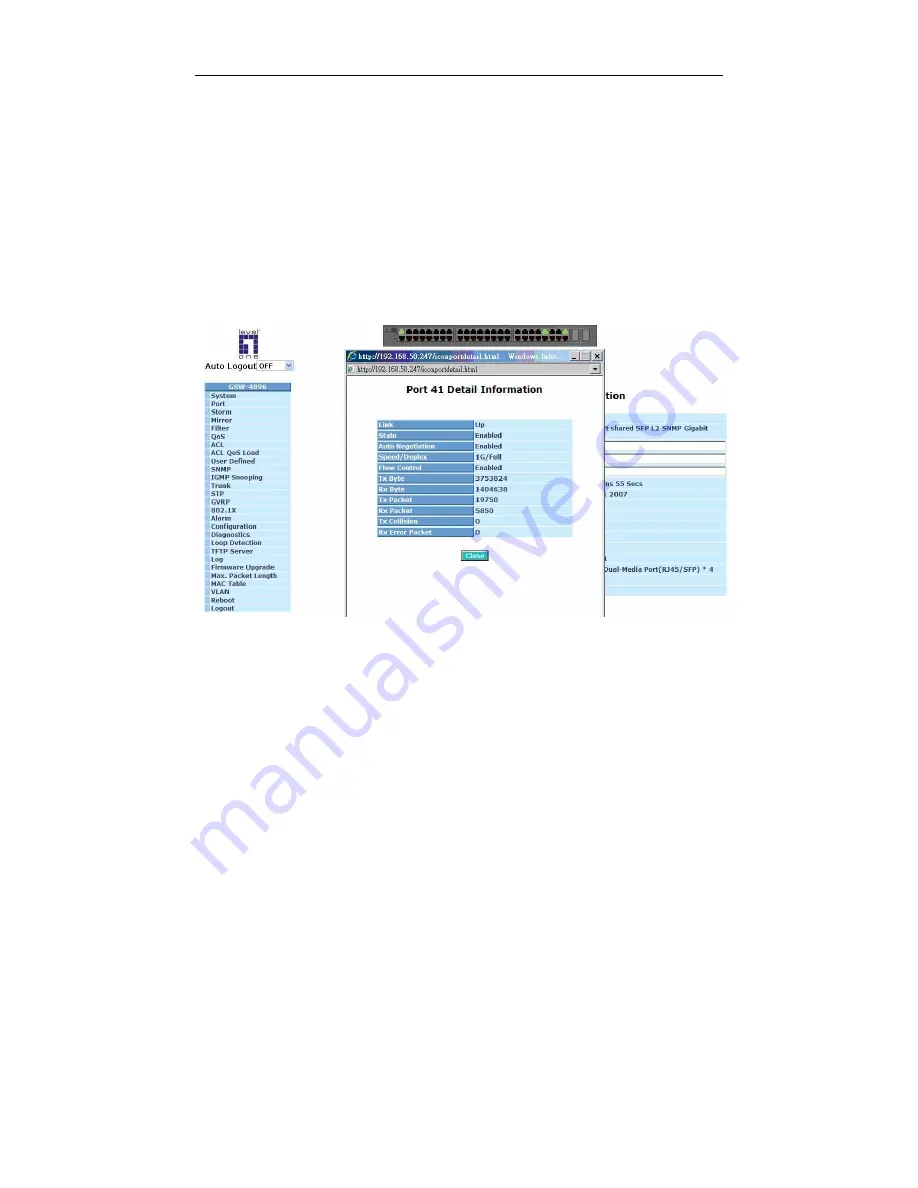
In this device, there are clicking functions on the panel provided for the
information of the ports. These are very convenient functions for browsing the
information of a single port. When clicking the port on the front panel, an
information window for the port will be pop out. (See Fig. 3-3)
Fig. 3-3 port detail information
In Fig. 3-3, it shows the basic information of the clicked port. With this, you’ll
see the information about the port status, traffic status and bandwidth rating for
egress and ingress respectively.
On the left-top corner, there is a pull-down list for Auto Logout. For the sake of
security, we provide auto-logout function to protect you from illegal user as you
are leaving. If you do not choose any selection in Auto Logout list, it means
you turn on the Auto Logout function and the system will be logged out
automatically when no action on the device 3 minutes later. If OFF is chosen,
the screen will keep as it is. Default is ON.
On the left side, the main menu tree for web is listed in the page. They are
hierarchical menu. Open the function folder, a sub-menu will be shown. The
functions of each folder are described in its corresponded section respectively.
When clicking it, the function is performed.
Summary of Contents for ProCon GSW-4896
Page 1: ...GSW 4896 48 Port TP with 4 Port shared SFP L2 SNMP Gigabit Switch User Manual Ver 1 01 0711...
Page 6: ......
Page 33: ...User Manual 27 Fig 2 15 Office Network Connection Fig 2 14 Peer to peer Network Connection...
Page 45: ...User Manual 39 T Fig 3 5...
Page 47: ...User Manual 41 Fig 3 6...
Page 74: ...User Manual 68 Fig 3 23b...
Page 76: ...User Manual 70 Fig 3 24b...
Page 78: ...User Manual 72 Fig 3 25b...
Page 80: ...User Manual 74 Fig 3 26b...
Page 84: ...User Manual 78 3 6 4 Flow Fig 3 30...
Page 86: ...User Manual 80 Fig 3 31b...
Page 88: ...User Manual 82 Fig 3 32b...
Page 90: ...User Manual 84 Fig 3 33b...
Page 104: ...User Manual 98 Fig 3 46 Fig 3 47...
Page 136: ...User Manual 130 Fig 3 65...
Page 156: ...User Manual 150 Upload Log Upload log data through tftp Clear Log Clear log data...
Page 163: ...User Manual 157 Fig 3 87...
Page 166: ...User Manual 160 TT Fig 3 89...
Page 176: ...User Manual 170 Fig 4 1 Fig 4 2...
Page 286: ......
Page 287: ......


