


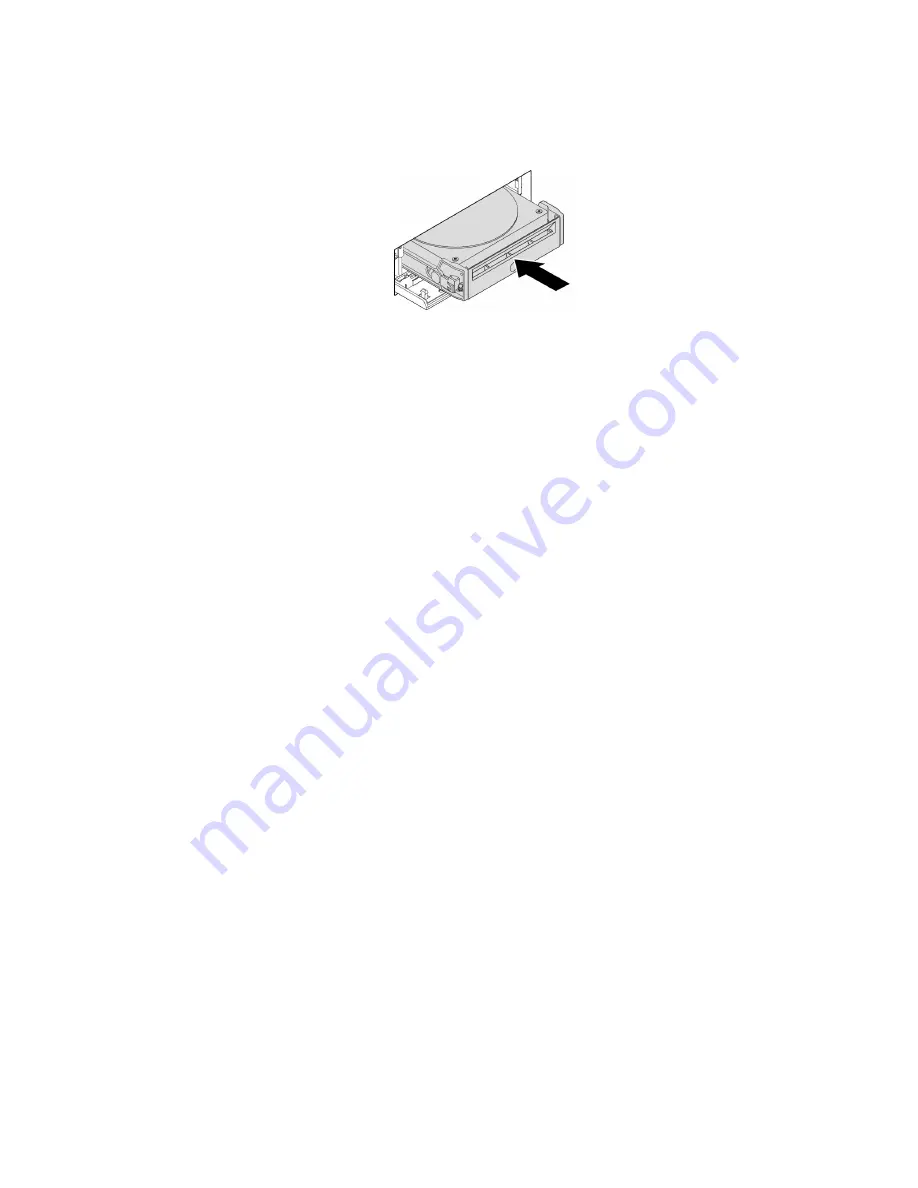
6. Slide the bracket with the new hard disk drive into the front-access storage enclosure until it snaps into
position. Press the notch to secure the enclosure cover and lock the enclosure cover with the key.
Figure 34. Installing the hard-disk-drive bracket
What to do next:
• To work with another piece of hardware, go to the appropriate section.
• To complete the installation or replacement, go to “Completing the parts replacement” on page 97.
Device in the Multi-drive Conversion Kit
Attention:
Do not open your computer or attempt any repair before reading and understanding the “Read
this first: Important safety information” on page iii.
The Multi-drive Conversion Kit (hereafter referred to as kit) might be equipped with either one or both
of the following components:
• Slim optical drive
• Internal storage drive (such as hard disk drive, solid-state drive, or hybrid drive)
Slim optical drive
To install or replace a slim optical drive in the kit, do the following:
Note:
The instructions on how to install or replace a slim optical drive in the kit also applies to the Slim
Optical Drive Adapter.
1. Slide the kit out of the chassis. See “Optical drive” on page 66.
2. If you are replacing an old slim optical drive, do the following:
Hardware installation and replacement
71
Summary of Contents for THINKSTATION P320 30BG
Page 1: ...P320 User Guide Machine Types 30BG 30BH and 30BR ...
Page 10: ...viii P320 User Guide ...
Page 36: ...26 P320 User Guide ...
Page 42: ...32 P320 User Guide ...
Page 52: ...42 P320 User Guide ...
Page 64: ...54 P320 User Guide ...
Page 112: ...102 P320 User Guide ...
Page 114: ...104 P320 User Guide ...
Page 116: ...106 P320 User Guide ...
Page 124: ...114 P320 User Guide ...
Page 128: ...118 P320 User Guide ...
Page 130: ...120 P320 User Guide ...
Page 132: ...122 P320 User Guide ...
Page 133: ......
Page 134: ......