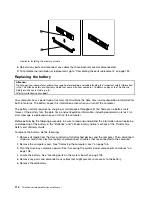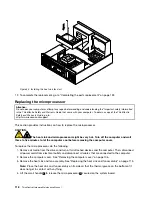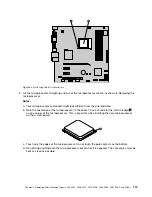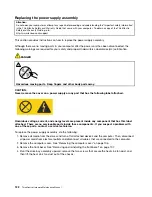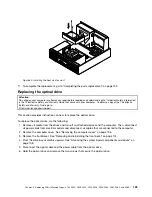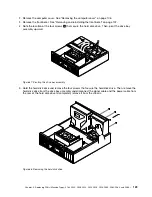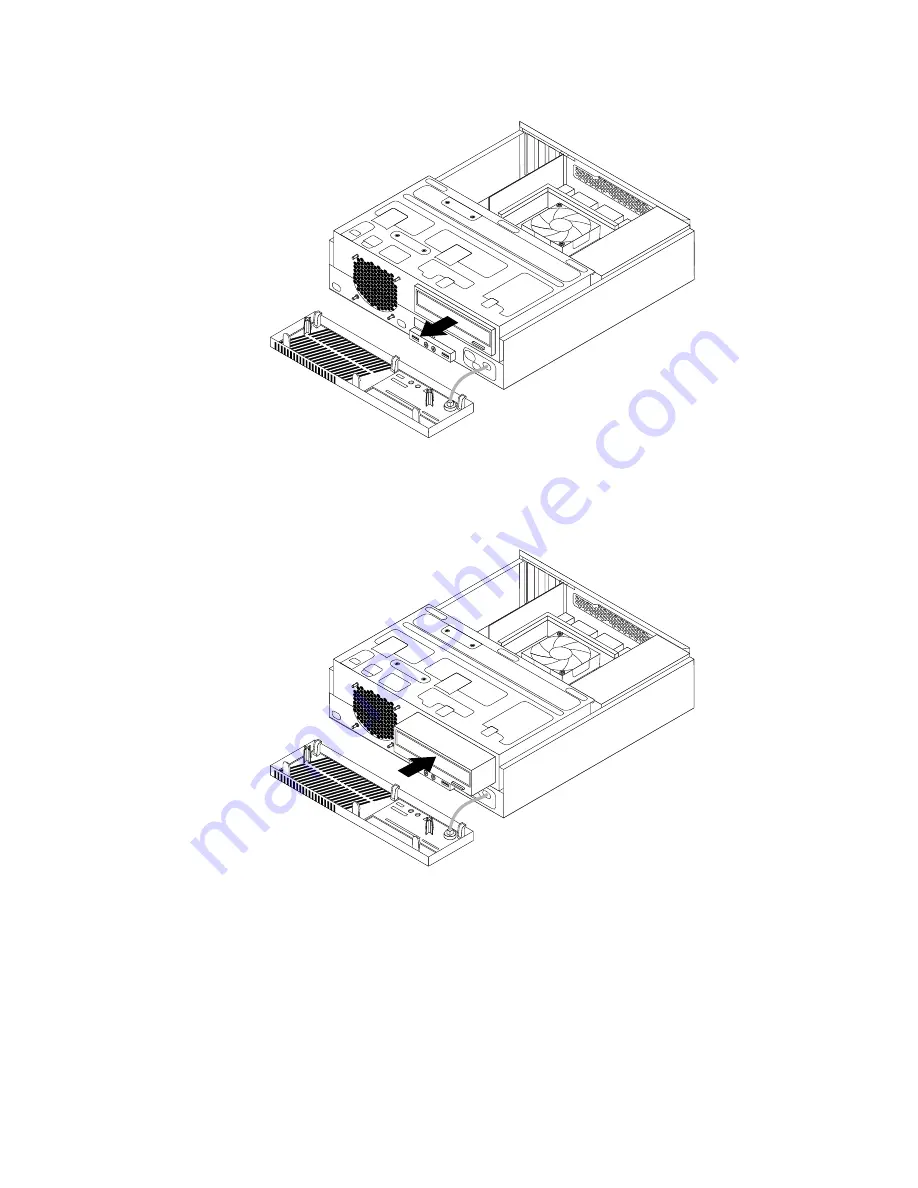
Figure 63. Removing the optical drive
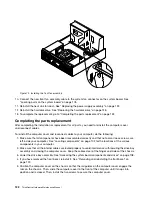
9. Slide the new optical drive into the optical drive bay from the front of the computer.
Figure 64. Installing a new optical drive
10. Hold the new optical drive and pivot the drive bay assembly upward. Align the screw holes in the new
optical drive with the corresponding holes in the drive bay. Then, install the two screws to secure
the new optical drive in place.
Chapter 9
.
Replacing FRUs (Machine Types: 4163, 5042, 5046, 5052, 5054, 5056, 5058, 5060, 5062, 5064, and 5066.)
127
Summary of Contents for ThinkCentre M75e
Page 2: ......
Page 15: ...Chapter 2 Safety information 9 ...
Page 16: ... 18 kg 37 lbs 32 kg 70 5 lbs 55 kg 121 2 lbs 10 ThinkCentre Hardware Maintenance Manual ...
Page 20: ...14 ThinkCentre Hardware Maintenance Manual ...
Page 21: ...1 2 Chapter 2 Safety information 15 ...
Page 22: ...1 2 16 ThinkCentre Hardware Maintenance Manual ...
Page 28: ...22 ThinkCentre Hardware Maintenance Manual ...
Page 29: ...1 2 Chapter 2 Safety information 23 ...
Page 33: ...Chapter 2 Safety information 27 ...
Page 34: ...1 2 28 ThinkCentre Hardware Maintenance Manual ...
Page 38: ...32 ThinkCentre Hardware Maintenance Manual ...
Page 42: ...36 ThinkCentre Hardware Maintenance Manual ...
Page 76: ...70 ThinkCentre Hardware Maintenance Manual ...
Page 106: ...100 ThinkCentre Hardware Maintenance Manual ...
Page 140: ...134 ThinkCentre Hardware Maintenance Manual ...
Page 308: ...Windows Vista Home Basic FRU CRU MT 5063 302 ThinkCentre Hardware Maintenance Manual ...
Page 312: ...306 ThinkCentre Hardware Maintenance Manual ...
Page 317: ......
Page 318: ...Part Number 0A22749 Printed in USA 1P P N 0A22749 0A22749 ...


