24
Store & Naming PRESET
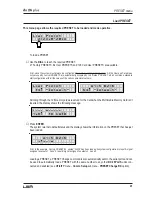
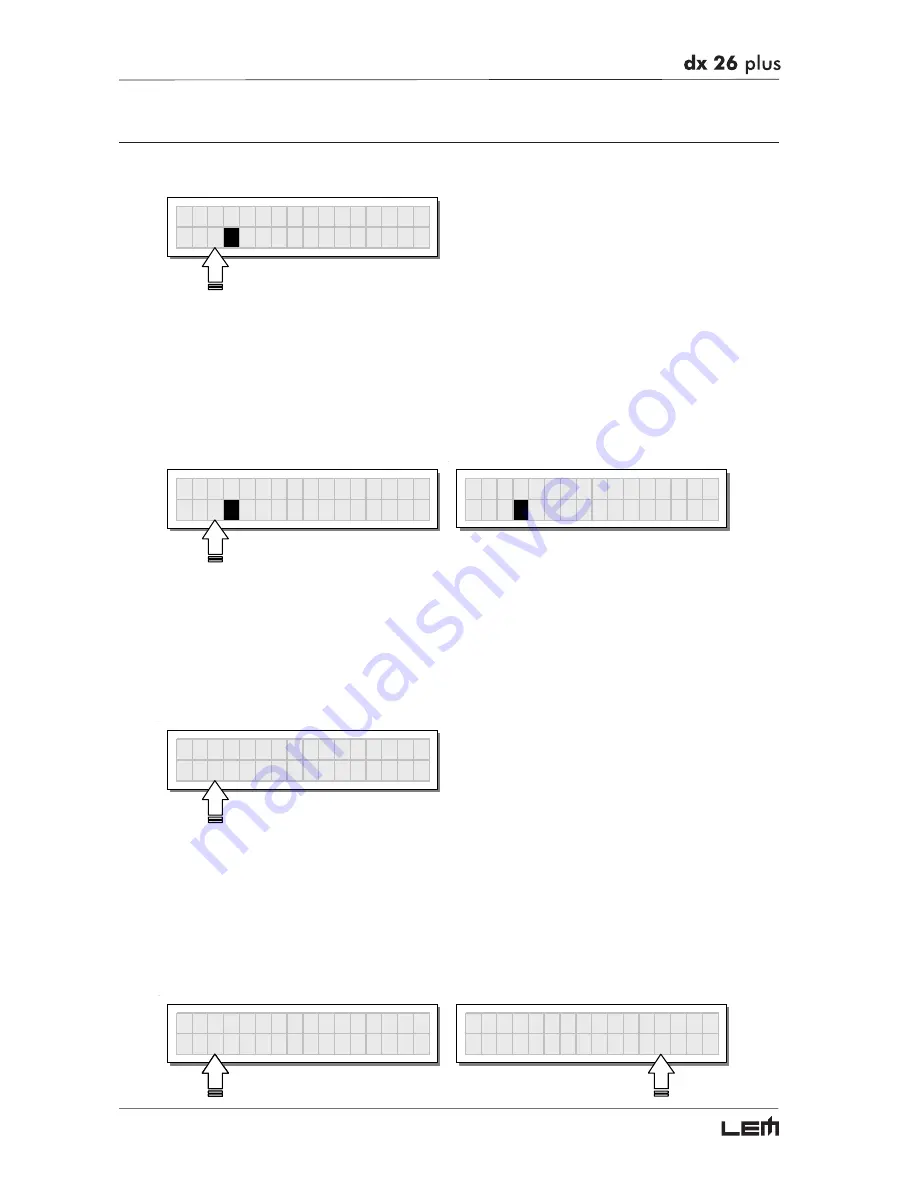
This menu page allows to create new PRESETS, i.e. to save all the current system settings.
S t o r e P r e s e t
2
U
2 x 2 W + 2 M A X
To save a PRESET:
☞
Use
DIAL
to reach the memory area in which the PRESET is to be saved.
N.B.: in this procedure, the Factory PRESET areas aren’t available, since the Factory PRESETS cannot be permanently
modified. Nevertheless remember that it is possible to load a Factory PRESET, save it in a User PRESET or Card
PRESET area, modify it as required and then store it again in the same User or Card area.
N.B.: scrolling through the memory areas, the display shows the number, type and name of the PRESETS contained in
them; scrolling through the 128 Card memory areas without the Multimedia Memory Card, a warning appears on the display:
S t o r e P r e s e t
3
U
O p e r a H a l l 1
S t o r e P r e s e t
1 0 1
C
N O C A R D
☞
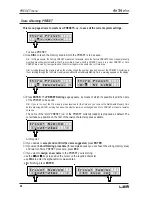
Press
ENTER
. The
PRESET Naming
page appears, by means of which it’s possible to edit the name
of the PRESET to be saved.
N.B.: if you’re in one of the 128 memory areas reserved for the Card and you remove the Multimedia Memory Card
before pressing ENTER, nothing happens: the display remains unchanged and Store PRESET procedure remains
unvaried.
The name of the “start” PRESET (i.e. of the PRESET currently loaded) is proposed as default. The
cursor takes up position on the first of the twelve character spaces available.
P r e s e t N a m i n g
[ 2 x 2 W + 2 M A X
]
At this point:
✧
If you decide to
accept and confirm the name suggested,
press
ENTER
.
✧
If you want to
abort Naming procedure
(for example because you’ve chosen the wrong memory area)
and return to Store PRESET procedure, press
ESC
.
☞
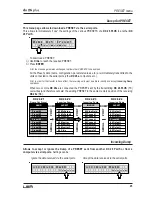
If you want to
assign a new name
to the PRESET you’re storing:
- use the
W
W
W
W
W
and
X
X
X
X
X
keys to position the cursor on the required character
- use
DIAL
to enter the alphanumeric value wanted
- after finishing, press
ENTER
.
P r e s e t N a m i n g
[ M x 2 W + 2 M A X
]
P r e s e t N a m i n g
[ M y L i v e s e t ]
PRESET menu
Summary of Contents for DX 26 PLUS
Page 52: ...52 Configurations...
Page 53: ...53 Configurations...
Page 55: ...55 Connections...
Page 56: ...56 Connections...
Page 57: ...57 Connections...
Page 58: ...58 Connections...
Page 59: ...59 Communications PC one or more DX 26 PLUS connection Connections...
Page 64: ......


