3. Installation
10
164201241-001 Rev. C0
2.
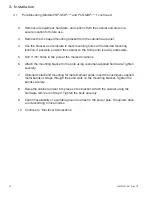
Remove all equipment, hardware, and options from the cabinet and store in a
secure location for future use.
3.
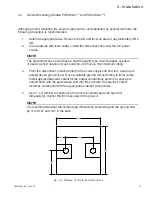
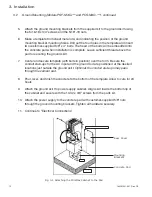
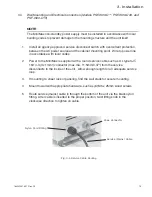
Remove the U-shaped mounting bracket from the cabinet rear panel.
4.
Use the bracket as a template to mark mounting holes at the desired mounting
location. If possible, position the cabinet so the front panel is easily accessible.
5.
Drill 11/16" holes in the pole at the marked locations.
6.
Attach the mounting bracket to the pole using customer-supplied hardware. Tighten
securely.
7.
Optional metal band mounting for metal/cement poles: insert the customer-supplied
metal bands or straps through the band slots on the mounting bracket. Tighten the
bands securely.
8.
Raise the cabinet and set into place on the bracket. Attach the cabinet using the
hardware removed in Step 2. Tighten the bolts securely.
9.
Confirm availability of a suitable ground rod next to the power pole. If required, drive
a rod according to local codes.
10. Continue to “Electrical Connections”.
3.1
Pole Mounting
(Models PSF-MXP-*** and PCS-MXP-***), continued


