


10
The Traveller™ Charge & Sync Range - User Manual
Copyright LapSafe® Products
5. Charging
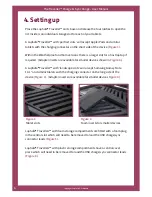
Choose a suitable location for the LapSafe® Traveller™ to charge and/or sync.
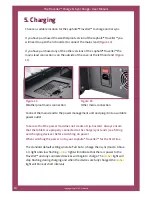
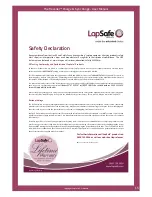
If you have purchased the weatherproof version of the LapSafe® Traveller™ you
will need to open the lid in order to connect the mains lead (
Figure 14
).
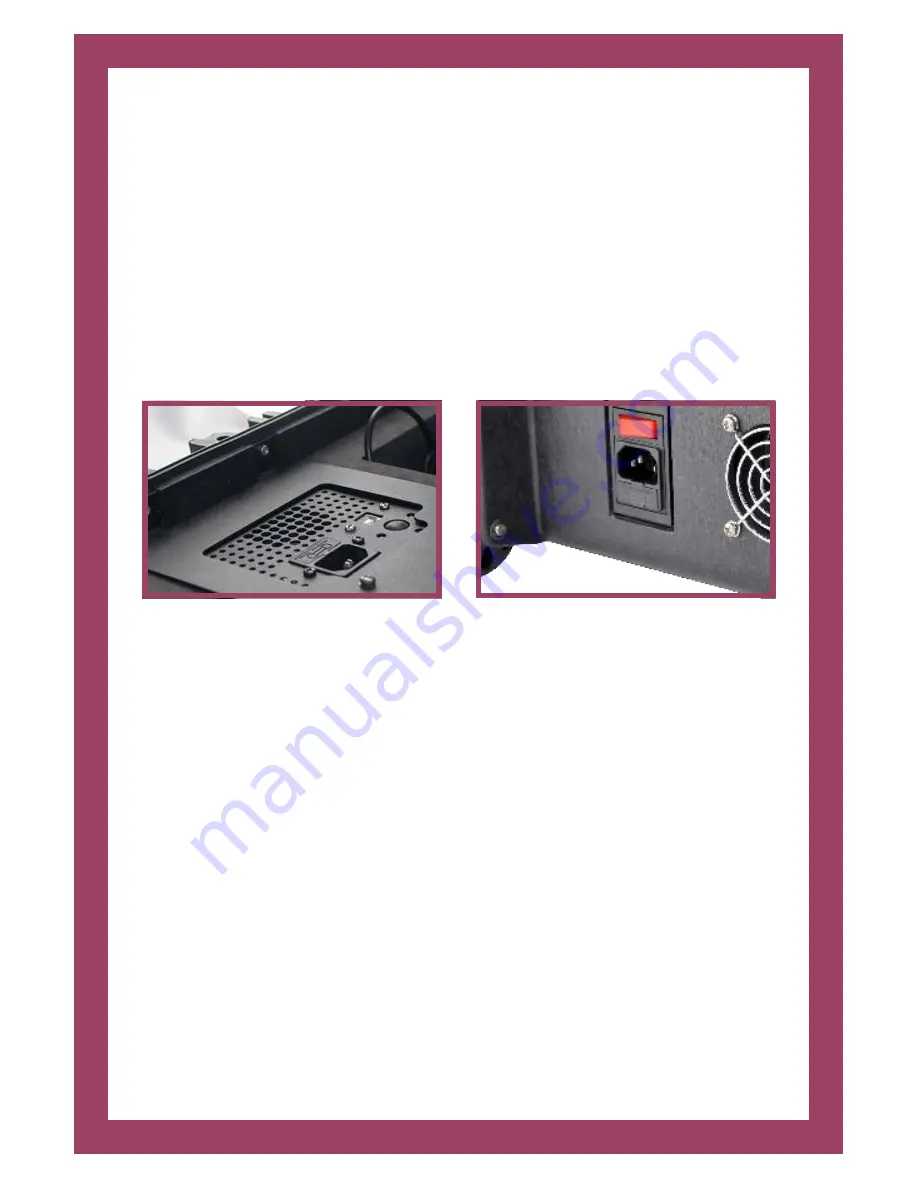
If you have purchased any of the other versions of the LapSafe® Traveller™ the
mains lead connection is on the outside of the case, at the left hand end (
Figure
15
).
Figure 14
Weatherproof mains connection
Figure 15
Other mains connection
Connect the mains lead to the power management unit and plug it into a suitable
power outlet.
Take care that the power lead does not create a trip-hazzard. Always ensure
that the tablets are properly connected to the charge/sync leads (see ‘fitting
and charging devices’) before switching on power.
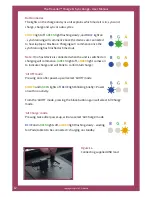
When switching the power on to your LapSafe® Traveller™ for the first time:
The standard default settings dictate ‘Full Auto’ (charge then sync) mode. A
blue
‘on’ light and slow flashing
amber
light will indicate that there is power to the
Traveller™ and any connected devices will begin to charge. The
amber
light will
stop flashing during charging and when the devices are fully charged the
amber
light will blink at short intervals.