


04
20
05
25
DVD
Main Menu
Selecting Different Menu/Title
Under
DVD
playback mode, press MENU
or TITLE to return to the root menu or
the title menu, the monitor display all the
chapters or all titles. You can press and
Number Buttons
on the remote co-
ntrol to select different chapter or title.
* This function is operated by using
remote
control.
the
22
Note:
Changing audio language
(Multi-audio)
DVDs can provide audio playback with
different language. With DVDs featuring
multi-audio recordings, you can press
AUDIO
to switch between language and
audio systems during playback.
AUDIO 1
AUDIO 2
AUDIO 3......
Selection options switch as follows:
* This function is operated by using
remote
control.
the
* This function only operates with DVDs fea-
turing multi-audio recordings.
* The number in the
mark on a DVD's
package indicates the number of recorded
languages/audio systems.
2
Note:
6
Changing the subtitle language
(Multi-subtitle)
With DVDs featuring multi-subtitle recor-
dings. You can press
SUB-T
to switch
between subtitle languages during playback.
Subtitles 1
Subtitles 2
Subtitles OFF
Selection options switch as follows:
* This function is operated by using
remote
control.
the
* This function only operates with DVDs fea-
turing multi-subtitle recordings.
* The number in the
mark on a DVD's
package indicates the number of recorded
subtitle languages.
2
Note:
5
24
3
SET UP MENU
During DVD playback,
press
SETUP
,
the screen will display system setting pic-
ture, the user can select some relative con-
stant parameters. The user also can set it as
needed by moving he cursor and using
[ ][ ][ ][ ]
buttons, and then press
ENTER
to
t
execute the selecting or enter-
ing item.
* The selections are the preferred options that
will be chosen if they are available on a disc.
If the disc that is inserted does not have the
preferred option then the discs own pre-
ference will be used.
Note:
21
22
22
* Some functions varies depending on the types
of models or formats of the disc.
* Regarding SETUP MENU, please refer to
the following pages for more details.
4
Press
[ ][ ][ ]
to move the cursor on
X
then press
ENTER
to exit the menu
setup.
......
2.Video Adjust
Selecting VIDEO in main menu, press
ENTER
to enter setting system.
The main menu includes items above.
Press or
BACK
and then press
ENTER
to go back to the previous menu.
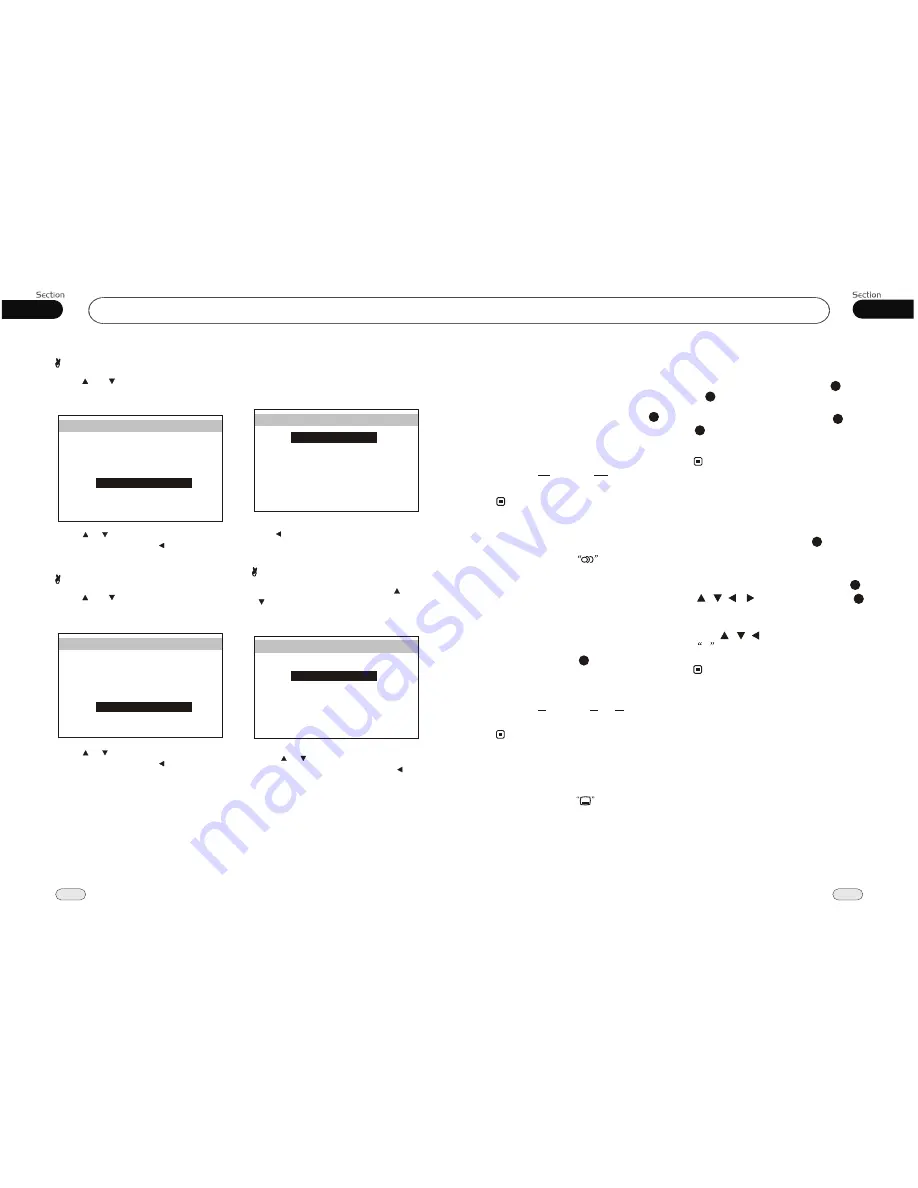
Image Adjust
Adjusting the CONTRAST : press[ ]or
[ ] to select CONTRAST, then press
ENTER
, the setting menu appears as
follow:
Press
to increase or decrease the
size, and then press
ENTER
. Press [ ] to
go back to the previous menu.
[ ] [ ]
Adjusting
the other items perform the same operation.
EQUALIZER
Press[ ]or [ ] to select EQUALIZER,
then press
ENTER
, the setting menu
appears as follow:
Press
to select your desired item,
then press ENTER, press to go back to
the previous menu.
[ ] [ ]
LOUDNESS
Press[ ]or [ ] to select LOUDNESS,
then press
ENTER
, the setting menu
appears as follow:
Press
to select your desired item,
then press ENTER, press to go back to
the previous menu.
[ ] [ ]
VIDEO SETUP
BRIGHT
CONTRAST
COLOR
HUE
BACK
DEFAULT
WIDE
30
30
30
30
WIDE
STANDARD
VIDEO SETUP
BRIGHT
CONTRAST
COLOR
HUE
BACK
DEFAULT
WIDE
30
30
30
30
WIDE
STANDARD
BALANCE
FAD
BASS
TREBLE
AUDIO SETUP
EQUALIZER
BACK
LOUDNESS
00
00
00
FLAT
OFF
00
BALANCE
FAD
BASS
TREBLE
AUDIO SETUP
EQUALIZER
BACK
LOUDNESS
00
00
00
FLAT
OFF
00


