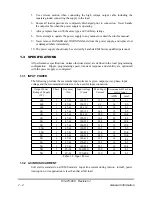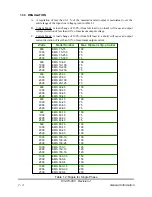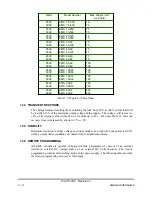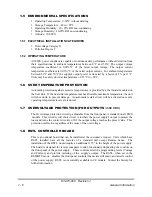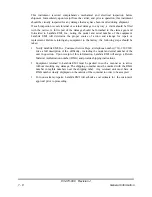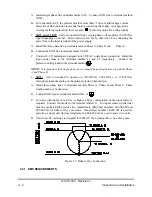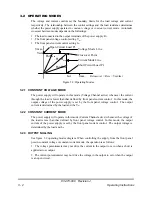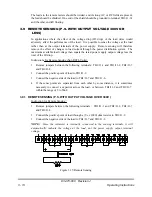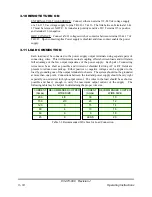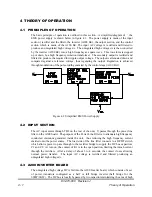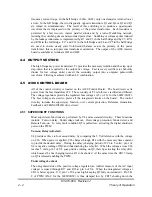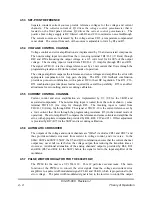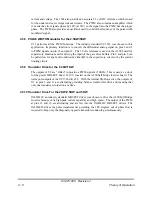
Table 3.2: TB1/J1
3.3.1 LOCAL PROGRAMMING
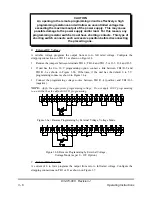
When shipped from the factory, each supply is configured for constant voltage, constant
current, local programming, local sensing, single unit mode of operation. In this mode of
operation the voltage and the current control knobs assert control over the output of the
supply. Local programming is used in most applications. All performance specifications,
unless otherwise stated, are defined in this configuration. Ripple, programming speed,
transient response and stability are optimized with the power supply so configured. Refer to
Figure 3.4 for strapping connections.
Figure 3.4: Local Programming
3.3.2 REMOTE PROGRAMMING OF VOLTAGE CHANNEL
The front panel's voltage control is disabled in this programming mode. Remote
programming of the voltage channel (Voltage mode operation) can be implemented at the rear
panel by one of the following:
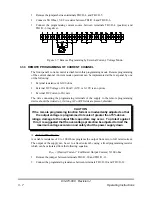
A. External resistance of 0-5kW
B. External DC Voltage of 0-5V (0-10 Volts is an option)
C. External DC Current of 0-1mA
The wire connecting the programming terminals of the supply to the remote programming
device should be twisted or, if strong AC or RF fields are present, shielded.
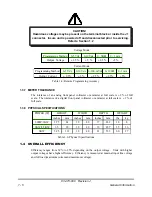
CAUTION
If the remote programming function fails or is inadvertently adjusted so that
the output voltage is programmed to levels of greater than 10% above
ratings, damage to the output filter capacitors may occur. To protect against
this, it is suggested that the overvoltage protection be adjusted to limit the
maximum voltage excursion and safely shut the power supply down.
A.
External Resistance:
Variable resistance of 0 to 5k
Ω
programs the output from zero to full rated voltage. The
output of the supply can be set to a fixed voltage by using a fixed programming resistor
which can be calculated from the following equation:
R
prog.
= (Desired Voltage ÷ Full Rated Output Voltage) X 5k
1. Remove the jumper between terminals TB1-4 and TB1-5, or J1-4 and J1-5.
2. Connect the programming resistance between terminals TB1-4 and TB1-7, or J1-4 and
J1-7.
83-473-000 Revision J
3 - 4
Operating Instructions

