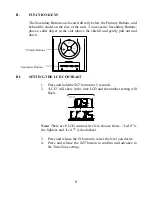


16
button. The ((2)) icon will represent activation and
deactivation of Alarm 2.
B. SNOOZING AND STOPPING THE ALARM
1.
Press and release the
SNZ
button to activate the snooze
function.
2.
To turn the alarm off completely press any button other than
the
SNZ
button.
3.
The snooze function will last for the length it was set for in
the set-up mode before the alarm begins to sound again.
Either the ((1)) or the ((2)) icon will flash during the snooze
mode depending on which of the alarms is in the snooze
mode.
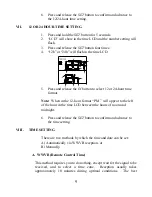
V.
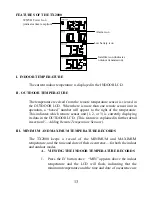
VIEWING DATE, WEEKDAY OR TIME ALARM
The date display section can be set to view the date, weekday, time alarm ((1)) and
((2)).
To set the LCD to display alarm time, press the
“DATE”
button and toggle through
display choices.
VI. ADDING REMOTE TEMPERATURE SENSORS (OPTIONAL)
The TX2000 is able to receive signals from 3 different remote temperature
sensors.
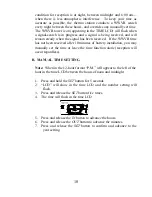
The remote temperature sensor model(s) that you choose will
come with their own set of instructions—follow these instructions for a
complete guide to setting up. Following are some brief instructions for the
basic set-up of remote temperature sensor units with the TX2000. These
extra sensors can be purchased through the same dealer as this unit. A
TX6U will monitor temperature only, a TX4U will monitor the temperature
and humidity, a TX3U will monitor temperature and display the
temperature on its LCD, and the TX3UP will monitor the temperature via a
probe for use in pools, spas, etc.
Note:
When setting up multiple units it is important to remove the batteries
from all existing units in operation, then to insert batteries first into all the
remote temperature sensor units, and in numeric sequence. Second install
batteries into the thermo station. Transmission problems will arise if this is
not done correctly and if the total time for set-up exceeds 6 minutes.