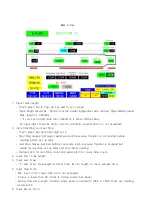
7. CHANGE PRODUCT SPECIFICATION
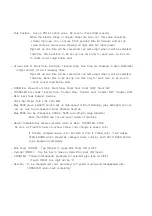
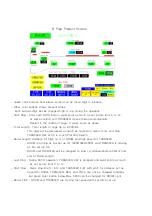
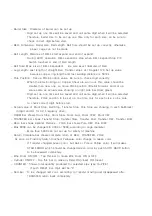
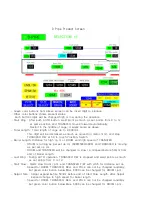
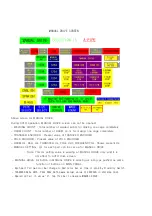
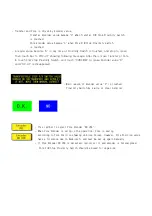
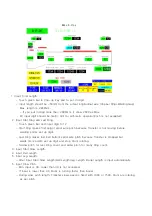
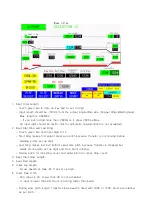
1. Select Pipe Type from PIPE SELECT screen.
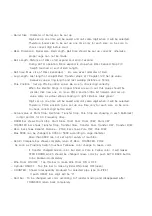
2. Select Size from SIZE SELECT screen.
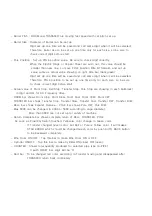
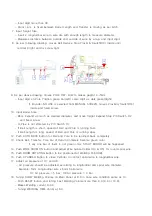
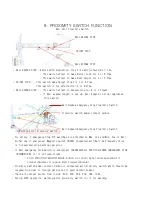
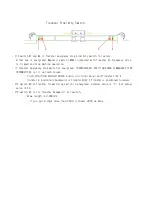
3. Inserts 2 longitudinal wire in opposite wire die hole, and adjust BELL EXPAND and
BELL REDUCE to fix Proximity Switch.
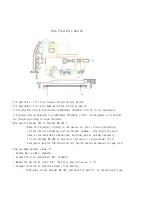
4. Push BELL REDUCE button and push POLE F/W until 5mm gap of back cylinder.
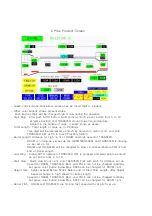
- If Touch Screen have correct set up chart already, push AUTO BACK button.
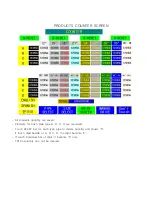
5. Set up new value on Touch Screen.
6. Adjust SLOW and FAST welding volume by volume dial on Control Panel.
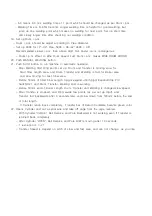
7. Adjust wire guide roller to make a round circle.
8. Insert rest 10 longitudinal wires to make 12 longitudinal wires.
9. Adjust height of cage receiver.
10. Push MANUAL WELDING button to weld 1 - 2 points, and push AUTO button.
11. As soon as cage is coming out, raise up cage receiver to touch cage.
Summary of Contents for KN-1248-G3
Page 3: ......
Page 4: ......
Page 5: ......
Page 6: ......
Page 54: ......
Page 55: ......
Page 57: ......
Page 61: ......
Page 62: ......
Page 63: ......
Page 64: ......
Page 65: ......
Page 66: ......
Page 67: ......
Page 68: ......
Page 69: ......
Page 71: ......
Page 73: ......
Page 75: ......
Page 77: ......
Page 78: ......
Page 79: ......
Page 80: ......
Page 81: ......
Page 82: ......
Page 90: ...MANUAL OF WIRE CUTTING MACHINE MODEL KN 2CT ...
Page 107: ......
Page 108: ......
Page 109: ......
Page 110: ......
Page 111: ......
Page 112: ......
Page 113: ......

