


Setup and Registration
6-27
6
Confirming and Deleting Registration Contents of Encryption Key
1
Follow steps 1 to 7 of
Registering an Encryption Key on
page 6-26
.
2
Press the
or
key to select the encryption key that
you want to confirm or delete.
3
Press [Menu] (the
Right Select
key).
4
Confirming Registration Contents of Encryption Key
1
Press the
or
key to select [Detail].
2
Press the
OK
key.
Deleting Encryption Key
1
Press the
or
key to select [Delete].
2
Press the
OK
key.
3
Press [Yes] (the
Left Select
key). This deletes the
encryption key.
5
Repeat steps 2 to 4 to confirm or delete other encryption
keys.
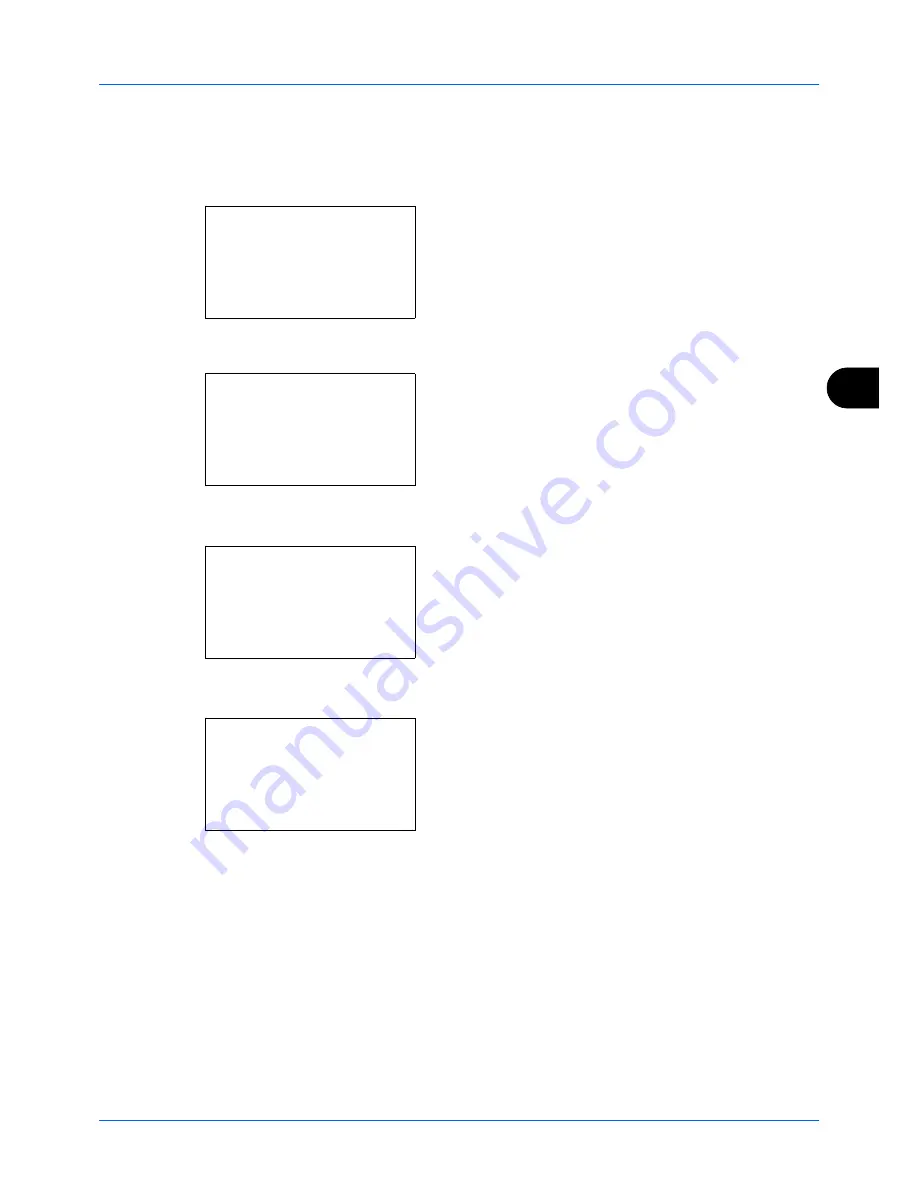
Encryption Key:
a
b
*********************
2
Key 02
3
Key 03
[ Menu ]
1
Key 01
Menu:
a
b
1
Register
*********************
3
Delete
2
Detail
Menu:
a
b
1
Register
2
Detail
*********************
3
Delete
Delete.
Are you sure?
z
Key 01
[ Yes ]
[ No ]
Summary of Contents for ECOSYS FS-1135MFP
Page 1: ...FS 1130MFP FS 1135MFP ...
Page 2: ......
Page 20: ...Part Names and Functions 1 6 ...
Page 54: ...FAX Operation Basic 3 26 ...
Page 112: ...Checking Transmission Results and Registration Status 5 12 ...
Page 152: ...About Network FAX 7 4 ...
Page 176: ...Index 4 ...
Page 177: ......
Page 178: ......
Page 179: ......
Page 180: ...First edition 2011 7 2MJKMEN000 ...