


Kvaser BlackBird Getting Started Guide
23(39)
Kvaser AB, Mölndal, Sweden
— www.kvaser.com
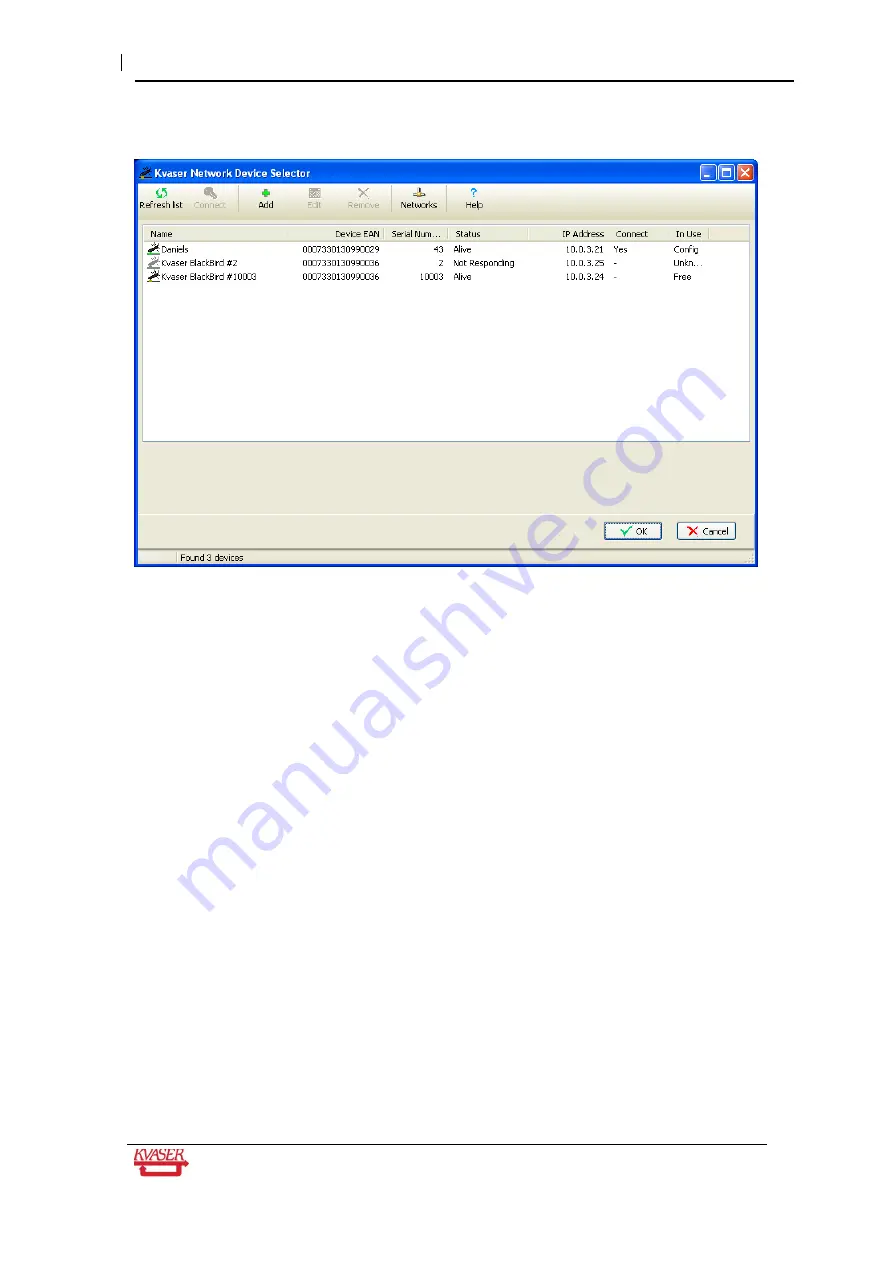
Then the following window will be seen:
In this case, three different devices are listed. You might see more or fewer, but you should
see your own device in the list.
6.3 Selecting the device you want to use
You may need to press the Refresh list button to update the list. The value in the
Connect
column should be “Yes” for your device, and the
In Use
column value should be “Free.”
If the value of
In Use
is “Config”, close the Kvaser Wireless Configuration program from the
previous section (and unplug the
device from the PC’s USB port).
If the value of
In Use
is “USB”, unplug the device from the PC’s USB port.
If the value of
Connect
is “-”, then select your device and press the
Connect
button on the
toolbar.
Don’t forget to supply external power to the device. Use 7 - 40 V DC on CAN channel 1, V+
on pin 9 and ground on pin 3.
6.4 Starting the service
The Found New Hardware wizard will now pop up and guide you through the installation of a
driver for a “Kvaser Network Device”. This will normally happen only the first time you connect
to a BlackBird.


