How to Access to Bit Assemblies
3-35
KVAL Service Manual
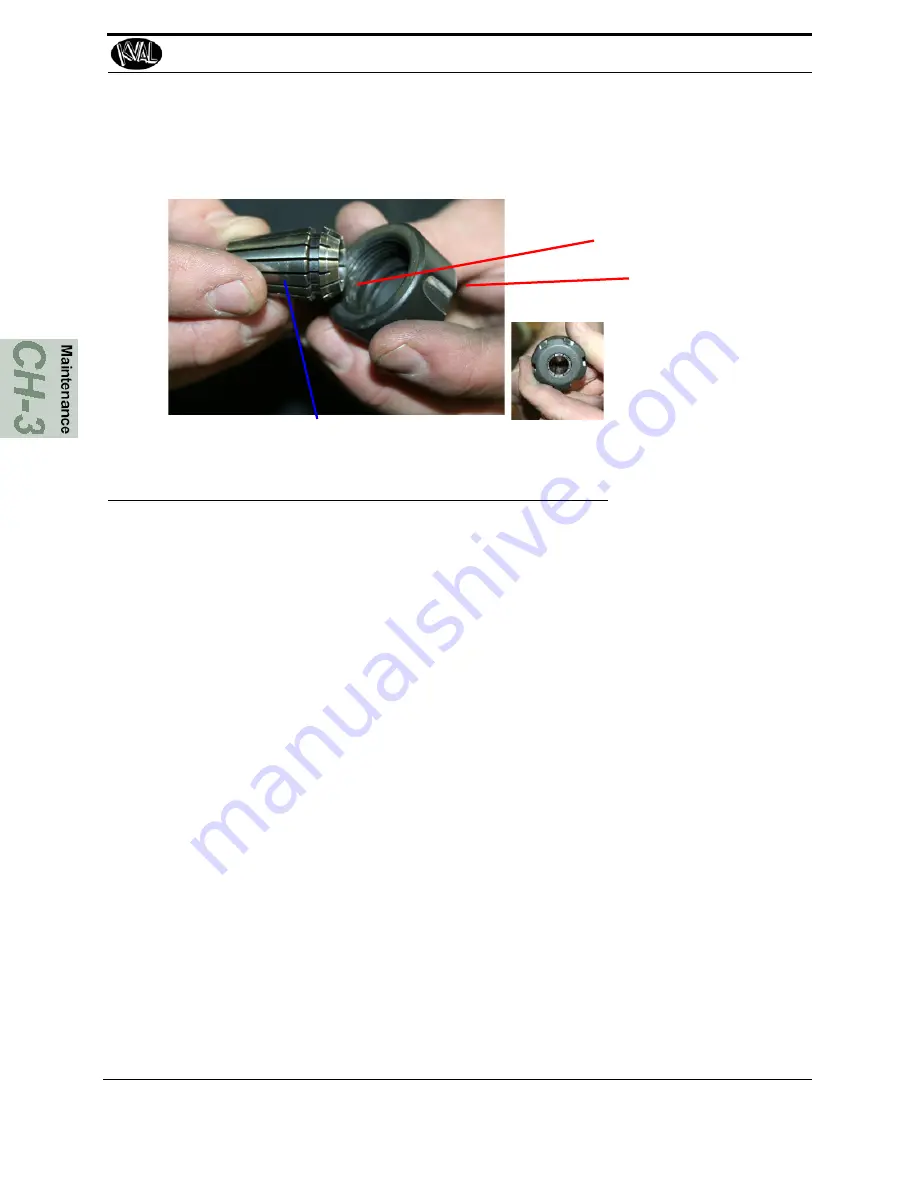
Inspect Collet
2.
Inspect and clean collet assembly.
FIGURE 3- 19.
Collet Assembly
Insert New Bit
Important:
For a correct bit installation, follow the instructions in the
Tips Section on
3.
Lightly attach collet assembly on drill.
4.
Insert the new bit into the assembly.
5.
Before tightening the collet assembly, adjust the bit depth to the measurement taken
in step 1. Ensure there is a minimum of 1/8” clearance from the end of the bit to the
bottom of the tool holder.
6.
Tighten the collet assembly.
7.
Inspect and verify the work. Clean the work area.
8.
This is especially important for the lower tools, where particulate can get trapped on
the tool surface instead of falling under gravity’s influence.
9.
Place the new chisel in the fixture, add the clamp, and tighten down the bolts back
onto the clamp.
10.
Verify that the chisel does not wobble in the fixture after tightening. Chisels should
be rigid and straight in the assembly.
11.
Push the chisel cylinder back into the machine head.
12.
Clear the machine area and turn back on air and power to the machine.
Collet Spindle
Collet
Nut
Verify that there is no damage or blu-
ing on the side of the collet
Summary of Contents for EFX
Page 4: ...KVAL EFX System Service Manual ...
Page 6: ...KVAL EFX System Service Manual ...
Page 11: ...Notes ...
Page 31: ...Safety Sign Off Sheet KVAL Service Manual 1 20 ...
Page 35: ...About Backing up the Data KVAL Service Manual 2 4 ...
Page 75: ...Collet Torque Values KVAL Service Manual 3 40 ...
Page 76: ...Notes ...
Page 103: ......
Page 106: ......
Page 107: ......


