12
requirements of CAN/ULC-S635 Standard for Lining Systems for New Masonry Chimneys. The
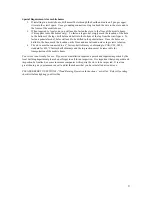
flue collar on the stove must be attached to the end of the liner for quick installation and removal:
a.
Remove the bolts in the flue collar and remove the collar.
b.
Install the flue collar to the liner using 3 stainless steel sheet metal screws.
c.
Slide the stove into place. (leveling bolts are supplied with the surround kit)
d.
From inside the stove, reach through the flue collar, grab the flue collar and pull down to
the stove, lining up the holes in the collar with the bolt holes in the stove. Re-attach the
flue collar with the bolts that came out.
e.
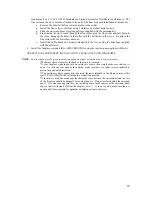
Install the baffle board and ceramic blanket into the stove using the directions supplied
with the baffle set.
3.
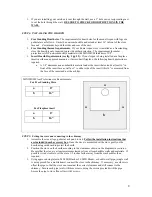
Install the fireplace surround (KA-ASPSURROUND) using the instructions supplied with the kit.
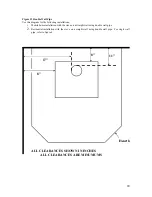
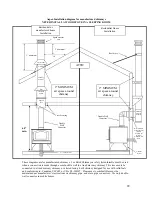
SEE SECTION 6 FOR INSERT INSTALLATION CLEARANCES AND DIAGRAMS.
NOTE
:
Consideration must be given to ensure an adequate supply of combustion air for your insert.
*Make sure the cover plate at the back of the stove is removed
*If your fireplace is equipped with an outside air source, then simply make sure that vent is
open. As with any vent open to the outside, make sure there is a rodent screen installed to
prevent any unwanted intrusion.
*If an outside air direct connection is desired, the parts included in the Kuma outside air kit
(part # KA-OUTSIDEAIR) will make this connection possible.
*If room air is used, the small gaps that naturally occur between the surround kit and the face
of the fireplace should be adequate for combustion air. Do not insulate behind the surround
panel. If combustion appears lazy, try installing some small spacers at the surround panel
edge so that it will stand off from the fireplace face ¼”.
It is up to you to make sure there is
an adequate free air supply for optimum performance from your insert.


