background image

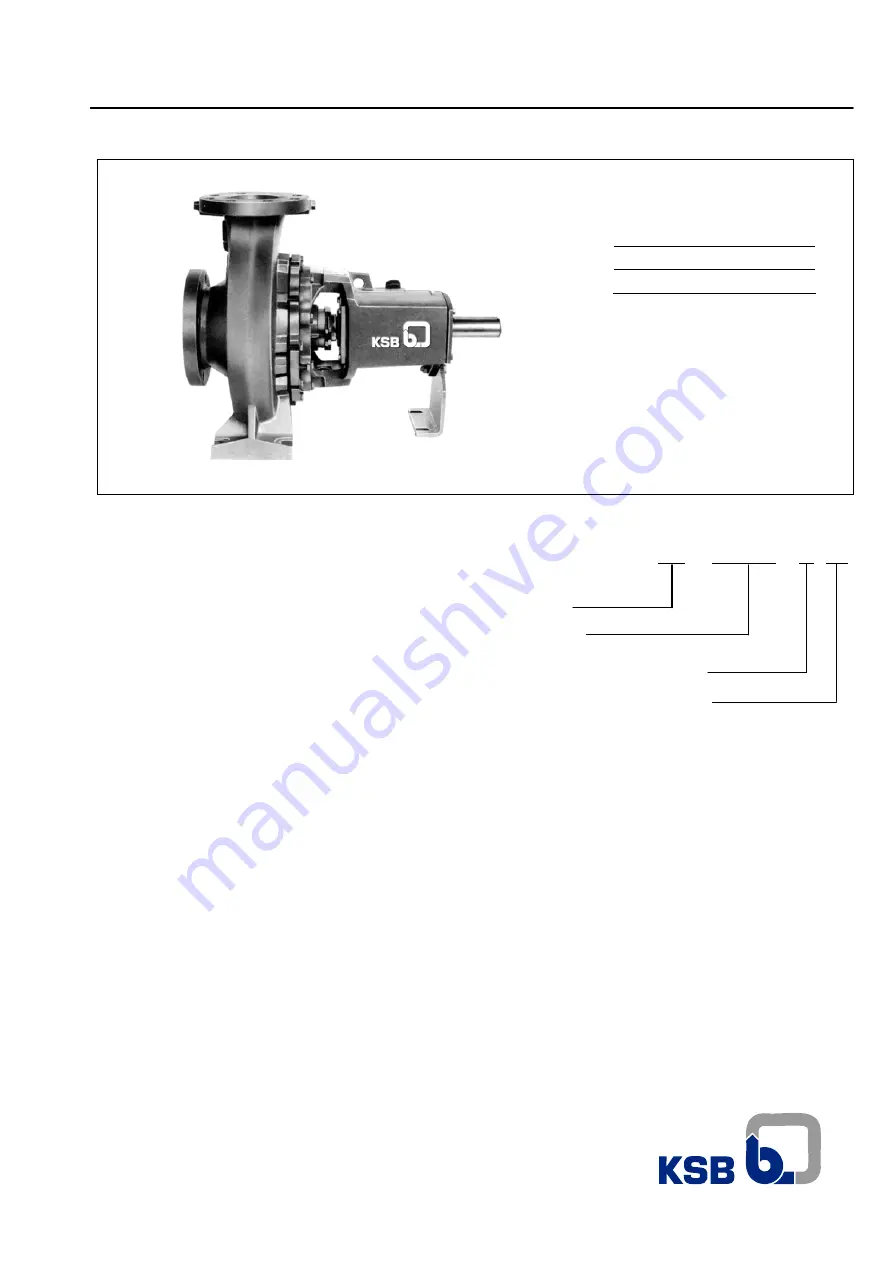
KSB Meganorm


Operating Instructions 


Nº A2742.8E/8 


1.


Application 

 
The KSB MEGANORM centrifugal pump is suitable for 
handling chemical products, aggressive organic and 
inorganic liquids, oil, water, condensate and other liquids, 
and it is mainly used in the following applications: 


-


Sugar and alcohol industry 

-

 Water 

supply 

-

 Irrigation 

-

 Air 

conditioning 

-

 Fire 

fighting 

-

 Drainage 


2. Design 
  

Horizontal, single-stage, end suction with top centerline 
discharge. The “back-pull-out”design allows maintenance 
and repair services through the backside, without 
dismantling piping supports. 
Dimensionally built to ISO 2858/DIN 24256 and 
mechanically to ANSI B73.1.


3. Designation 


KSB       Meganorm      80 - 200   


Trade Mark 
   
Model / Type 
   
Discharger Nozzle Diameter (mm)   
   
Nominal Impeller Diameter(mm)   


4. Operating data 


Sizes 


- DN 25 up to 150 ( 1 ¼” to 6’) 

   
Flow      

              - up to 3,082 gpm (700 m3/h) 

   
Head 


- to 460 ft (140 m) 

   
Temperature 


- to 221ºF (105º C) 

 
Max. Suction pressure 

- to 145 psi (10 bar) 

 
Speed   


- to 3,500 rpm 


Centrifugal pump for general use 

Line : 

Mega

Standard : 

ISO 2858

Summary of Contents for Meganorm

Page 1: ...e end suction with top centerline discharge The back pull out design allows maintenance and repair services through the backside without dismantling piping supports Dimensionally built to ISO 2858 DIN 24256 and mechanically to ANSI B73 1 3 Designation KSB Meganorm 80 200 Trade Mark Model Type Discharger Nozzle Diameter mm Nominal Impeller Diameter mm 4 Operating data Sizes DN 25 up to 150 1 to 6 F...

Page 2: ...ests about the product or when ordering spare parts please indicate the type of pump and the Production Order nº serial nº This information can be obtained from the nameplate on the actual pump If the nameplate is not available the PO nº is engraved in low relief on the suction flange and on the discharge flange you may find the impeller diameter Attention This manual contains very important instr...

Page 3: ... 3 379 7 587 1 881 3 619 8 206 1 323 2 432 4 592 10 033 1 731 2 762 5 149 11 035 Max rot speed rpm 3500 1750 3500 1750 Max suction pressure bar psi 10 145 d e Max discharge pressure x Temp bar psi See table 7 mm 10 12 5 Packing inch 3 8 1 2 Shaft Seal Mech seal f inch 1 3 8 1 3 4 2 3 8 2 3 4 Axial thrust balance c By bored hole on impeller Min max flow 0 1 Qopt 1 1 Qopt 0 15 Qopt 1 1 Qopt Flanges ...

Page 4: ...plication After this operation the pump should be drained again Exposed shaft areas i e shaft end area between the gland cover and the bearing bracket receive a brush application of TECTYL 506 On oil lubricated bearing brackets the bearings receive a layer of MOBILARMA 524 by spray The pump must be protected against material damage humidity dust and aggressive environment in an indoor place 8 1 Ad...

Page 5: ...mpleted place the base on the foundation block non shrinking mortar is highly recommended Please see Fig 4 Fig 4 Base grouting 9 2 Base leveling Check if the base plate is equally resting on its chock blocks if it is correctly set place and tighten uniformly the nuts on the foundation bolts With the help of a precision level check the leveling of the base longitudinally and transversally If the ba...

Page 6: ...s the two rims of the sleeve coupling To control axially use a feeler gauge Please see Fig 9 Observe the sleeve coupling hub clearance specified by manufacturer Fig 9 Alignment with straight edge and feeler gauge 9 4 1 Motors without adjustment bolts For the alignment correction loosen the bolts from the drive replacing them laterally or insert shims to correct the height as required 9 4 2 Motors ...

Page 7: ...ump suction all recommendations of the HYDRAULIC INSTITUTE referred to the these types of installation should be strictly observed l Even if the coupling alignment has been checked before tightening it has to be repeated after the final tightening of the suction pipeline m To facilitate the mounting of the suction pipeline and the fitting of the parts install as necessary flexible joints of the fo...

Page 8: ...e The following items must be provided for pump first startup a Pump and its driver must be securely fastened to the base plate b Fix firmly the suction and discharge pipelines c Connect and run auxiliary pipelines and connections if any d Wiring should be done upon assuring that all motor thermal overload protections are securely and adequately connected and set e Check bearings for cleanliness a...

Page 9: ...d be called immediately 10 3 1 Weekly supervision Check a Operating point of the pump b Electric motor consumed current and network voltage c Suction pressure d Vibrations and irregular noises e Oil level f Packing leakage 10 3 2 Monthly supervision Check a Oil change interval Consult chapter 11 2 b Bearings temperature 10 3 3 Semestral supervision Check a Fixing bolts on pump driver and base b Al...

Page 10: ...Clean the stuffing box chamber Check the condition of the shaft protecting sleeve If it is rough or has grooves that could damage the packing the sleeve may be remachined on its diameter up to a maximum of 1 mm or replaced by a new one Cut new packing rings if possible with oblique edges see Fig 13 To facilitate this cutting operation a very simple device may be constructed as shown in Fig 14 Fig ...

Page 11: ...tract the stationary face of mechanical seal 433 from the pressure cover 163 pumps with mechanical seal After these instructions are completed the parts will be available for analysis and maintenance 11 4 2 Dismantling sequence of the pump with mechanical seal and seal gland Loosen the auxiliary pipings and the seal gland Follow the instructions mentioned in the O M booklet of the Mechanical Seal ...

Page 12: ...e flat gasket 400 2 at the pressure cover fit the discharge cover 163 at the bearing bracket 330 and fix it with bolts 901 4 tighten them crossly and uniformly 8 Assemble the flat gasket 400 1 the key 940 1 the impeller 230 grease its internal diameter with Molykote G the circlip 932 the flat gasket 400 4 and the impeller bolt 906 9 Assemble the key 940 2 at the shaft drive side lock the shaft wit...

Page 13: ...13 Meganorm 12 Exploded view Part list 12 1 Pumps with packing Fig 16 Pumps with mechanical seal Fig 17 Impeller fixing detail for size 25 150 ...

Page 14: ...2 Casing wear ring 502 1 Key 940 1 Impeller wear ring 2 503 Key 940 2 Thrower 3 507 Nameplate 970 1 Only applicable for 25 150 2 Not applicable for 25 150 32 125 and 32 125 1 3 Not applicable for pumps with mechanical seal 4 Not applicable for pumps with packing 13 Recommended spare parts Spare parts recommended for a continuos 2 year continuous service according to the DIN 24296 Standard Number o...

Page 15: ...Shaft sealing Temperature º F Temperature º C Pressure bar psi Pressure bar psi 18 4 up to 149 28 up to 65 12 174 199 93 11 160 Gland packing 221 105 10 145 16 232 Mechanical seal 194 90 10 145 Table 7 16 Wearing areas maintenance Change the wear rings of volute casing and or casing cover if any when they are wornout and the impeller in good condition KSB and Dealer Network supply wear rings to re...

Page 16: ...áulicas SA Rua José Rabello Portella 400 Várzea Paulista SP 13220 540 Brasil http www ksb com br Tel 11 4596 8500 Fax 11 4596 8580 SAK Serviço de Atendimento KSB e mail gqualidade ksb com br Fax 11 4596 8656 A2742 8E 8 09 03 2009 ...

Reviews: