Quick Start
14
eters in EX Edit mode. The content of each type is
specified by the Global mode parameters “Ex Draw-
bar Type 1-1” through “Ex Drawbar Type 4-4.” If you
want to check the footage that is assigned to each bar,
use EX Edit mode to check which type is used, and
use Global mode to check the settings for each.
EX Percussion
2-2/3'
: 2-2/3' is assigned when the PERCUSSION
section [3rd] key LED is lit, and 4' is assigned when
the LED is dark.
2'
: 16' is assigned.
1-3/5'
: 5-1/3' is assigned.
1/1-3'
: The footage assigned to the 16' EX Drawbar is
assigned. However, EX Drawbar 16' is assigned a
footage by the EX Edit mode “Ex Drawbar Type”
parameter, as described above. If you want to check
the footage that is actually assigned to this bar, use EX
Edit mode to check which type is used, and use Global
mode to check the settings for each.
1'
: The footage assigned to the 5-1/3' EX Drawbar is
assigned. However, 5-1/3' of Drawbar 2 is assigned a
footage by the EX Edit mode parameter “Ex Drawbar
Type,” as described above. If you want to check the
footage that is actually assigned to this bar, use EX
Edit mode to check which type is used, and use Global
mode to check the settings for each.
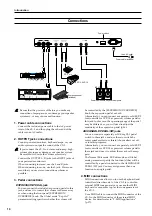
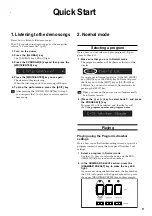
3. Selecting a different program.
Use the [-] [+] keys to select the bank, and the PRO-
GRAM [1]–[8] keys to select the number.
When you select a different program, the program
parameters other than the drawbar settings will be
recalled and assigned to the sound.
If you are using the Split function, the notes to the
right of the split point will be the upper keyboard,
and the notes to the left of (and including) the split
point will be the lower keyboard.
The lower [DRAWBAR PRESET] key will automati-
cally be selected (no other selection will be possible),
and the lower keyboard will play the “EX LOWER”
parameter settings of the program. If you want to
change the tone of the lower keyboard while you
play, you will need to create several different
programs with the desired drawbar settings before-
hand, and switch these programs while you play.
If you want to change the preset drawbar settings,
edit the parameters in EX Edit mode. For details,
refer to “Editing the drawbar parameters” (p.22).
4. Split function
You can divide the CX-3's keyboard into upper and lower
areas to play the UPPER and LOWER tone generators
independently, giving you possibilities similar to when
playing an actual two-manual instrument.
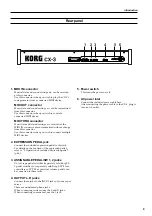
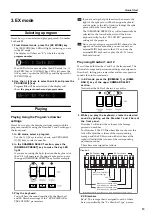
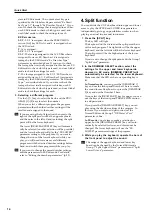
1. Press the [SPLIT] key
.
The key LED will light.
The keyboard will be divided at the split point that is
set for each program. The right side will be the upper
keyboard, and the left side will be the lower keyboard.
The split point will be the highest note of the lower
keyboard.
If you want to change the split point, edit the Group 7
“Split Point” parameter.
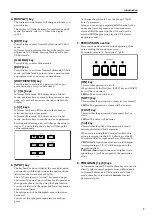
2. In the DRAWBAR SELECT section, select the
settings for the upper and lower keyboards.
However in EX mode, [DRA
WBAR PRESET] will
automatically be selected for the lower keyboard.
Make sure that the LED of the corresponding key is
lit.
In Normal mode
, you can press the [DRAWBAR 1]
key and use the front panel Drawbar 1 bars to create
the sound for each keyboard, or press the [DRAWBAR
2] key and use the Drawbar 2 bars.
If you select the [DRAWBAR 2] key for upper, you can
use the keys of the front panel PERCUSSION section
to add percussion.
If you press the [DRAWBAR PRESET] key, you can
play using the drawbar settings of the program. In
this case if you want to add percussion, set the
Normal Edit mode Group 2 “DB Preset's Perc”
parameter to Ena.
In EX mode
, you are free to make a selection for
upper, but the [DRAWBAR PRESET] key will auto-
matically be selected for lower, and this cannot be
changed. The lower keyboard will use the “EX
LOWER” parameter settings of the program.
3. While you play the keyboard, operate the bars of
the front panel to adjust the sound.
The range of the upper keyboard and lower key-
board can be changed by the Normal Edit mode
Group 7 “Split Upper Octave” parameter and “Split
Lower Octave” parameter.
Summary of Contents for CX-3 Combo Organ
Page 1: ...Owner s Manual 4 E...


