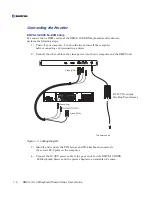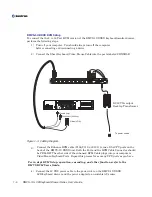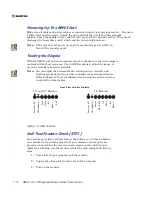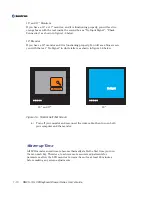
Drawer Setup
1-5
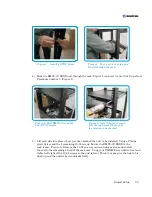
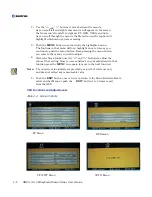
Figure 3. Install 4 STOP Screw
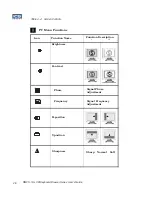
Figure 4. Turn unit to the side and
Feed it through the rack
.
4)
Slide the RMVS-1U.XXXX unit through the rack (Figure 4) and rest it onto the 4 Stops from
Procedure number 3. (Figure 5)
5)
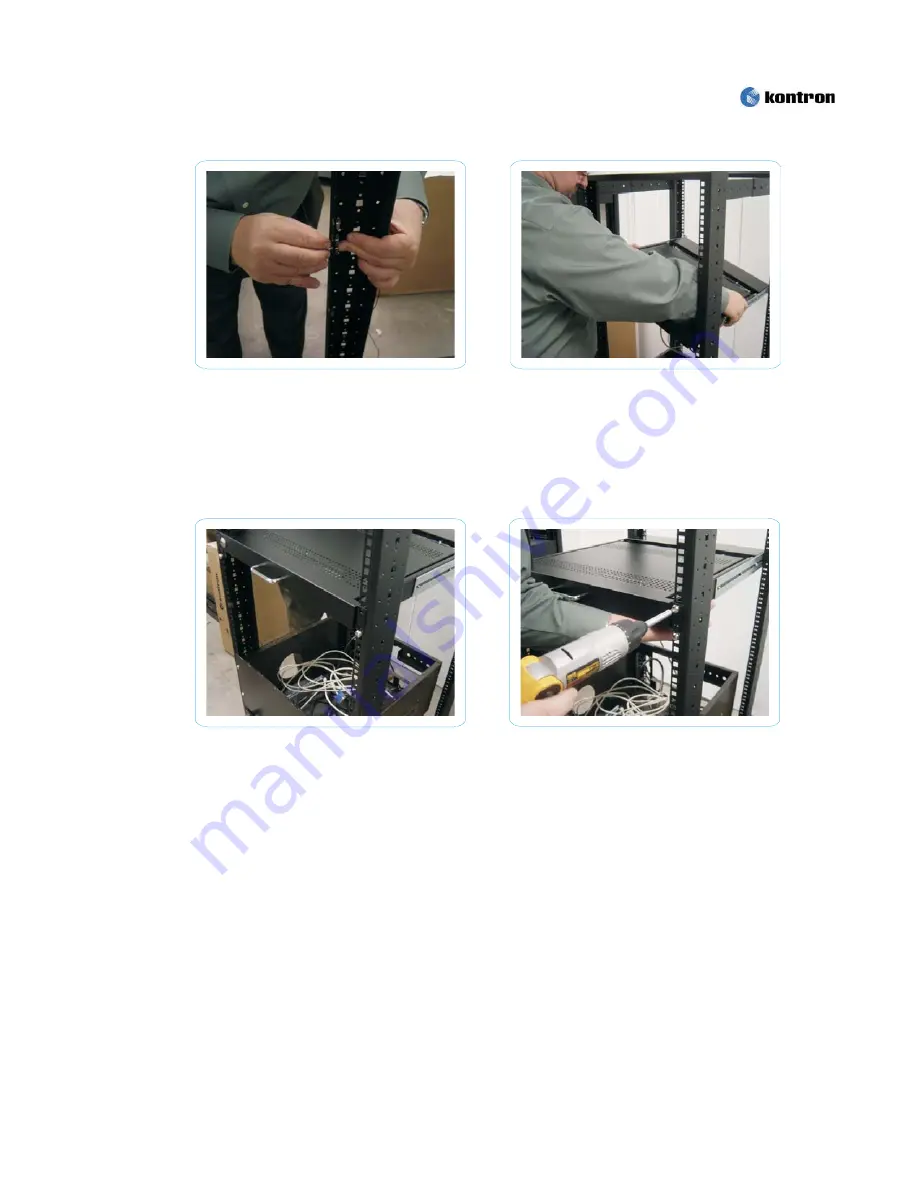
Lift each side into place where you have marked the unit to be installed. Using a Philips
screw driver and the 4 remaining 10-32 screws, Secure the RMVS-1U.XXXX to the
rack frame. (Figure 6). Remove the 10-32 screws you were using as stops and install
them into the remaining 4 hold of the rack ears. Using your PHILIPS screwdriver level and
tighten all eight of the 10-32 screws so the unit is level. Check to make sure the lock tab is
lined up and the unit locks and unlocks freely.
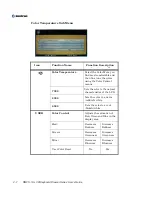
Figure 5. Rest RMVS Unit on the
Four STOP screws
Figure 6. Install the four screws
Into the top holes of the ears at
the locations you marked.
Summary of Contents for RMVS-1U
Page 6: ...This page intentionally left blank Vi RMVS 1U LCD Keyboard Drawer Series User s Guide...
Page 8: ...This page intentionally left blank Viii RMVS 1U LCD Keyboard Drawer Series User s Guide...
Page 12: ...This page intentionally left blank xii RMVS 1U LCD Keyboard Drawer Series User s Guide...
Page 14: ...This page intentionally left blank xiv RMVS 1U LCD Keyboard Drawer Series User s Guide...
Page 18: ...This page intentionally left blank xviii RMVS 1U LCD Keyboard Drawer Series User s Guide...
Page 20: ...This page intentionally left blank xx RMVS 1U LCD Keyboard Drawer Series User s Guide...
Page 24: ...xxiv This page intentionally left blank RMVS 1U LCD Keyboard Drawer Series User s Guide...
Page 37: ...1 10 RMVS 1U LCD Keyboard Drawer Series User s Guide This page intentionally left blank...
Page 38: ...1 11 RMVS 1U LCD Keyboard Drawer Series User s Guide This page intentionally left blank...


