42
6.
Replace the front bezel. For instructions, see “Re-Installing the Front Bezel“ in
Section 3.2.
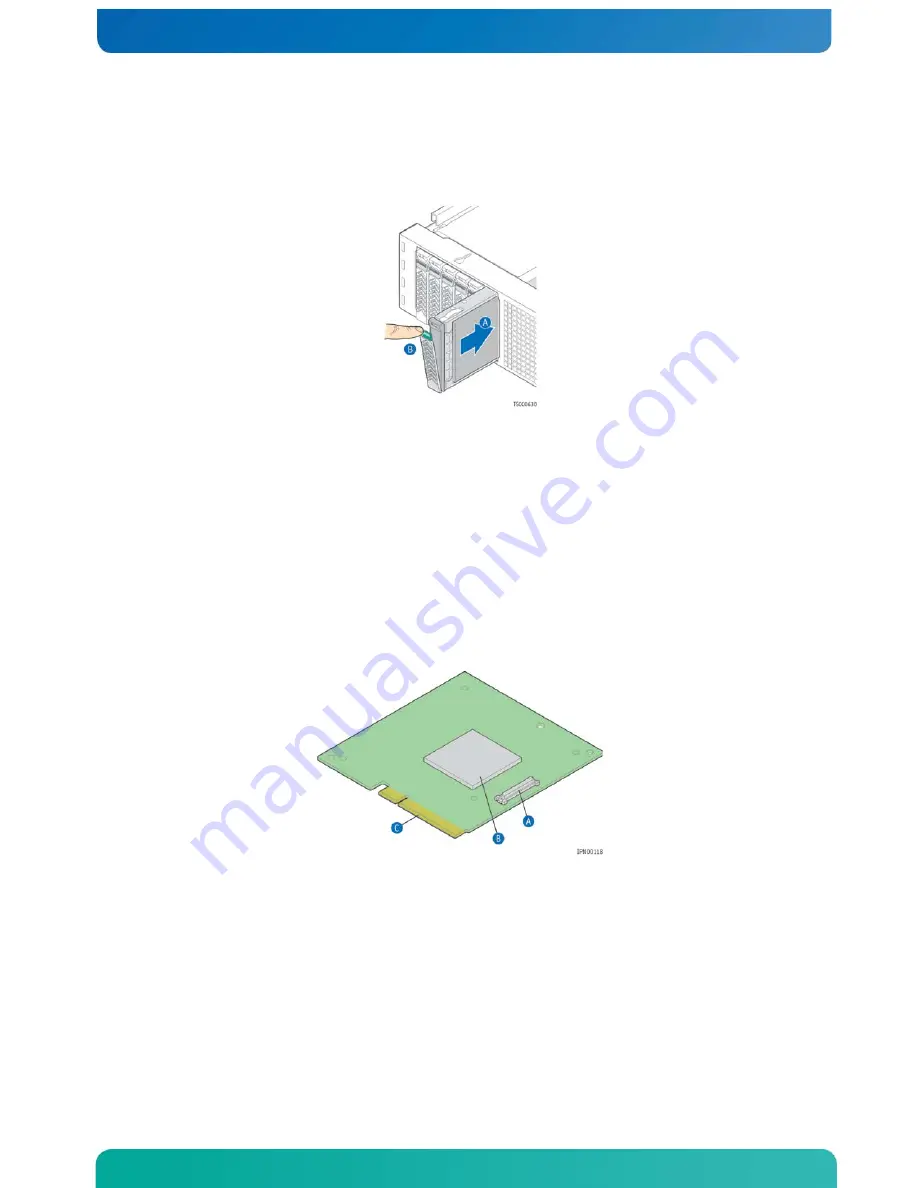
Figure 29. Inserting a New Hard Drive into the Chassis
4.3
Installing a SAS/SATA Control Module
Hard disk drives are not supported on the CG2100 server by default. One of two
separately-orderable controller options is required. The SAS/SATA control module is
the solution for basic SAS/SATA drive support. If you need hardware RAID support,
however, please see Section 4.4, “Installing a Hardware RAID Module“.
Figure 30 shows the SAS/SATA control module, which adds SAS/SATA support for the
server. The module’s interface to the baseboard for integrated software RAID 0/1/10
capability is through a PCI Express bus flex cable (“A”) to the bridge board. The
SAS/SATA control module is located in the front left of the chassis between the power
supply system and the SAS/SATA backplane board. The module’s gold edge connector (“C”)
mates with the SAS/SATA backplane board.
Figure 30. SAS/SATA Control Module
Before you can install the SAS/SATA control module, you need to slide the power supply
module(s) out a little for easy access to the module bracket. There is also a sheet
metal bracket that the SAS/SATA control module will sit in and this has to come off
also before the module can be installed.
1.
Remove the front chassis cover. For instructions, see “Removing the Front Cover” in
Section 3.2.
2.
Slide the power supply modules(s) out a few inches for easier access when
installing the SAS/SATA module and bracket. (Figure 31, “A”)
3.
Unscrew the sheet metal bracket in the SAS/SATA control module location (“B”)
4.
Install the control module into the bracket using the screw provided. (“C”)


