


Configuration Menu Overview
30
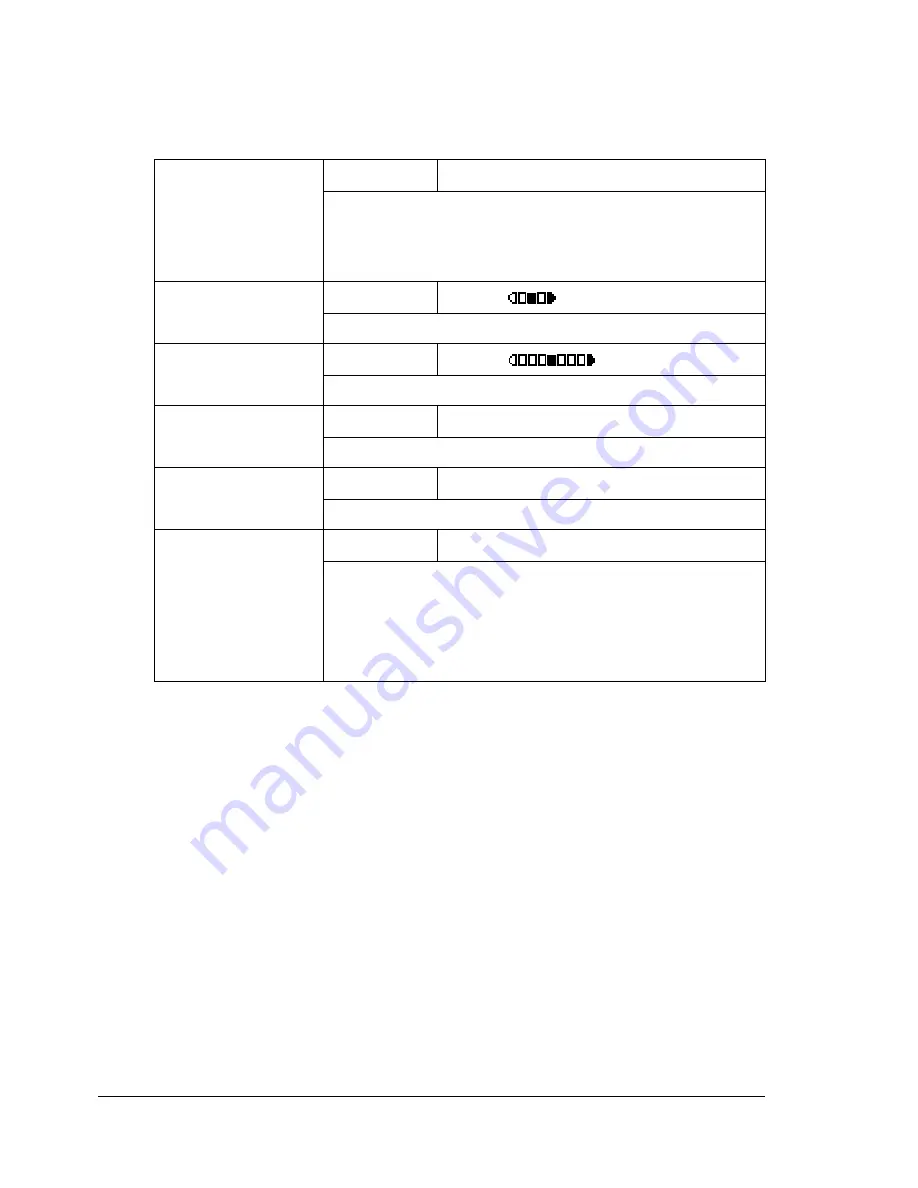
COPY SETTING Menu
"
Manufacturer’s default settings appear in bold.
"
Settings for
1 MODE
and
5 QUALITY
can also be specified using
the
Quality
key.
Press the
Quality
key once to display the setting for
1 MODE
.
Press the
Quality
key twice to display the setting for
5 QUALITY
.
"
Settings for
3 DENSITY LEVEL(M)
can also be specified using
the
Light/Dark
key.
"
Settings for
4 COLLATE
can also be specified using the
Collate
key.
"
Settings for
6 PAPER PRIORITY
can also be specified by pressing
the
Function
key, then selecting
1. TRAY SELECT
.
1 MODE
Setting
MIX
/
TEXT
/
PHOTO
Select the type of document being copied.
After selecting
TEXT
, set the copy density to either
AUTO
or
MANUAL
.
2 DENSITY
LEVEL(A)
Setting
LIGHT
DARK
Adjust the density of the background color.
3 DENSITY
LEVEL(M)
Setting
LIGHT
DARK
Specify the default copy density.
4 COLLATE
Setting
ON
/
OFF
Select whether or not collated copying is given priority.
5 QUALITY
Setting
NORMAL
/
FINE
Select the printing resolution.
6 PAPER
PRIORITY
Setting
TRAY1
/
TRAY2
Select the whether Tray 1 or Tray 2 is given priority for
use.
"
If Tray 2 is not installed,
*NOT AVAILABLE*
appears.
Summary of Contents for Magicolor 2590
Page 1: ...magicolor 2590MF Printer Copier Scanner User s Guide 4556 9602 01A 1800835 001B...
Page 14: ...Contents viii...
Page 15: ...1 Introduction...
Page 24: ...Getting Acquainted with Your Machine 10...
Page 25: ...2 Control Panel and Configuration Menu...
Page 52: ...Configuration Menu Overview 38...
Page 53: ...3 Media Handling...
Page 71: ...Loading Media 57 10 Carefully close the engine cover...
Page 77: ...Loading Media 63 6 Reattach the lid to Tray 2 7 Reinsert Tray 2 into the machine...
Page 87: ...4 Using the Printer Driver...
Page 96: ...Printer Driver Settings 82...
Page 97: ...5 Using Direct Print...
Page 100: ...Camera Direct Photo Printing 86...
Page 101: ...6 Using the Copier...
Page 112: ...Making Advanced Copies 98...
Page 113: ...7 Using the Scanner...
Page 138: ...Basic Scan to PC Operation 124...
Page 139: ...8 Replacing Consumables...
Page 155: ...9 Maintenance...
Page 164: ...Cleaning the machine 150 8 Carefully close the engine cover 9 Carefully close the scanner unit...
Page 170: ...Storing the machine 156...
Page 171: ...10 10 Troubleshooting...
Page 181: ...Clearing Media Misfeeds 167 8 Reinstall the drum cartridge 9 Carefully close the engine cover...
Page 185: ...Clearing Media Misfeeds 171 20 Reinsert Tray 2...
Page 214: ...Status Error and Service Messages 200...
Page 215: ...11 11 Installing Accessories...
Page 223: ...A Appendix...
Page 236: ...222...


