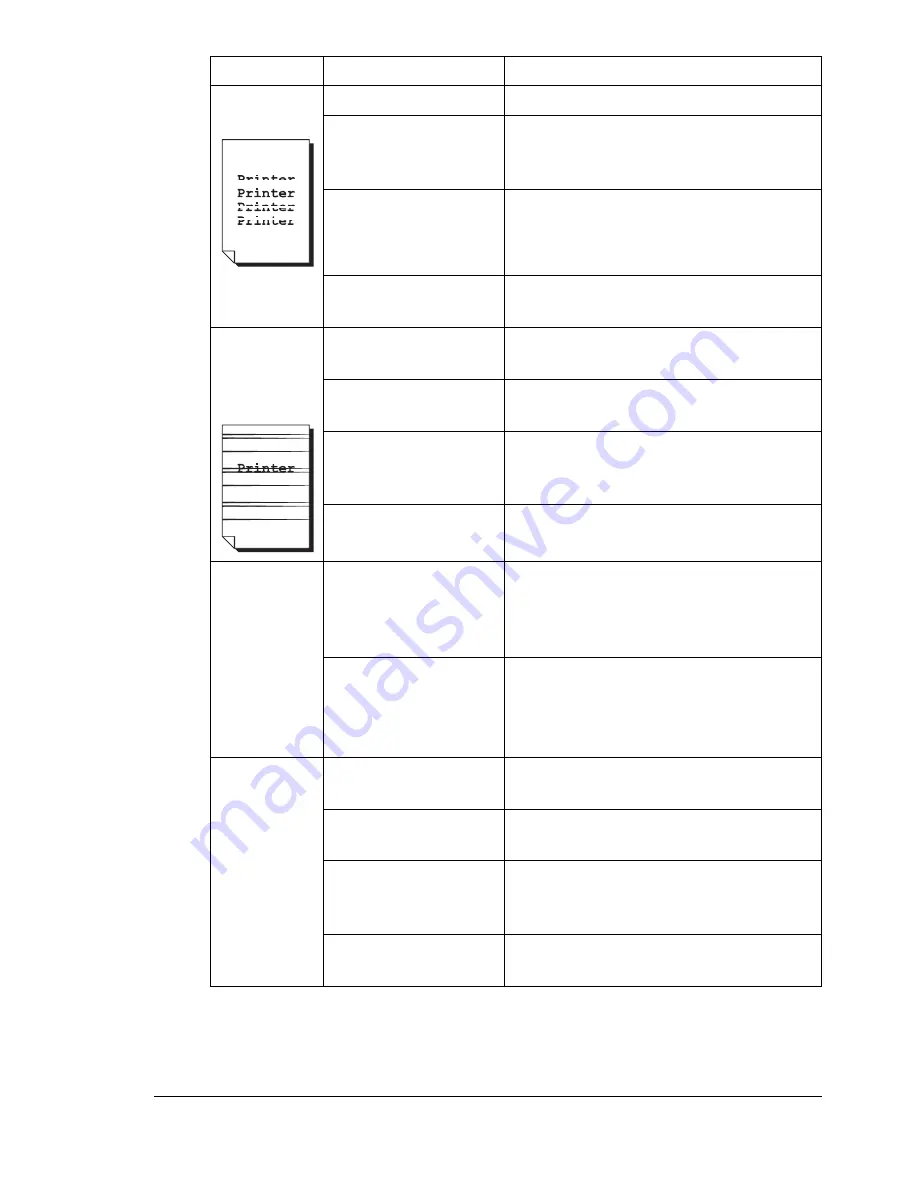
Solving Problems with Printing Quality
189
Image
defects.
The laser lens is dirty. Clean the laser lens.
A toner cartridge may
be leaking.
Remove the toner cartridges and
check for damage. If it is damaged,
replace it.
A toner cartridge may
be defective.
Remove the toner cartridge with the
color causing the abnormal image.
Replace it with a new toner cartridge.
The drum cartridge
may be defective.
Remove the drum cartridge and check
for damage. If it is damaged, replace it.
Lateral lines
or bands
appear on
image.
The machine is not
level.
Place the machine on a flat, hard, level
surface.
The media path is
dirty with toner.
Print several sheets and the excess
toner should disappear.
One or more of the
toner cartridges may
be defective.
Remove the toner cartridges and
check for damage. If it is damaged,
replace it.
The drum cartridge is
defective.
Remove the drum cartridge and check
for damage. If it is damaged, replace it.
Colors look
drastically
wrong.
One or more of the
toner cartridges may
be defective.
Remove the toner cartridges and verify
that the toner is distributed evenly on
each cartridge roller, and reinstall the
toner cartridges.
One or more of the
toner cartridges may
be low or empty.
Check the control panel for an
X
TONER LOW
or
X TONER EMPTY
message. If necessary, replace the
specified toner cartridge.
Colors are
not register-
ing properly;
colors are
mixed or
have
page-to-pag
e variation.
The engine cover is
not properly closed.
Make sure that the engine cover is
closed.
The drum cartridge is
not correctly seated.
Remove the drum cartridge and rein-
stall it.
One or more of the
toner cartridges may
be defective.
Remove the toner cartridges and
check for damage. If it is damaged,
replace it.
The media is moist
from humidity.
Remove the moist media and replace it
with new, dry media.
Symptom
Cause
Solution
Summary of Contents for Magicolor 2590
Page 1: ...magicolor 2590MF Printer Copier Scanner User s Guide 4556 9602 01A 1800835 001B...
Page 14: ...Contents viii...
Page 15: ...1 Introduction...
Page 24: ...Getting Acquainted with Your Machine 10...
Page 25: ...2 Control Panel and Configuration Menu...
Page 52: ...Configuration Menu Overview 38...
Page 53: ...3 Media Handling...
Page 71: ...Loading Media 57 10 Carefully close the engine cover...
Page 77: ...Loading Media 63 6 Reattach the lid to Tray 2 7 Reinsert Tray 2 into the machine...
Page 87: ...4 Using the Printer Driver...
Page 96: ...Printer Driver Settings 82...
Page 97: ...5 Using Direct Print...
Page 100: ...Camera Direct Photo Printing 86...
Page 101: ...6 Using the Copier...
Page 112: ...Making Advanced Copies 98...
Page 113: ...7 Using the Scanner...
Page 138: ...Basic Scan to PC Operation 124...
Page 139: ...8 Replacing Consumables...
Page 155: ...9 Maintenance...
Page 164: ...Cleaning the machine 150 8 Carefully close the engine cover 9 Carefully close the scanner unit...
Page 170: ...Storing the machine 156...
Page 171: ...10 10 Troubleshooting...
Page 181: ...Clearing Media Misfeeds 167 8 Reinstall the drum cartridge 9 Carefully close the engine cover...
Page 185: ...Clearing Media Misfeeds 171 20 Reinsert Tray 2...
Page 214: ...Status Error and Service Messages 200...
Page 215: ...11 11 Installing Accessories...
Page 223: ...A Appendix...
Page 236: ...222...


