


Printer Drivers
Back
Index
Contents
Next
95
WINDOWS XP / WINDOWS 2000
Operating Systems
Removing a Printer Driver
1.
From the
Start
menu select
Settings
, then
select
Printers
.
2.
Select the ML-500 printer.
3.
From the
File
menu select
Delete
.
4.
Click
Yes
for the prompt.
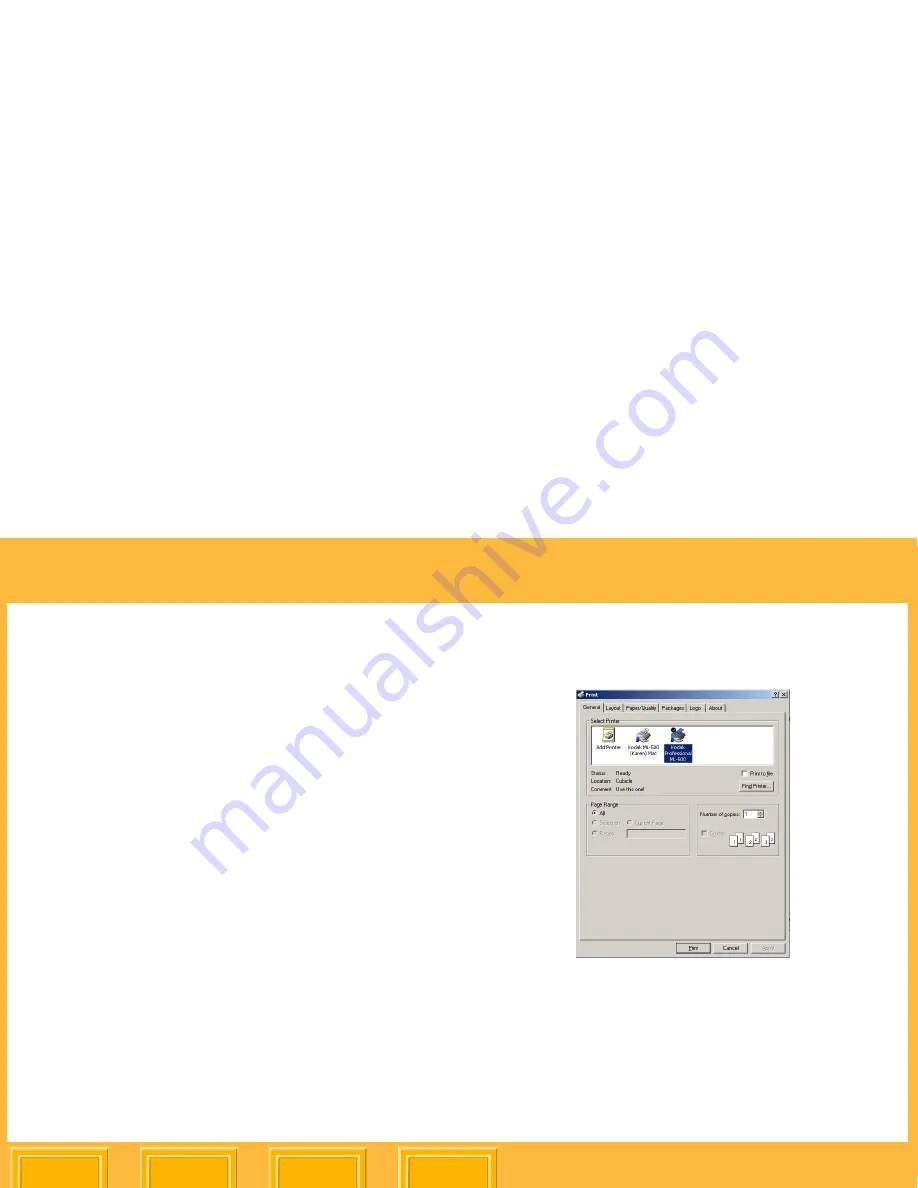
Displaying the Printing Preferences Screen
When you access the Printing Preferences screen
through the
Start
menu, you can change settings
for print jobs in all applications.
When you access the Printing Preferences screen
while printing a file from an application, you can
change settings for that print job only.


