2
12
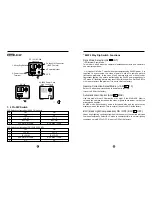
Connection
1. Lens
It is recommended to use a good quality lens to improve the picture quality
under low light conditions.
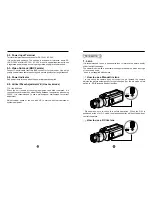
The camera is built with a universal mounting mechanism on which any type
of lens can be used.
* Lens is not supplied with camera.
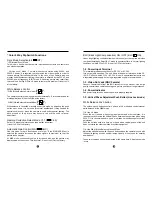
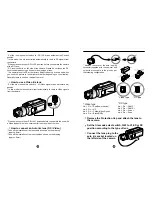
How to use a Manual Iris lens
* In this set-up the camera does not control the iris. Instead the camera
adjusts the picture automatically for light changes. Set the Iris mode select
switch to ES (Electronic Shutter) position.
* Please make sure to check this before operation. When the S/W is
positioned at the VI or DC mode, the electronic shutter will be off and will not
control the picture.
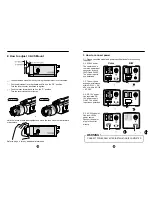
How to use a DC Iris lens
11
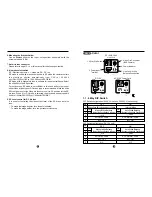
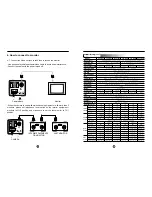
2-2. Power Input Terminal
This terminal provides connections for DC 12V or AC 24V.
It is not polarity sensitive. The unit has a wide power tolerance, within DC
10V~DC 40V or within AC 15V~AC 30V. It is not a special requirement to use
a regurated power supply, but using a regurated supply is recommended.
2-3. Video Out Jack (BNC Female)
Connect Coaxial cable from this BNC connector to the monitor. Use a high
quality coaxial video cable to ensure good picture quality over long distances.
2-4. Power Indicator
Red power lamp turns on when the power is properly supplied.
2-5. Vertical Phase Adjustment V.R (Line Lock mode)
◆
At the L/L Mode
When the unit is used with system equipment and other cameras, it is
required to synchronize the Vertical Phase between the cameras when using
24VAC. It is recommended to use a multi-channel oscilloscope for correct
adjustment.
Adjust vertical phase of the unit with V.R to match with other cameras or
system equipment.


