


Revision Sheet
HD-10 II User Manual
Page i
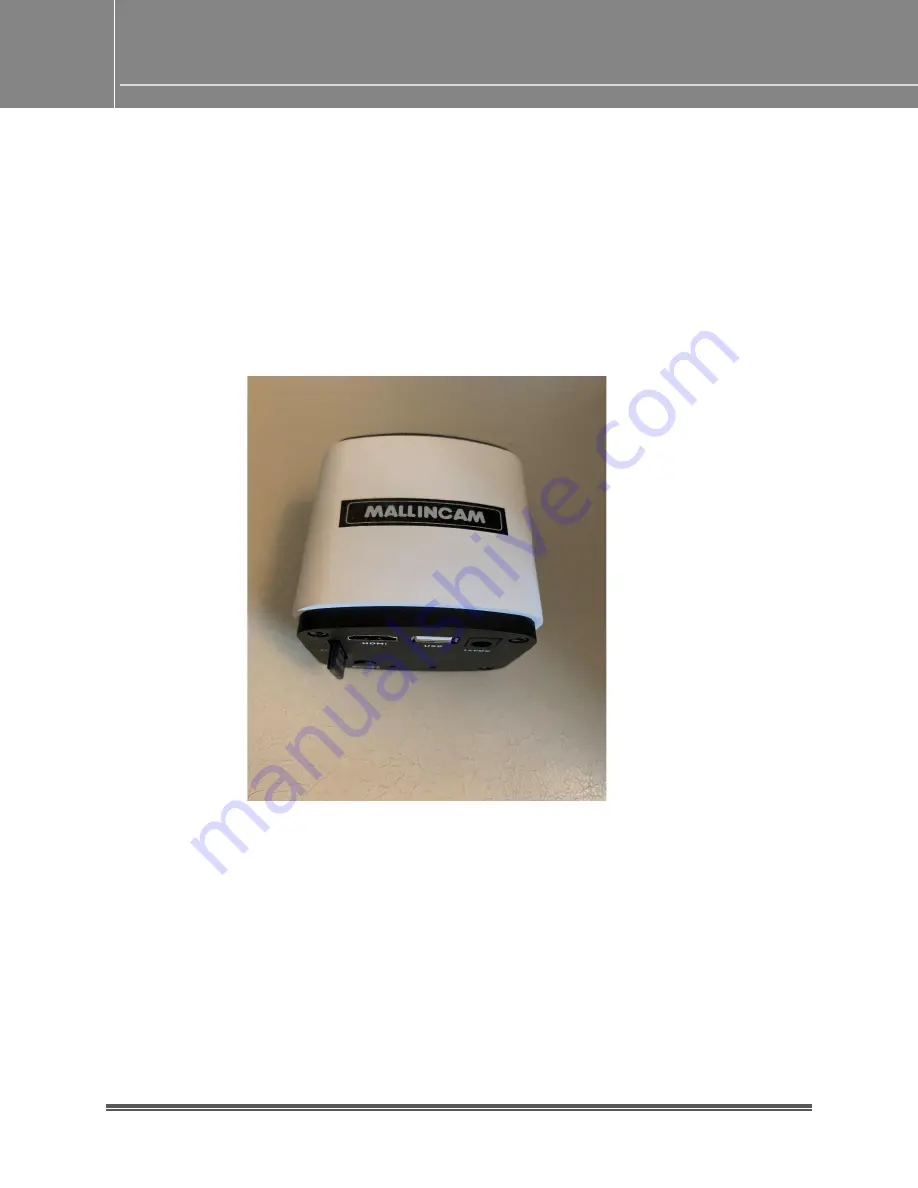
MALLINCAM HD-10 II
[Version 1.0]
Michael Burns
Rock Mallin
[
Mallincam HD-10 II User Manual
]
This document will quickly introduce you to the wonders of the Mallincam HD-10 II
Camera. We will include instructions on how to install the Software and Drivers and
how connect the HD-10 II to your HDMI Monitor or computer along with explanations
of the camera’s
major settings. The purpose of this guide is to quickly get you up and
running with the HD-10 II Camera so that you can image the skies and share your
passion with others.


