background image

10

11

Before use

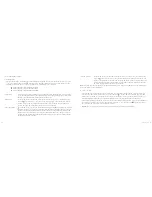
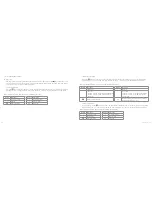
1.    LCD segment screen

Turn the power switch to the “ON” position to check the battery power. If the battery level is low, charge it using the 
supplied USB cable with a power adaptor or USB port of a PC. The red indicator light will stay on and the icons on the 
LCD segment screen will be shown. The camera is now in normal preview state.

The icons shown on the LCD segment screen will indicate the following:
  •   Record mode: The   icon indicates video recording mode and the   icon indicates voice recording mode
  •  Photo shooting prompt: The   icon will flash once when shooting one photo
  •   Power icon: The   icon will be seen when the camera is on. The disappearance of the icon indicates that the 

camera has either shut down or entered into standby mode

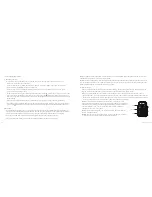
  •   Video recording duration: When the “Record” key is pressed once, the duration of the current video recording 

file will be displayed in the middle of the screen, for example: 

. It will stop when the “Stop” key is pressed 

Note:

 The video recording duration will be displayed on both the LCD segment screen and the TFT display screen

  •   Battery power: The   icon indicates how much battery power is left. More black lines indicate more power and 

less black lines indicate less power 

Note:

 The battery power indication icon will not be displayed when the camera is in standby mode or switched off

  •  USB connection: The USB mode icon 

 indicates whether the camera is connected to the computer. The green 

indicator light on the left will flash slowly 

Note: 

The icon will only be displayed when the camera is connected to the computer

  •   TF card capacity indication: The   icon indicates the capacity of the TF card. More black lines indicate more space and 

less black lines indicate less space. The green indicator light on the left will remain on when the card is out of memory

Instructions for use

Startup

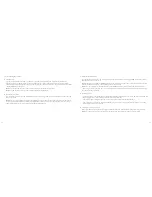
1.    The camera can be used in two ways:  

Either handheld or attached to various mount accessories. It can also be used underwater, with the waterproof case. 

Note:

 to remove the TFT display screen, press the push button and ease off carefully

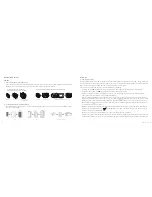
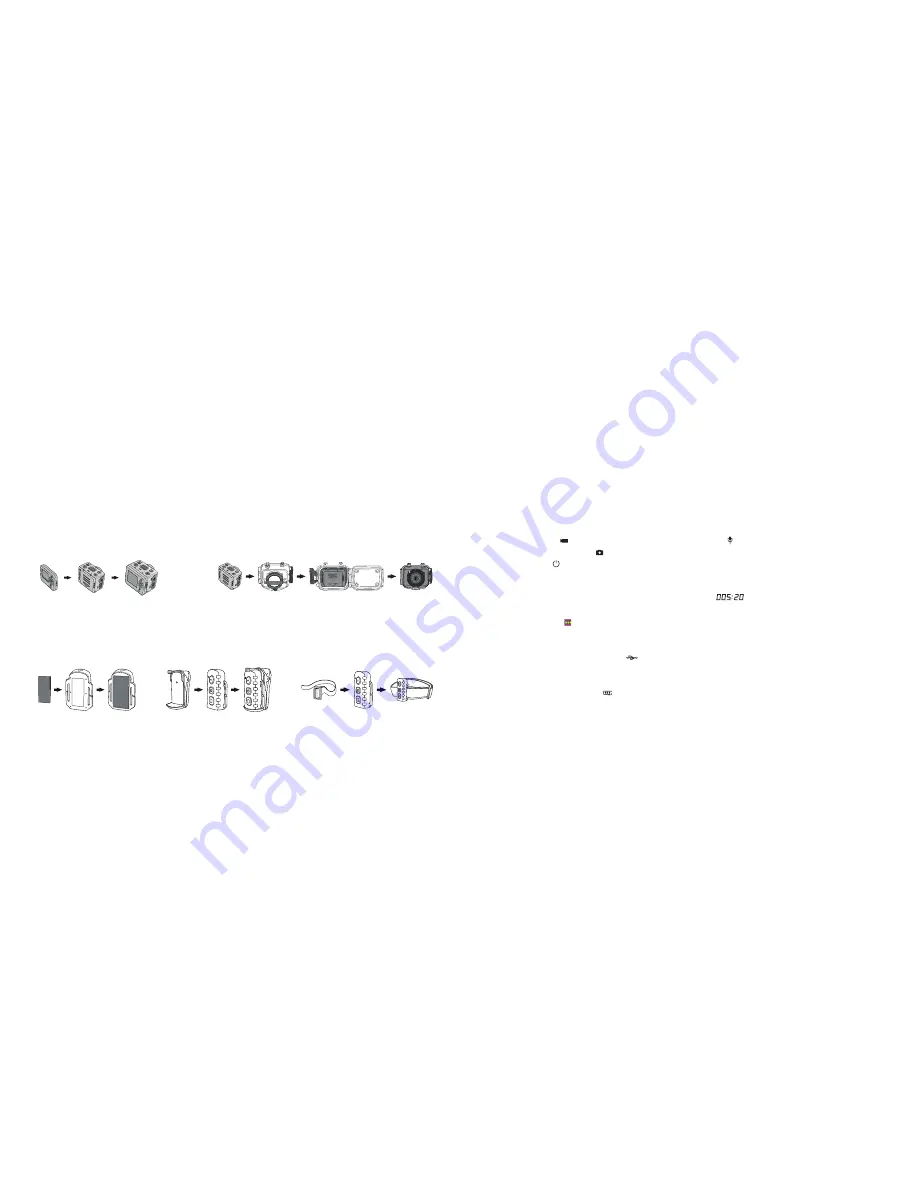
2.  Installing the remote control (optional)

     An optional remote control can be purchased for use with the camera. Please use the accessories shown below 

for correct installation

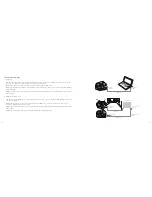
•  Installation and removal of the  

TFT display screen and main body

TFT display

Velcro

Clip

Binding tape (optional)

Main body

Main body

Install TFT display screen 

onto the main body

Waterproof case

Install main body into the waterproof case

• Installation of the waterproof case and main body

[continued...]

Summary of Contents for Edge HD10

Page 1: ...1 1 kitvision co uk JB 2957 Kitvision 2013 Christchurch Dorset BH23 4FL User manual A C T I O N C A M E R A HD10 ...

Page 2: ... record your memories We re committed to developing the very latest technologies so you can capture re live and share your experiences in the best way possible By remembering the past and embracing the future our vision is for every single precious moment to be treasured forever ...

Page 3: ...4 5 Contents Main features 6 Box contents 7 Functions 8 Instructions for use 10 Troubleshooting 30 Specifications 30 ...

Page 4: ... Time lapse mode Self timer mode 170 ultra wide angle lens Aperture f 2 8 Waterproof up to 100 m with grade IP68 waterproof housing Detachable 1 5 TFT display screen for shooting and replaying videos Supports micro SD micro SDHC cards above Class 6 up to 32 GB not included 4x digital zoom applicable for 720P 30 and WVGA mode of NTSC standards Automatic white balance and automatic exposure Built in...

Page 5: ...tput interface 14 Record button 15 Indicator light video voice recording 16 Power switch 17 Microphone 18 Red indicator light on charging 19 LCD segment screen 20 Shutter 21 Stop key 22 Camera Lens 23 Green indicator light video recording shooting 24 HDMI output interface 25 USB output interface 26 Threaded mount hole 1 2 4 12 5 13 3 11 24 25 6 14 15 16 17 23 18 19 20 21 8 9 10 26 7 22 ...

Page 6: ...re power and less black lines indicate less power Note The battery power indication icon will not be displayed when the camera is in standby mode or switched off USB connection The USB mode icon indicates whether the camera is connected to the computer The green indicator light on the left will flash slowly Note The icon will only be displayed when the camera is connected to the computer TF card c...

Page 7: ...rged Note Before use please check that there is enough battery power If not please charge the camera using the included USB cable The red indicator will flash slowly during charging and will remain red with the battery icon displayed on the TFT display screen after charging 2 Formatting the micro SD card Please use a high speed micro SD card only and format it on the camera before recording or tak...

Page 8: ...es 1080P 12M 6M 960P 8M 4M 720P 8M 4M WVGA 8M 4M If a high bit rate is selected you will get a clearer picture with increased file size 3 Capture mode Select either video recording or voice recording Note In voice recording mode press the Record key once The system will start recording the voice recording duration will be displayed on the bottom of the TFT display screen and the green indicator wi...

Page 9: ... self timing the default setting is ON 3 Time display Please set before using The camera will auto record the shooting date and time of an image and display it in the bottom right corner of the file 4 Loop coverage When ON the video audio file will be automatically saved in a segment once every 15 minutes If it is not set the video audio file will be automatically saved in a segment once every 30 ...

Page 10: ...Card Full on the TFT display screen and return to the preview mode The video recording duration on the LCD segment screen will also disappear Note When the or keys are pressed in voice recording mode the voice increasing reducing operation will not be executed however when the or keys are pressed when recalling audio files the voice increasing reducing operation will be executed continued System p...

Page 11: ...interface after setting the interval time When the Shutter button is pressed the camera will start shooting one photo every 2s 3s 5s 10s 20s or 30s until the button is pressed again to stop Self timer mode Press the M key to enter the camera setup interface press the or keys to move the cursor to then press the or keys to select the menu Self shot and press the OK key to set the delay time at 0s 5...

Page 12: ...files will appear on the screen Select the photo file by pressing the or keys and press OK to view Press the key to enter the thumbnail preview mode When browsing photo files you can select the following functions Button Functions Button Functions Zoom out Zoom in Page up In zoom in mode move the photo downward In zoom in mode press OK to move the photo left Page down In zoom in mode move the phot...

Page 13: ...dered The printer compatible with your camera can follow the DPOF orders to print the photos Note The DPOF printing requires a micro SD card with preset DPOF information It will fail if you simply select the photos from the micro SD card and try to print them Note Some DPOF compatible printers and digital photo developing shops may fail to print the photos based on the specific settings If this is...

Page 14: ...n preview state connect the camera with the high definition display device using an HDMI cable The camera s functions can then be operated Note After connecting with the HDMI display device the TFT screen on the camera and the voice will be turned off and the audio and video will be displayed on the device s display Note The camera may be in an abnormal state if the HDMI cable is inserted or unplu...

Page 15: ...r switch is turned to the ON position 2 HDMI cable and AV cable You can also use the HDMI cable or AV cable to connect the camera to a TV or monitor with an HDMI interface to play the recorded files Note After connecting the camera to the monitor via the HDMI cable please select the input source on the monitor to display data from the camera Note If you select the AV cable please connect each of i...

Page 16: ...shot Triple shot Time lapse mode Self timer mode Format JPEG Audio Built in high quality microphone Format WAV Storage Micro SD micro SDHC with minimum class 6 up to 32 GB not included Connection USB 2 0 for data connection and battery charging HDMI Power Detachable 1000 mAh rechargeable Li ion battery Battery life up to 2 5 hours continuous recording Display True colour 1 5 TFT display 16 9 Opera...

Page 17: ...lectrical shock Store the video camera in a cool dry and dust free place Notices for Waterproof Casing The waterproof casing should be installed correctly Please note the following when using the camera 1 Do not disassemble and reaffix the sealing ring of the casing keys and lens cover Doing so can make the waterproof casing ineffective 2 Do not place the casing in environments where there is corr...

Page 18: ... an outlet on a circuit which is different from the one the receiver is connected to Consult a qualified expert for help We apologise for any inconvenience caused by minor inconsistencies in these instructions which may occur as a result of product improvement and development Cautions for using 3M double sided foam sticker Please choose a suitable curved or flat surface to ensure that the 3M doubl...

Reviews: