U3042AE16
Troubleshooting the Test Set
Equipment Setup
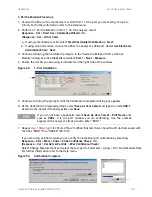
1. Turn on the test set and the analyzer.
2.
Preset
the analyzer and set it to
Standalone Mode
. Select
Utility
>
System
>
Configure
>
Multiport Capability
. In the dialog box select
Restart as a standalone PNA
>
OK
.
3. Confirm the frequency range is set to 10 MHz to 20 GHz or 26.5 GHz.
4. Connect the RF cables to the analyzer’s Ports 1 and 2. Connect the cables together using a
3.5 mm adapter.
5. Configure the analyzer to measure S21 and normalize the response trace.
6. Set the analyzer to
Interface Control Mode
: Select
Channel > Hard ware Setup > More >
Interface Control…
and click
Enable Interface Control box
.
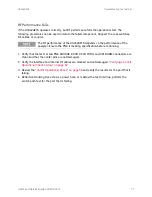
The <addrs>.<data> entries noted in the following Test Instructions table will
be used to configure the RF switches for this testing. After making your entry
select <OK> to execute the command, to return back for further entries, select
Interface Control on the PNA display.
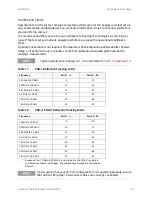
Cable Connections
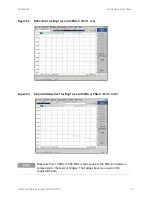
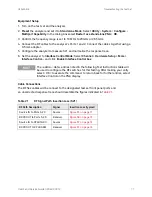
The RF flex cables will be connect to the designated test set front panel ports and
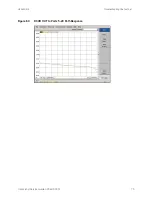
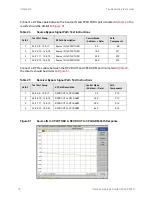
an uncorrected response trace should resemble the figures indicated in
.
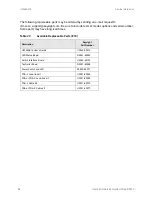
Table 21
RF Signal Path Insertion Loss (S21)
RF Path Description
Signal
Insertion Loss (typical)
Source IN to Ports 5-20
Source
RCVR OUT to Ports 5-20
Receiver
Source IN to CPLR THRU
Source
RCVR OUT to CPLR ARM
Receiver
User's and Service Guide U3042-90012
71

