KD-PC2 Operating Instructions
Page
KD-PC2 Operating Instructions
Page
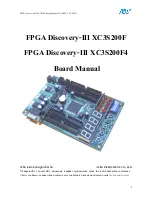
Operating your KD-PC2 Video Processor card
Your KD-PC2 video processor card is easy to control and operate with the included IR Remote
Control unit. You will now learn how to control the KD-PC2 video card using the navigation buttons
on this remote control, and the On-screen Display (OSD) menu that will appear on your Pioneer
Plasma Display. You may also control the KD-PC2 video card via the RS-232 port on the Pioneer
Plasma Display, if available. The Remote Control for the Pioneer Plasma Display does not directly
control the operation of the KD-PC2 video card.
1.
Bring up the KD-PC2 OSD
You can bring up the OSD by pressing the “Menu” button on the KD-PC2 IR Remote Control.
See the section later in this Operating Manual entitled “IR Remote Control” for the full operation of
your KD-PC2 IR Remote Control.
Select a live source using the HDMI1, HDMI2, HDMI3, HDMI4, RGB(HV), Component, S-
Video, or Composite Video buttons on the KD-PC2 IR Remote Control.
2.
Navigate the KD-PC2 OSD Menu
Once you have brought up the OSD from the KD-PC2 video card, you can learn to navigate, or
move through, the menu.
See the section later in this Operating Manual entitled “OSD Menu Tree” for the complete
listing of all menu options for your KD-PC2 video card.
To navigate through the KD-PC2 OSD:
Bring up the KD-PC2 OSD by pressing the MENU button on the KD-PC2 IR Remote Control.
The OSD menu will appear on the Pioneer Plasma Display.
The OSD will turn off after about
thirty (30) seconds.
You can navigate through the OSD Menu by using the
UP
and
DOWN
arrows, and then the
LEFT
and
RIGHT
arrows to move to the next level of the submenu tree
Press
SET
to select (invoke) a desired feature, function, or setting in the menu
Pres the
EXIT
button to return to the prior level of the menu or cancel a selection
➔
›
➔
➔
➔
3.
Learn the KD-PC2 IR Remote Control “Hot Buttons”
Use the “Hot Buttons” for instant action without the need for the OSD visual cue:
Input (Source) Selection Hot Buttons:
HDMI1, HDMI2, HDMI3, HDMI4
RGB, COMPONENT, S-VIDEO, VIDEO (Composite Video)
EXT PCM (toggles Analog and Digital Audio)
/-
MUTE
LIP SYNC +/- (to adjust audio/video “lip sync” delay)
Video Processing Hot Buttons:
STILL (freeze frame)
ASPECT (Aspect Ratio zoom modes)
BRIGHTNESS
CONTRAST
SATURATION
EDGE (2-dimensional edge enhancement, sharpness)
4.
Configure and Control the KD-PC2 via the OSD Menu
Once you have brought up the OSD from the KD-PC2 video card and have learned to perform the
basic navigation through the OSD Menu Tree and the use of the IR Remote Control “Hot Buttons,”
you can start to configure, setup, and control your KD-PC2 video card. The OSD is overlaid on the
selected source video input.
Note: The OSD depicted in these Operating Instructions represent typical images generated by the
KD-PC2 video card OSD. Subsequent Firmware Upgrades could change some of the items.
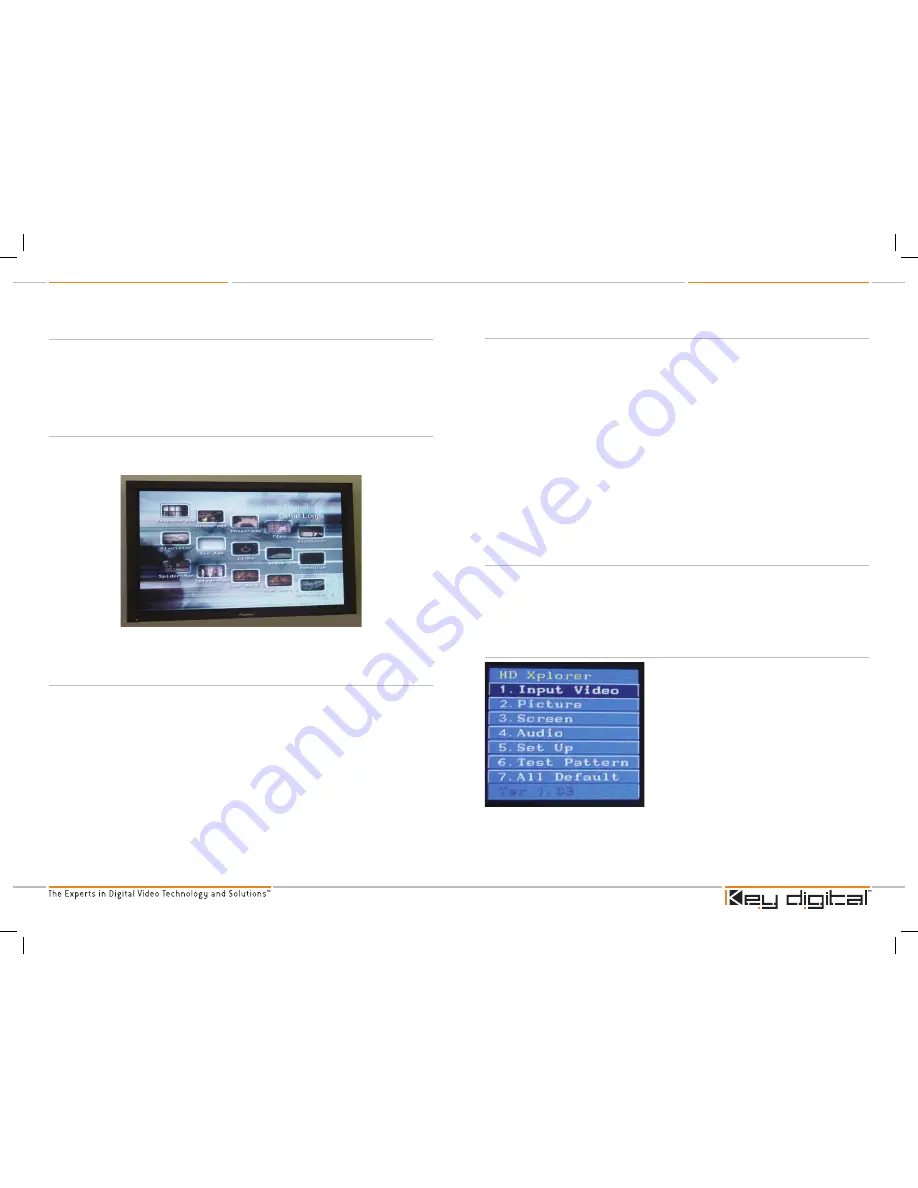
Bring up the MAIN Menu
Press MENU on the KD-PC2
IR Remote Control
You can select at this level:
1. Input Video [to select the desired Input Video for display]
HDMI1 through HDMI4 Digital Video sources
Analog Video sources
›
➔
➔
➔
›
›
›
›
➔
➔
➔
➔
➔
➔
➔
➔
KD-PC2_Manual.indd 18-19
10/18/06 1:52:46 PM