DVF-N7080 (EN/E,X)
Set Up functions
18
Preparations
Menu Language
Select a language for the Setup menu and on-
screen display.
TV Aspect
Select the aspect ratios
4:3 Letterbox:
Select when a standard 4:3 TV is
connected. Displays a wide picture with bands on
the upper and lower portions of the screen.
4:3 Panscan:
Select when a standard 4:3 TV is con-
nected. Automatically displays the wide Picture on
the entire screen and cuts off the portions that do
not fit.
16:9:
Select when a 16:9 wide TV is connected.
Video Out
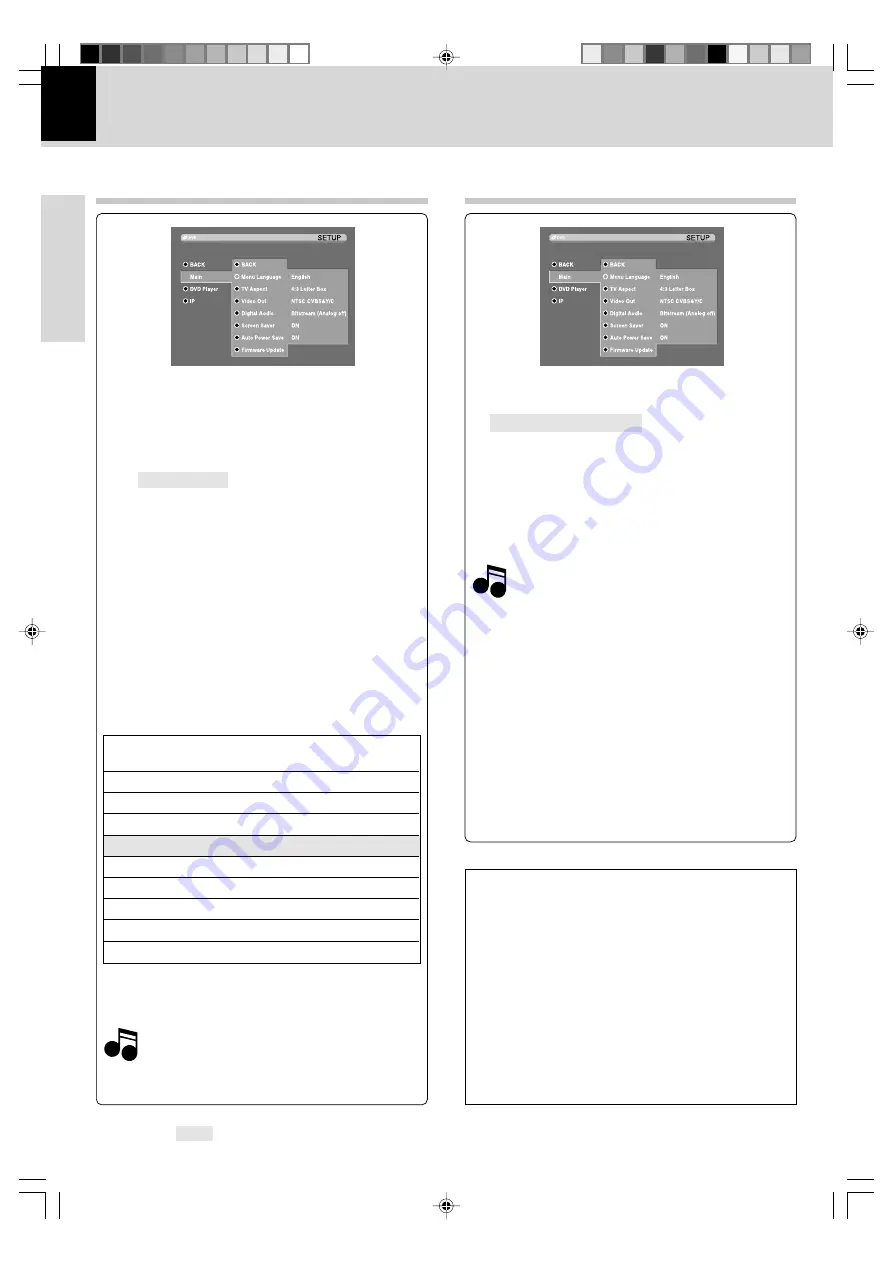
"Main" Setup
Digital Audio
Select the Digital Audio format.
Bitstream (Analog off):
Select "Bit stream" if you
connect the DVD Player’s
DIGITAL OUT
jack to an
amplifier or other equipment with a Dolby Digital or
DTS decoder.
PCM (Analog on):
Select when connected to a two-
channel digital stereo amplifier. DVDs encoded in
Dolby Digital or MPEG will be automatically converted
to two-channel PCM audio.
Select the video format put out to the VIDEO OUT
terminal. Select according to the format of the TV
display to be connected.
The output combinations of video format, com-
posite output, S-video output, component output,
and SCART output are shown below.
When the setting for the video format at the time of DVD-
video playback is 480p, 720p or 1080i, the video format
temporarily is output as "
5
PAL CVBS & YCbCr".
Note
Note
Note
Note
The video format can be switched temporarily by pressing the
VIDEO OUT
key of the remote control unit.
Select
"PCM"
when not connecting to an AV
receiver or AV amplifier.
Screen Saver
Select Screen Saver on or off.
ON:
The screen saver starts when you leave this
unit in stop mode for about 5 minutes.
The item in
are the initial set values.
Video
Composite
S-video Component SCART
format
1
NTSC
CVBS
Y/C
CVBS
2
NTSC
CVBS
YCbCr
CVBS
3
NTSC
CVBS
RGB
4
PAL
CVBS
Y/C
CVBS
5
PAL
CVBS
YCbCr
CVBS
6
PAL
CVBS
RGB
7
480p
YCbCr
8
720p
YCbCr
9
1080i
YCbCr
"Main" Setup (Continued)
Auto Power Save
Select ON or OFF.
ON:
Power will switch off automatically when you
leave this unit in stop mode for about 60 minutes.
Firmware Update
Refer to page 47 for Firmware update.
Progressive Scan and Interlace Scan
This is the TV screen scanning method. When an im-
age is shown on the TV, the interlace scan method
scans only the odd lines in one frame and then the
even lines in the next frame, while the progressive
scan method shows the lines scanned sequentially
from the top. Progressive scan results in a picture with
less flicker than with interlace scan.
The number indicates the number of effective scan
lines.
Example:
720P : Progressive scan with 720 effective lines
1080i : Interlace scan with 1080 effective lines
*5498/17-21/EN
04.7.29, 6:22 PM
18


