


EN
GL
I
S
H
7
6
For
DDX4015DAB
/
DDX4015BT
/
DDX4015BTR
:
T
E
L/
VOICE
button
•
D
isplays the
<Hands Free>
screen. (Press)
(Page 33)
• Activates voice dialing. (
H
old) (Page 35)
For
DDX3015
/
DDX3015R
:
AU
D
button
D
isplays the
<Equalizer>
screen. (Press)
(Page 38)
7
For
DDX4015DAB
/
DDX4015BT
/
DDX4015BTR
:
V
olume/ATT/AU
DIO
knob
• Attenuates the sound. (Press) (See the far right
column.)
• Adjusts the audio volume. (Turn) (See the far
right column.)
•
D
isplays the
<Equalizer>
screen. (
H
old)
(Page 38)
For
DDX3015
/
DDX3015R
:
V
olume/ATT knob
• Attenuates the sound. (Press) (See the far right
column.)
• Adjusts the audio volume. (Turn) (See the far
right column.)
8
M
onitor panel*
9
Screen (touch panel)
*
You can change the color of the buttons on the monitor panel.
(Page 41)
C
ommon operations
R
T
urning on the power
DDX4015DAB
/
DDX4015BT
/
DDX4015BTR
/
DDX3015
/
DDX3015R
DDX
6
015BTR
R
T
urning off the power
DDX4015DAB
/
DDX4015BT
/
DDX4015BTR
/
DDX3015
/
DDX3015R
DDX
6
015BTR
(Hold)
(Hold)
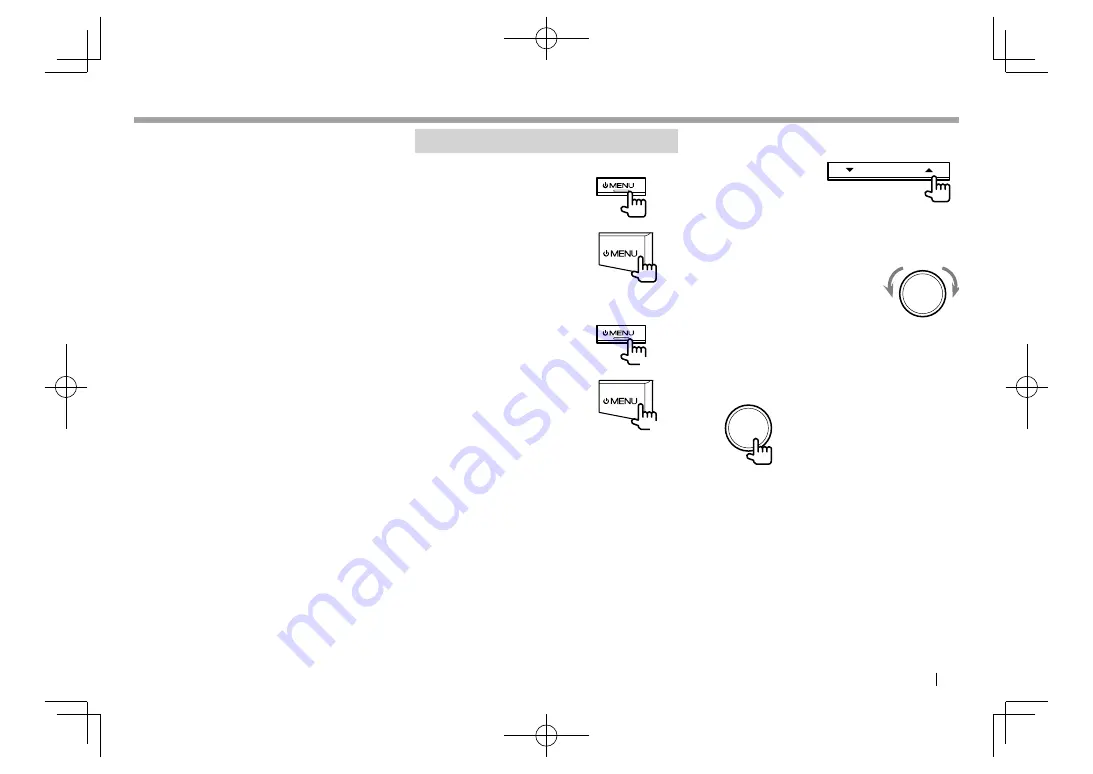
R
A
djusting the volume
T
o adjust the volume (
00
to
35
)
DDX
6
015BTR
Press
J
to increase, and press
K
to decrease.
•
H
olding the button increases/decreases the
volume continuously.
DDX4015DAB
/
DDX4015BT
/
DDX4015BTR
/
DDX3015
/
DDX3015R
Turn to the right to increase, and turn to the left to
decrease.
T
o attenuate the sound (only for
DDX4015DAB
/
DDX4015BT
/
DDX4015BTR
/
DDX3015
/
DDX3015R
)
The ATT indicator lights up.
T
o cancel the attenuation:
Press the same button
again.
BASICS
BASICS
DDX̲Entry̲E.indb 7
DDX̲Entry̲E.indb 7
2014/09/11 11:14
2014/09/11 11:14


